10 Unique DIY Crafts Room Decor Ideas for a Trendy Look
- Bedroom Design
 Ben
Ben- 0
- 62 minutes read

Your room is calling for help, and Pinterest isn’t cutting it anymore. You’ve saved approximately 473 “room makeover” pins, watched countless DIY videos, and told yourself “I’ll do that this weekend” for the past six months.
Sound familiar? Yeah, I’ve been there—stuck between wanting a magazine-worthy space and actually having the time, money, and energy to make it happen.
Here’s the truth bomb nobody wants to hear: you don’t need to be a crafting genius or have an unlimited budget to create a room that doesn’t look like a sad college dorm reject.
After transforming my own space from “I give up” beige to “wait, did you hire someone?” on a budget that made my bank account actually laugh, I’ve learned that the best room decor comes from getting your hands dirty (sometimes literally) and embracing the beautiful mess of DIY.
Whether you’re a crafting newbie who can barely hot glue without injury (been there) or someone who just needs fresh inspiration, these 10 DIY crafts room decor ideas will help you create a space that actually reflects your personality.
No fancy equipment required, no art degree needed, and your wallet stays happy. Let’s get crafting!
1. Macrame Wall Hangings
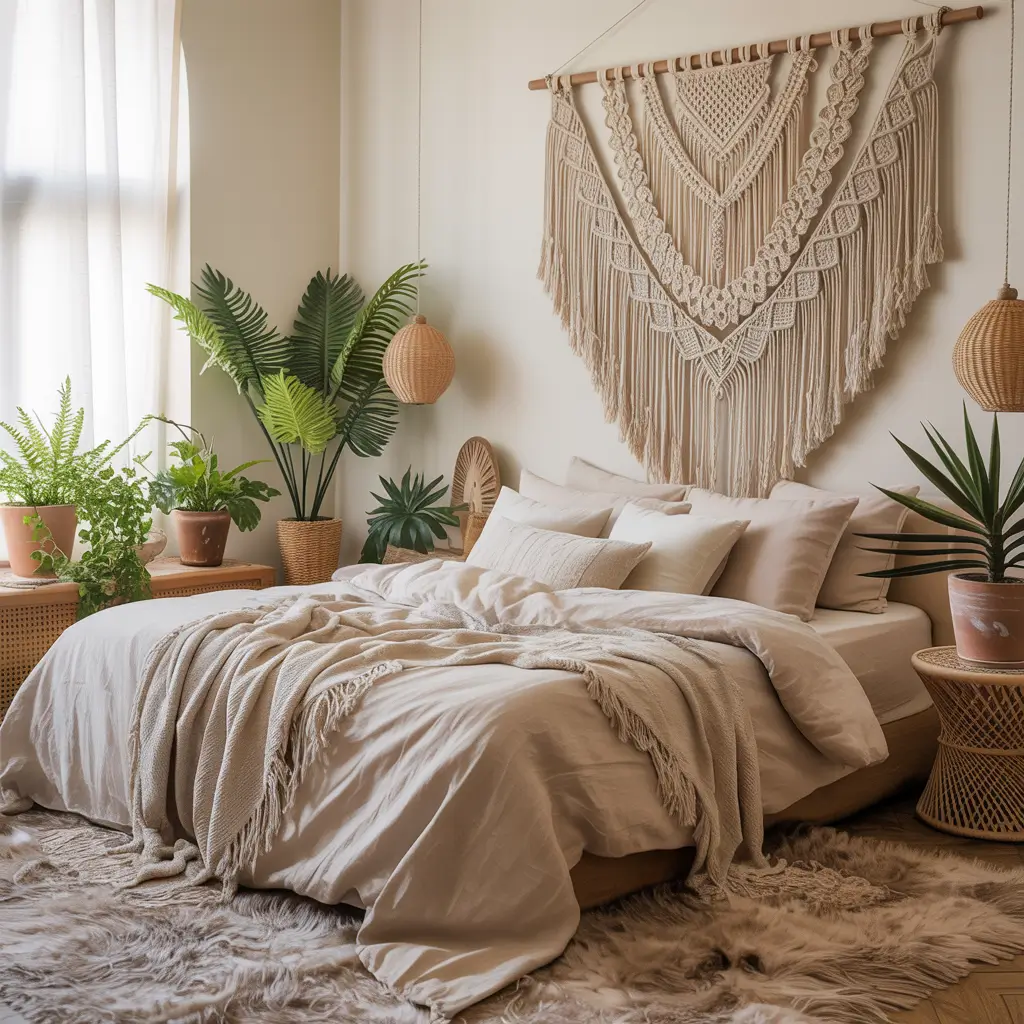
Macrame is having its moment again, and honestly, I’m not mad about it. These knotted beauties add texture, dimension, and that boho-chic vibe without requiring you to be a rope expert or sailor.
Why Macrame Works Magic
Macrame creates instant visual interest on boring blank walls that desperately need something but you’re not sure what. The texture catches light beautifully, and there’s something oddly meditative about knotting rope into patterns. Plus, it’s one of those crafts that looks way harder than it actually is—instant credibility boost.
I started my macrame journey convinced I’d fail spectacularly. Turns out, you really only need to master like three basic knots, and YouTube exists. My first wall hanging was wonky and uneven, but I hung it anyway and people genuinely thought I’d bought it from some expensive artisan shop. The confidence that gave me? Priceless.
Getting Started with Macrame
You’ll need surprisingly few supplies:
- Macrame cord (cotton is beginner-friendly)
- Wooden dowel or branch for hanging
- Scissors (the one tool you definitely own)
- Measuring tape (or just eyeball it like I do)
- YouTube tutorials (your best friend)
Basic Macrame Projects for Beginners
Start simple and work your way up:
- Simple wall hanging: Just vertical cords with fringe
- Plant hanger: Hold your plants in style
- Keychain: Practice knots on small scale
- Bookmark: Cute and functional
- Feather design: Looks complex, actually isn’t
Making It Look Intentional
Pro tips from someone who’s made every mistake:
- Cut cords longer than you think (you can’t add length back)
- Keep tension consistent for even knots
- Embrace imperfection—it adds character
- Mix different cord thicknesses for interest
- Hang at eye level for maximum impact
Ever wonder why macrame looks so expensive in stores? Because people don’t realize how cheap and easy it is to make. Keep that secret to yourself and accept the compliments.
2. Fairy Light Mason Jars
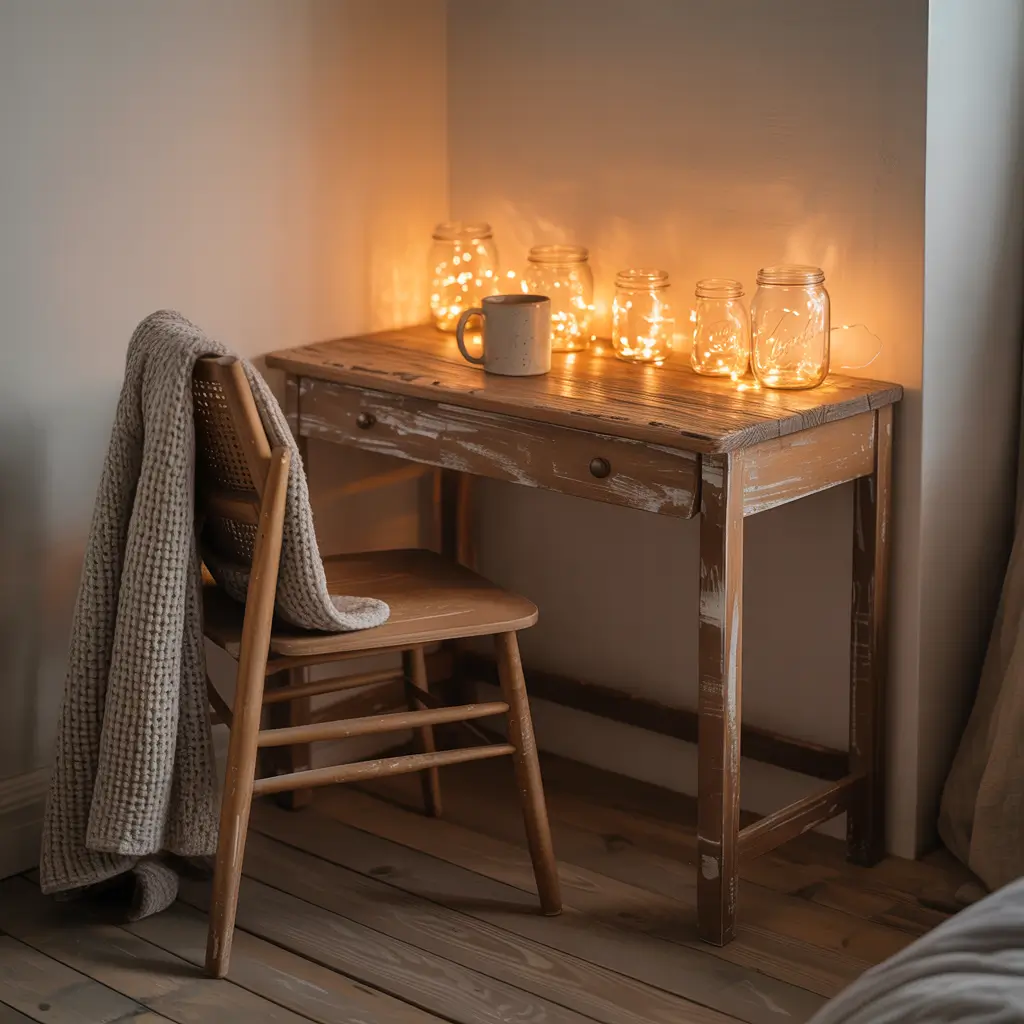
Mason jars and fairy lights are basically the peanut butter and jelly of DIY decor—separately good, together magical. This project requires minimal effort but delivers maximum cozy vibes.
The Instant Ambiance Creator
Fairy light mason jars create that soft, dreamy glow that makes your room feel like a sanctuary instead of just a place where you sleep and scroll TikTok. They’re perfect for people who hate harsh overhead lighting (me) and love atmosphere that doesn’t require effort.
I made my first set during a particularly gloomy winter when my room felt like a cave. Five mason jars, one string of battery-operated lights, and suddenly my windowsill looked like something from a hygge-obsessed Instagram account. Total time invested: 15 minutes. Mood improvement: significant.
Creating Your Light Jars
Super simple process:
- Clean mason jars thoroughly (fingerprints show)
- Choose battery-operated fairy lights (no outlets needed)
- Carefully coil lights inside jar
- Hide battery pack behind jar or inside
- Optional: add decorative elements before lights
Customization Ideas
Make them uniquely yours:
- Paint jars with glass paint or spray paint
- Add twine or ribbon around rim
- Include seasonal items (pinecones, flowers, sand)
- Use colored lights for different moods
- Frost the glass with frosted spray paint
- Stencil designs before adding lights
Placement Strategies
Where these babies shine:
- Windowsills for soft evening glow
- Bedside tables replacing harsh lamps
- Shelves as decorative accents
- Bathroom counters for spa vibes
- Grouped together on floor for ambiance
- Holiday displays with seasonal additions
Maintenance Tips
Keep them looking good:
- Replace batteries regularly (check monthly)
- Dust jars to maintain glow
- Switch out seasonal decorations
- Store lights carefully when changing
- Use timers for automatic on/off
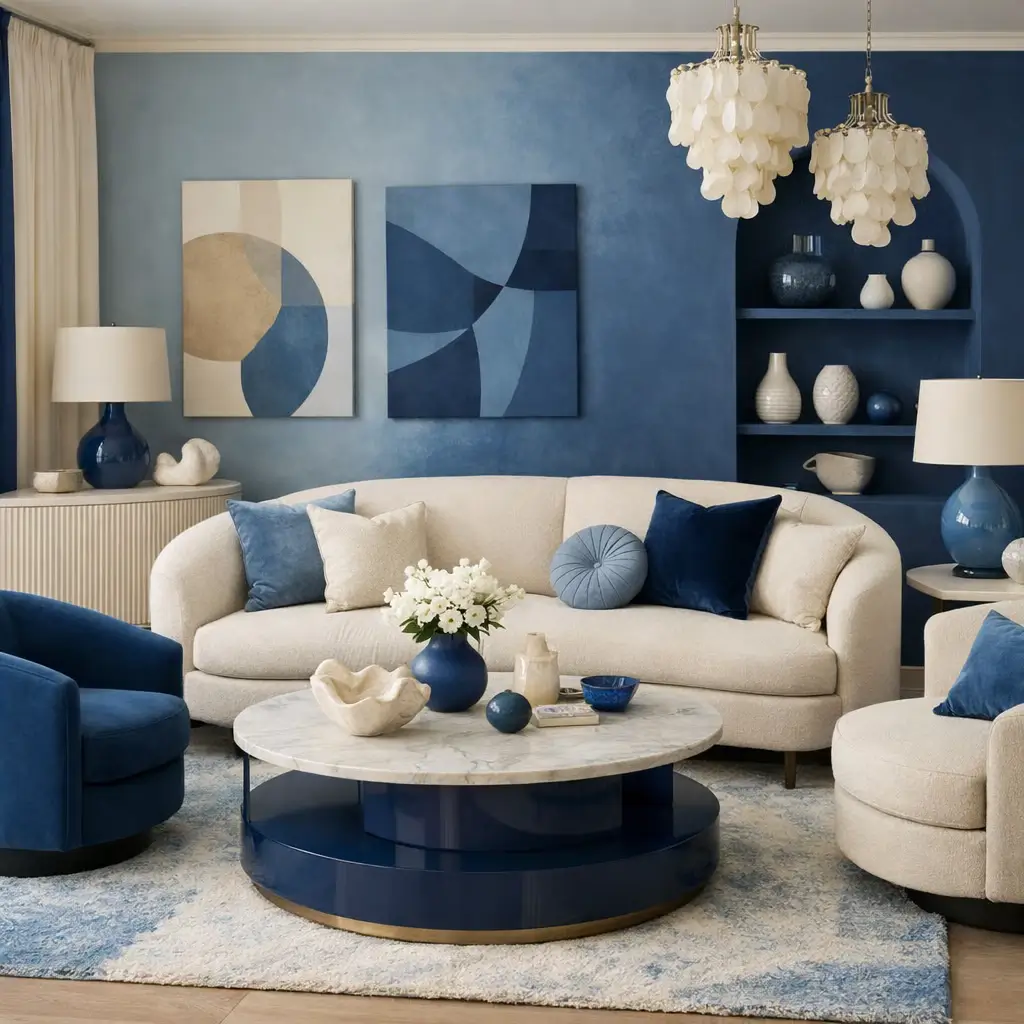
3. Painted Wooden Shelf Display
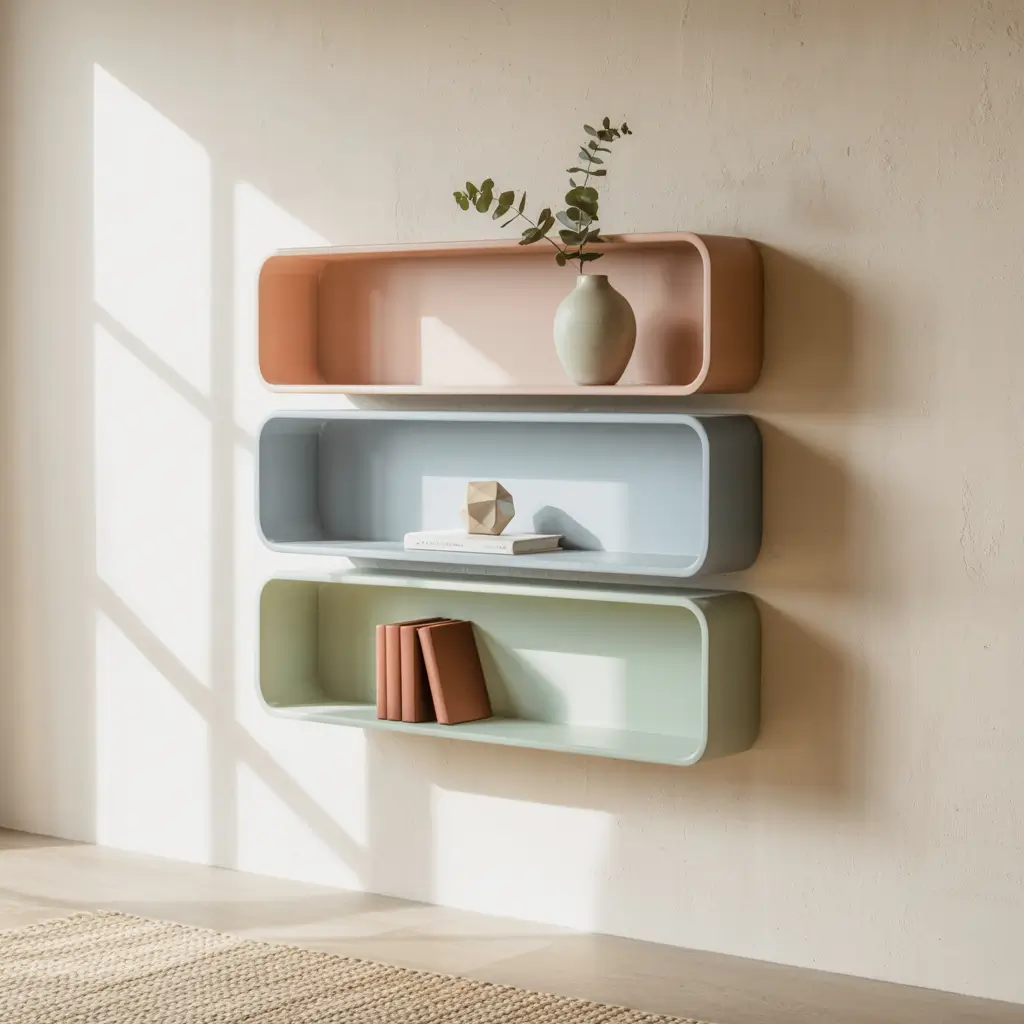
Plain wooden shelves are boring. Painted wooden shelves with personality? Now we’re talking. This project lets you add color and function to your room while showcasing your favorite things.
The Functional Art Piece
Painted shelves transform storage into decoration. They’re not just holding your stuff—they’re part of the aesthetic. It’s like wearing jewelry that also holds your phone and keys. Multitasking at its finest.
My shelf evolution started with basic IKEA shelves that screamed “I tried but gave up halfway.” After painting them in a gradient of blues and styling them intentionally, they became the focal point of my room. People ask where I bought them, and I just smile mysteriously instead of saying “IKEA and $12 worth of paint.”
Choosing and Preparing Shelves
Starting points:
- Buy unfinished wood shelves (cheapest option)
- Thrift existing shelves to repaint
- Use reclaimed wood for character
- Build simple shelves from boards and brackets
- Repurpose wooden crates mounted sideways
Painting Techniques That Pop
Beyond basic single color:
- Ombre effect: Gradient from light to dark
- Two-tone: Different color on each shelf
- Patterns: Stripes, dots, geometric shapes
- Color blocking: Bold contrasting sections
- Distressed finish: Sand edges after painting
- Metallic accents: Gold or copper details
Styling Your Painted Shelves
Making them Instagram-worthy:
- Follow the rule of thirds for placement
- Vary heights of displayed objects
- Group items in odd numbers (3, 5, 7)
- Mix books with decorative objects
- Add small plants for life
- Leave some negative space (don’t overcrowd)
- Create color coordination with displayed items
Paint Selection Tips
Choose wisely:
- Use primer first for best adhesion
- Acrylic craft paint works for small projects
- Spray paint gives smooth finish
- Test colors on cardboard first
- Multiple thin coats beat one thick coat
- Seal with clear coat for durability
Also Read: 10 Stylish Easy DIY Room Decor Ideas for Modern Rooms
4. Fabric Wall Art Panels
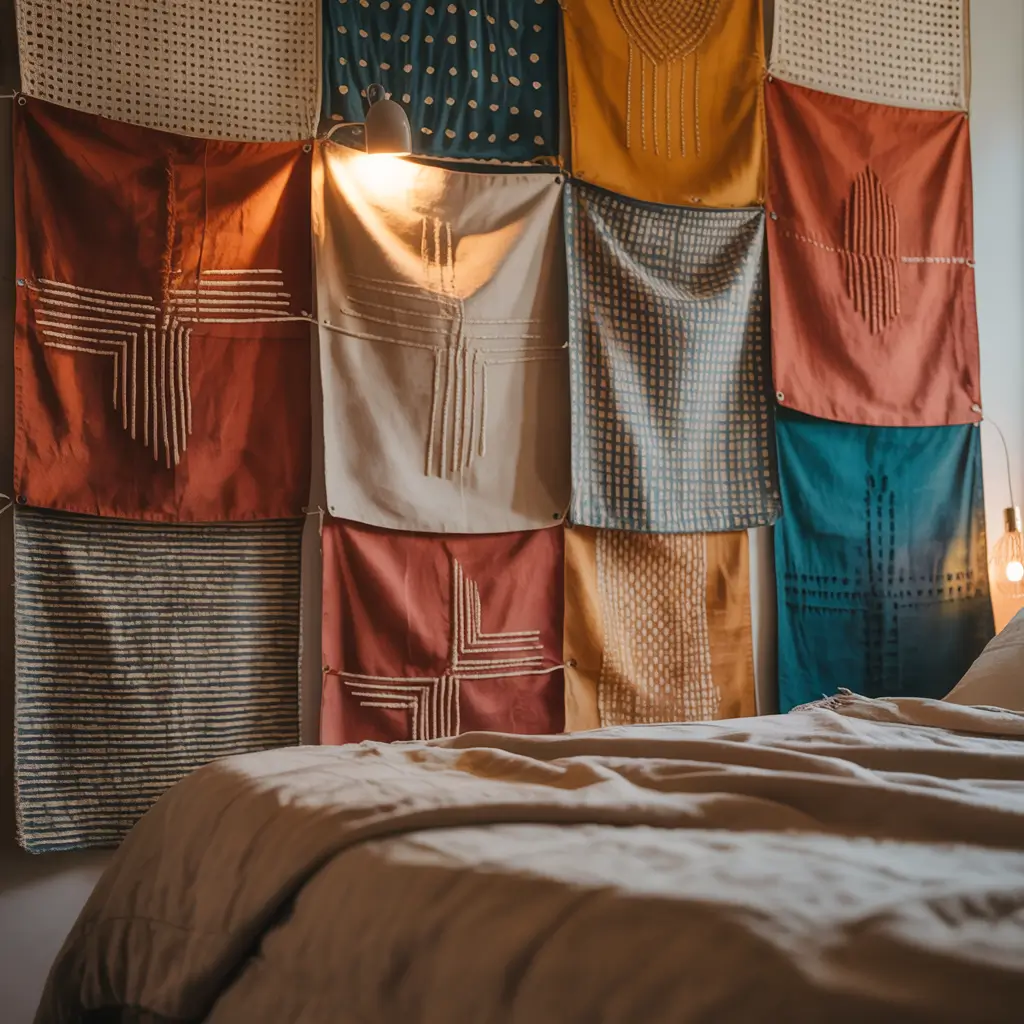
Canvas art is expensive. Fabric stretched over frames? Way cheaper and infinitely more customizable. This project lets you create large-scale art without the large-scale price tag.
The Budget Gallery Wall
Fabric panels give you the look of expensive art for the cost of some fabric and basic frames. You can change them seasonally, match them to your bedding, or showcase patterns you love but couldn’t afford in furniture.
I created a set of three fabric panels using remnants from the fabric store’s clearance bin. Total cost: under $20. The look: custom gallery wall that people assume cost hundreds. The satisfaction: immense. The ability to change them when I get bored: priceless.
Materials You’ll Need
Simple supply list:
- Canvas stretcher frames or old picture frames
- Fabric in your chosen pattern/color
- Staple gun or strong tape
- Scissors for cutting
- Iron to remove wrinkles first
Fabric Selection Strategy
Choosing the right fabric:
- Bold patterns make statement pieces
- Solid colors create calm focal points
- Textured fabric adds dimension
- Mix patterns for eclectic gallery
- Seasonal prints for rotating displays
- Vintage scarves for unique finds
Assembly Process
Easier than you think:
- Iron fabric to remove wrinkles
- Lay fabric face down, frame on top
- Pull fabric tight across back
- Staple or tape one side at a time
- Fold corners neatly like wrapping a gift
- Trim excess fabric
- Hang and admire
Creating Cohesive Sets
Making multiple panels work together:
- Use fabrics from the same color family
- Mix patterns and solids
- Keep sizes proportional or intentionally varied
- Hang in odd-numbered groups
- Maintain consistent spacing
- Consider overall wall composition
FYI, this is one of those projects where “mistakes” often look intentional. Wrinkled fabric? Call it “textured.” Uneven edges? “Artistically asymmetrical.” See? You’re already an artist.
5. Hanging Plant Holders
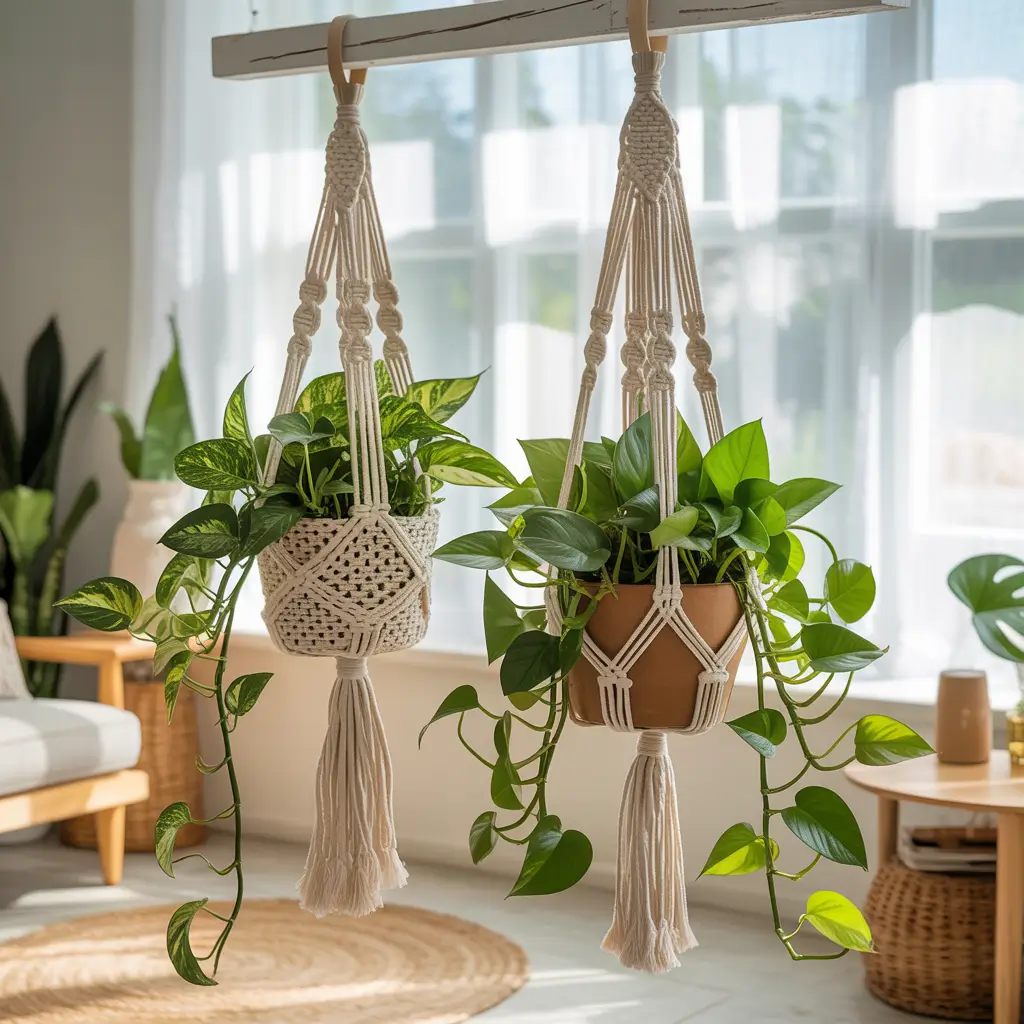
Plants make everything better, and hanging plants make everything better while saving precious surface space. DIY plant holders let you create a vertical garden on any budget.
The Green Revolution
Hanging plants add life literally and figuratively to your room. They purify air, boost mood, and make you look like someone who can keep things alive (even if you’re faking it with hardy pothos).
My hanging plant journey started with one macrame hanger and a plant I was pretty sure I’d kill within a week. Plot twist: both the plant and I survived, and now I have seven hanging plants creating my own mini jungle. My room went from sterile to living, breathing space.
DIY Plant Hanger Ideas
Beyond basic macrame:
- Rope and wooden bead hangers: Bohemian simplicity
- Leather strap hangers: Modern and minimal
- Wire basket hangers: Industrial chic
- Repurposed belts: Unexpected and edgy
- Fabric sling hangers: Soft and colorful
- Wooden bead and cord: Scandinavian vibes
Best Plants for Hanging
Low-maintenance winners:
- Pothos: Literally unkillable (I’ve tried)
- Spider plants: Produce babies, very rewarding
- String of pearls: Delicate look, tough plant
- Philodendron: Trailing beauty
- English ivy: Classic cascading
- Succulents in small planters: If you have light
Installation Without Damage
Renter-friendly options:
- Command hooks rated for plant weight
- Ceiling hooks in existing holes
- Tension rods between walls
- Over-door hooks repurposed
- Standing plant stands (technically not hanging but works)
- Shepherd’s hooks placed strategically
Styling Hanging Gardens
Creating visual impact:
- Vary heights for dimension
- Group in odd numbers
- Consider sight lines from seating
- Mix trailing and upright plants
- Coordinate planter colors
- Rotate for even growth
6. DIY Photo Collage Frames
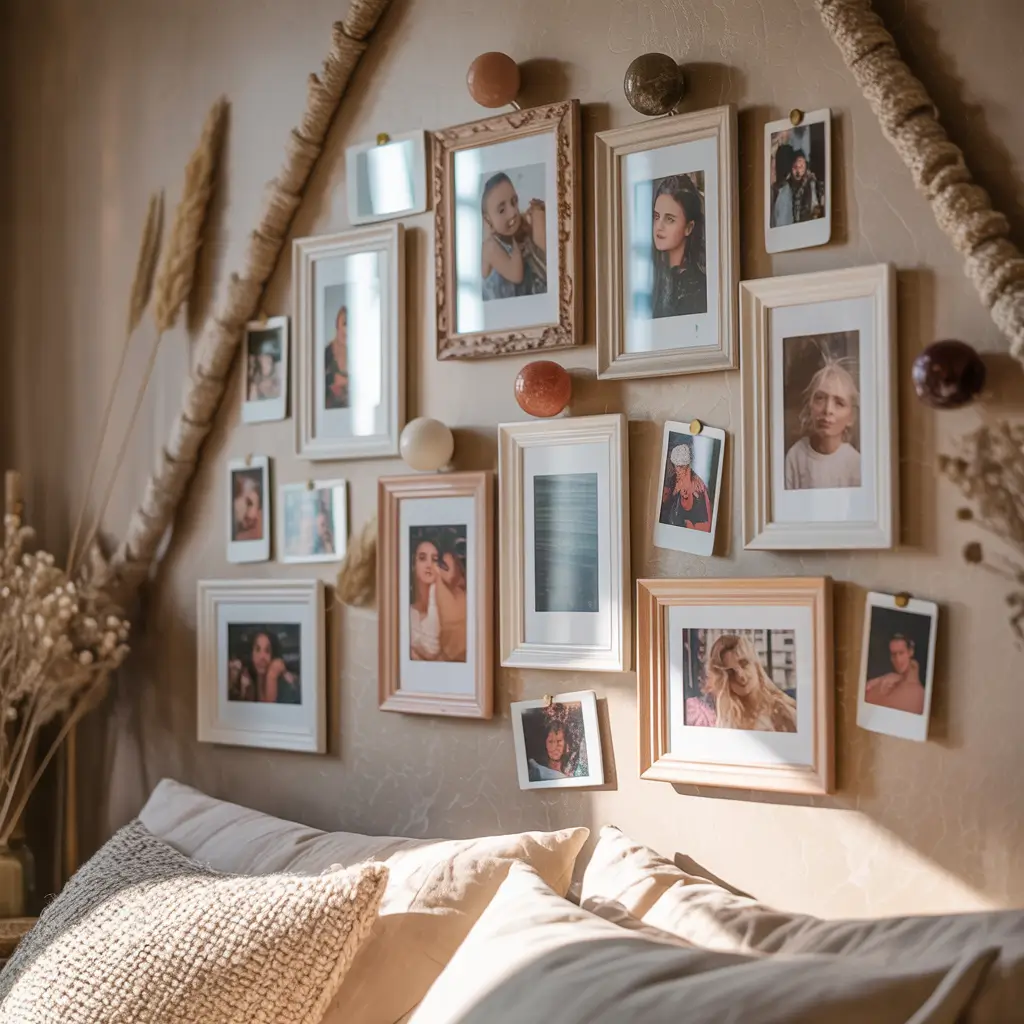
Photos buried in your phone deserve better. Creating physical photo displays connects you to memories while decorating your walls with actual meaning.
The Personal Touch Gallery
Photo collages tell your story in a way that generic art never could. They’re conversation starters, mood boosters, and reminders of people and places that matter. Plus, they’re impossible to mess up because they’re yours.
I finally printed like 50 photos that had been languishing on my phone and created a massive collage wall. The process of selecting and arranging photos was unexpectedly therapeutic, and now I have a daily reminder that I actually do fun things sometimes (evidence required when you work from home).
Creative Display Methods
Beyond basic frames:
- Grid gallery: Uniform frames, varied photos
- Eclectic mix: Different frame sizes and styles
- Clothespin and string: Changeable and casual
- Washi tape frames: No actual frames needed
- Photo ledges: Lean and layer photos
- Clipboards: Industrial and easily updated
- Magnetic boards: Swap photos frequently
Making Collages Cohesive
Visual harmony strategies:
- Stick to black and white photos for uniformity
- Use consistent frame color
- Maintain similar spacing throughout
- Create color story with photo selection
- Mix sizes but maintain balance
- Include some non-photo elements (quotes, art)
Printing on a Budget
Affordable photo printing:
- Print at home on photo paper
- Use drugstore photo services
- Try online printing deals (always coupons)
- Print smaller sizes (4×6 is cheap)
- Consider phone printer for instant prints
- Split costs with friends on bulk orders
Also Read: 12 Stylish Room Decor Ideas DIY Ideas to Try Today
7. Personalized Cork Boards
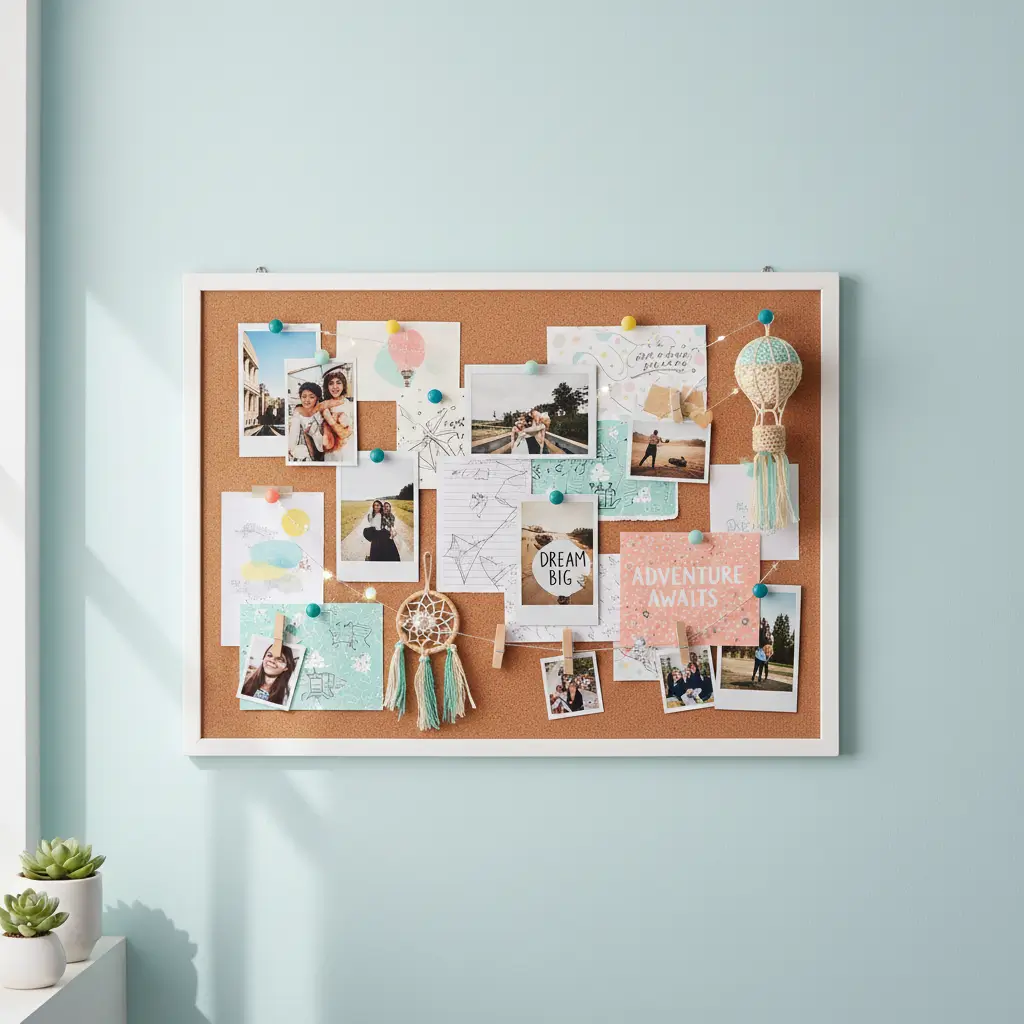
Cork boards don’t have to be boring office supplies. When you customize them, they become functional art that holds your life together (literally).
The Organized Aesthetic
Personalized cork boards combine pretty and practical in a way few other decor items achieve. They hold your notes, photos, and random important papers while looking intentional instead of chaotic.
My cork board transformation involved fabric, a staple gun, and decorative pins I probably overpaid for. But now my collection of concert tickets, polaroids, and random inspiration sits on something beautiful instead of a sad brown rectangle. Small victories count.
Customization Techniques
Make cork boards special:
- Fabric covering: Wrap entire board in pretty fabric
- Paint the frame: Bold color or metallic
- Decorative pins: Upgrade from sad brass ones
- Add trim: Ribbon or decorative edging
- Create patterns: Paint geometric designs on cork
- Mixed media: Combine cork with magnetic sections
Functional Styling
Using cork boards effectively:
- Create zones (photos, tasks, inspiration)
- Update regularly to keep fresh
- Use washi tape to create sections
- Add small hooks for keys or jewelry
- Include a small calendar section
- Leave intentional white space
Alternative Cork Board Ideas
Beyond the basics:
- Mini cork boards: Create a grid of small boards
- Shaped cork: Cut into geometric shapes
- World map cork: Pin travel memories
- Photo shapes: Cork cut to hearts, circles, etc.
- Framed cork tiles: Individual small sections
IMO, cork boards are criminally underrated in the decor world. They’re like the storage ottomans of wall decor—functional but can be fabulous.
8. Origami Wall Decorations
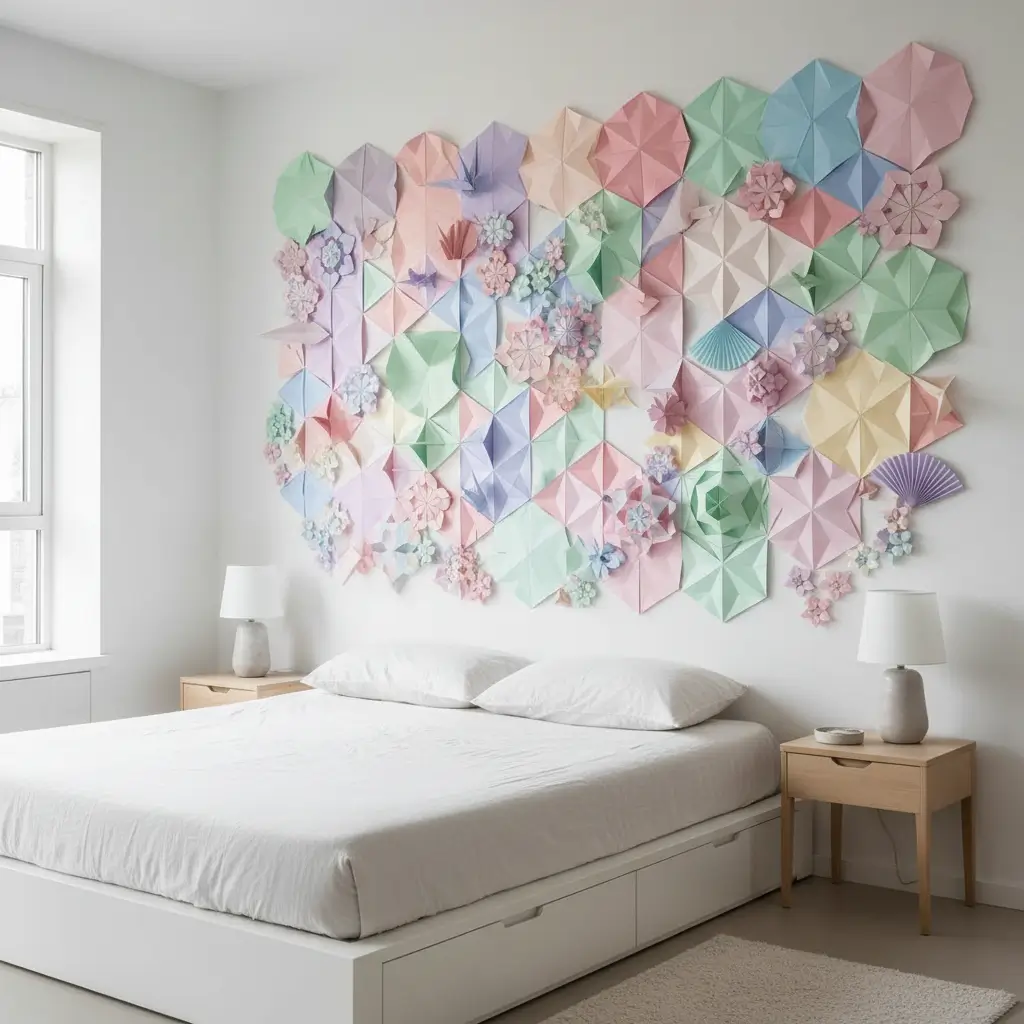
Origami isn’t just for elementary school anymore. Modern origami wall art adds dimension, interest, and a touch of zen to any room.
The Paper Transformation
Origami creates 3D art from flat paper, which feels almost magical when you think about it. The geometric shapes and repetitive folding are meditative, and the final product looks way more impressive than the effort required.
My origami phase started with attempting complex cranes and failing miserably. Then I discovered simple geometric shapes, and suddenly I had a whole wall installation. The secret? Start simple, master the basics, then get fancy. Also, YouTube tutorials are your best friend.
Beginner-Friendly Origami Projects
Start here:
- Paper stars: Simple five-fold design
- Basic cranes: Classic for a reason
- Geometric boxes: Stack or hang individually
- Paper flowers: Dimensional and pretty
- Butterflies: Delicate wall mounted pieces
- Hearts: Perfect for themed displays
Creating Wall Installations
Arranging origami for impact:
- Create ombre effect with gradient colors
- Cluster similar shapes at varying depths
- String together as garland
- Mount on painted boards
- Shadow box displays
- Scattered across wall in pattern
Paper Selection Matters
Choosing the right paper:
- Origami paper (obviously) in fun patterns
- Scrapbook paper for bigger projects
- Magazine pages for eclectic look
- Sheet music for vintage vibe
- Maps for travel theme
- Solid cardstock for clean modern look
Mounting Techniques
Hanging without damage:
- Double-sided foam tape
- Small command strips
- Fishing line for hanging installations
- Pins in existing holes
- Magnetic paint and magnets
- Washi tape for temporary displays
9. Recycled Bottle Vases

Before you toss that wine bottle, consider its potential as decor. Recycled bottle vases are eco-friendly, free, and surprisingly chic when done right.
The Sustainable Style
Recycled bottles give you high-end vase vibes without the high-end price tag. Plus, you’re being environmentally conscious, which makes you feel good about your decorating choices. Win-win.
I started collecting interesting bottles after realizing I was spending money on vases while throwing away perfectly good vessels. A little paint, some creativity, and suddenly my trash became treasure. My favorite is a blue glass bottle I found at a thrift store—it holds one perfect sunflower and gets more compliments than anything I’ve actually purchased.
Bottle Preparation
Getting bottles ready:
- Soak to remove labels completely
- Clean thoroughly inside and out
- Remove any sticky residue with oil
- Dry completely before decorating
- Consider cutting for different heights (advanced)
Decoration Techniques
Transforming bottles:
- Spray paint: Matte or metallic finish
- Rope wrapping: Nautical or boho
- Fabric covering: Colorful and textured
- Paint patterns: Stripes, dots, geometric
- Etching cream: Frosted glass effect
- Natural leaves: Pressed inside clear bottles
Styling Bottle Vases
Creating cohesive displays:
- Group odd numbers together
- Vary heights and widths
- Stick to 2-3 colors maximum
- Mix single stems and bunches
- Use bottles as bookends
- Create centerpieces for special occasions
Best Bottles for Vases
Look for:
- Interesting shapes and colors
- Various sizes for variety
- Narrow necks for single stems
- Wide mouths for larger arrangements
- Unique or vintage bottles for character
Also Read: 10 Stylish DIY Room Decor Ideas for Trendy Interiorsc
10. Boho Dreamcatchers
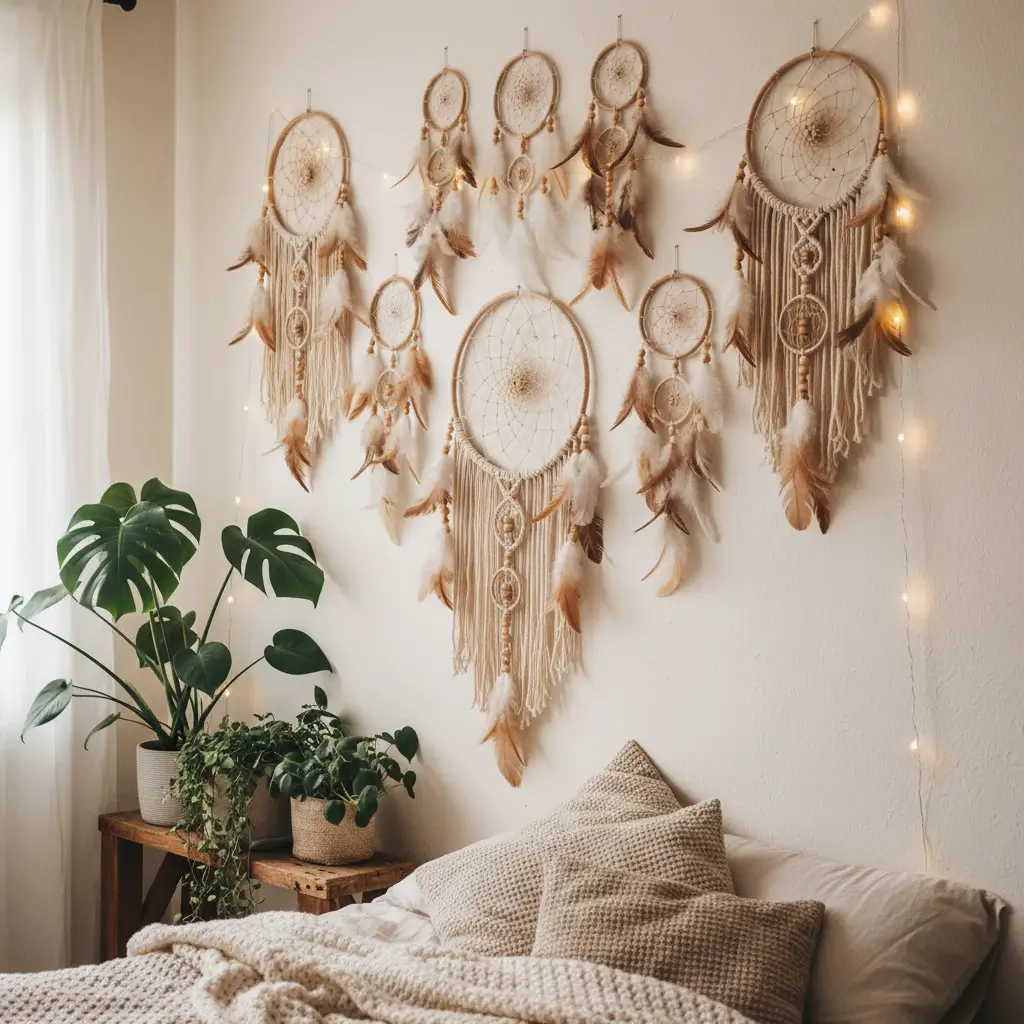
Dreamcatchers might seem overdone, but making your own lets you customize size, colors, and style while adding that bohemian touch to your space.
The Boho Essential
Dreamcatchers add softness and movement that’s hard to achieve with other wall decor. They catch light, move with air currents, and create that layered, collected boho aesthetic everyone’s chasing.
I made my first dreamcatcher for my niece, thinking it would be quick and easy. Two hours later, covered in feathers and tangled in string, I finally finished it. But the process taught me patience, and now I can whip them up while watching Netflix. The evolution from disaster to zen is real.
Basic Dreamcatcher Supplies
What you’ll need:
- Hoop or ring (metal or wooden)
- String, yarn, or embroidery floss for webbing
- Feathers (real or artificial)
- Beads for decoration
- Scissors and possibly needle
- Glue for securing ends
Construction Basics
Simple process:
- Wrap hoop with yarn or leave bare
- Create web pattern inside hoop
- Add beads to web while weaving
- Attach hanging string at top
- Add feathers and beads to bottom
- Customize with additional elements
Customization Ideas
Making it uniquely yours:
- Color themes: Monochrome, pastels, or bright
- Add dried flowers: Romantic touch
- Include shells: Beachy vibe
- Wrap with macrame: Texture on texture
- Add photos: Personal memories
- Multiple hoops: Layered design
- LED lights: Modern twist
Styling Dreamcatchers
Perfect placement:
- Above bed as headboard alternative
- In window to catch light
- Grouped in odd numbers on wall
- Hanging from curtain rods
- Large statement piece alone
- Small ones clustered together
Making DIY Decor Work for You
Here’s what nobody tells you about DIY room decor: it’s messy, sometimes frustrating, and your first attempts will probably look wonky.
And that’s completely okay. After countless projects that went sideways (my hot glue gun scars tell stories), I’ve learned that the “imperfect” pieces often become my favorites because they have personality and history.
Start with one project that genuinely excites you instead of trying to tackle everything at once. I made that mistake and ended up with half-finished projects creating more chaos than decoration.
Pick one, commit to it, and finish it before moving on. Your future self will thank you.
The beauty of DIY is that nothing’s permanent. Made a dreamcatcher you hate? Take it down. Paint color not working? Paint over it.
The low stakes actually free you to experiment without the pressure of expensive mistakes.
Whether you’re team macrame or team origami, remember that your room should make you happy first and Instagram-worthy second. If something brings you joy but wouldn’t photograph well, keep it anyway. Your space, your rules.
Now stop saving DIY pins and actually make something. Your blank walls have been patient long enough, and that box of craft supplies isn’t going to use itself.
Future you—the one living in a room that actually reflects your personality—is waiting. 🙂
Now if you’ll excuse me, I need to go untangle the macrame project I definitely didn’t abandon three weeks ago. It’s not procrastination; it’s “letting the creative process breathe.” Totally different. :/