10 Beautiful Simple False Ceiling Design Ideas on Budget
- Ceiling Design
 Ben
Ben- 0
- 25 minutes read
Simple false ceilings saved my sanity and my wallet. I used to stare at my apartment’s water-stained, uneven ceiling and think I needed a complete renovation and a second mortgage to fix it.
Then I discovered that false ceilings don’t have to involve complicated designs, expensive contractors, or weeks of construction dust. My first simple false ceiling project took one weekend and cost less than my monthly coffee budget.
Here’s what makes simple false ceiling designs so brilliant: they hide all the ugly stuff (pipes, wires, that weird stain from when the upstairs neighbor’s bathtub overflowed) while adding style without complexity.
You don’t need an engineering degree or artistic genius to pull these off. Just basic tools, some patience, and maybe a friend who owes you a favor.
I’ve installed simple false ceilings in every room of my house over the past two years, and each project taught me that “simple” doesn’t mean “boring.”
These designs deliver maximum impact with minimum fuss. Let me share ten simple false ceiling ideas that’ll transform your space without transforming you into a stressed-out renovation zombie.
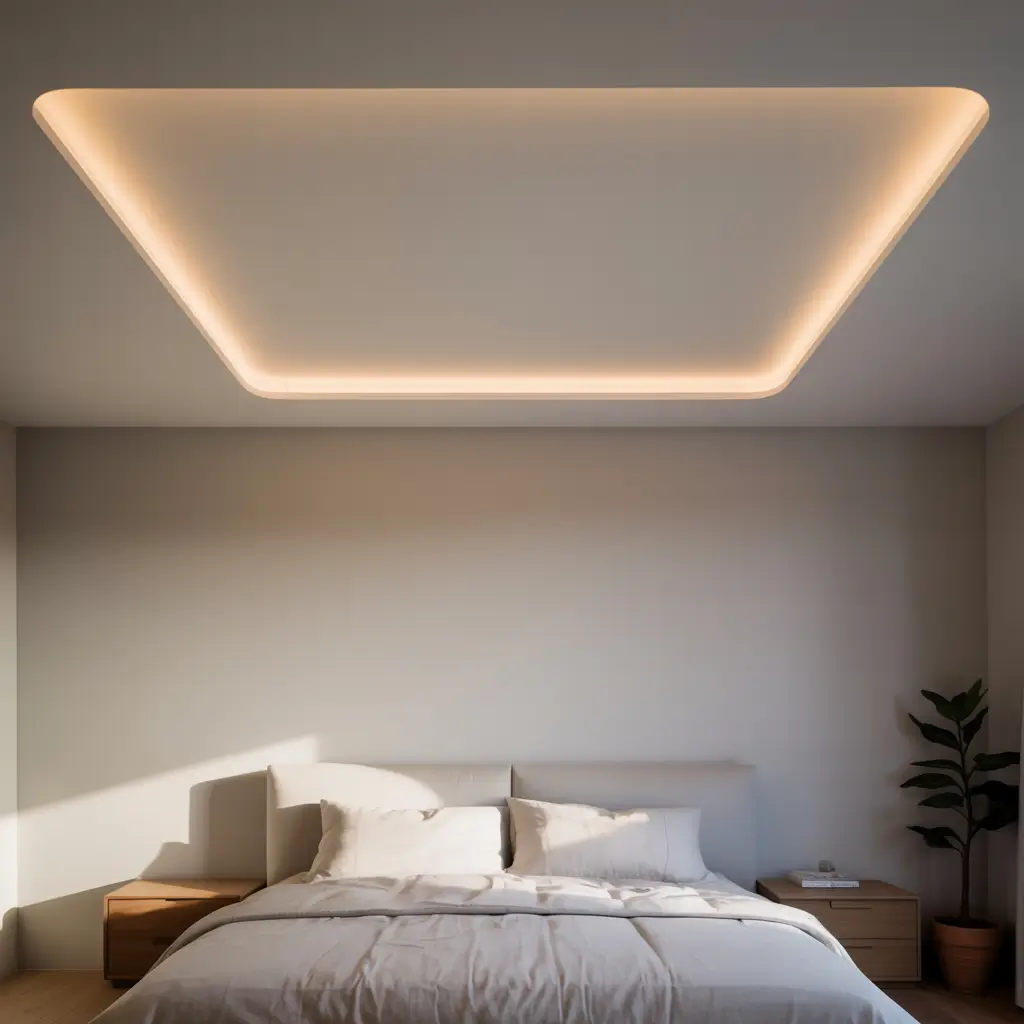
1. Minimalist Layered False Ceiling

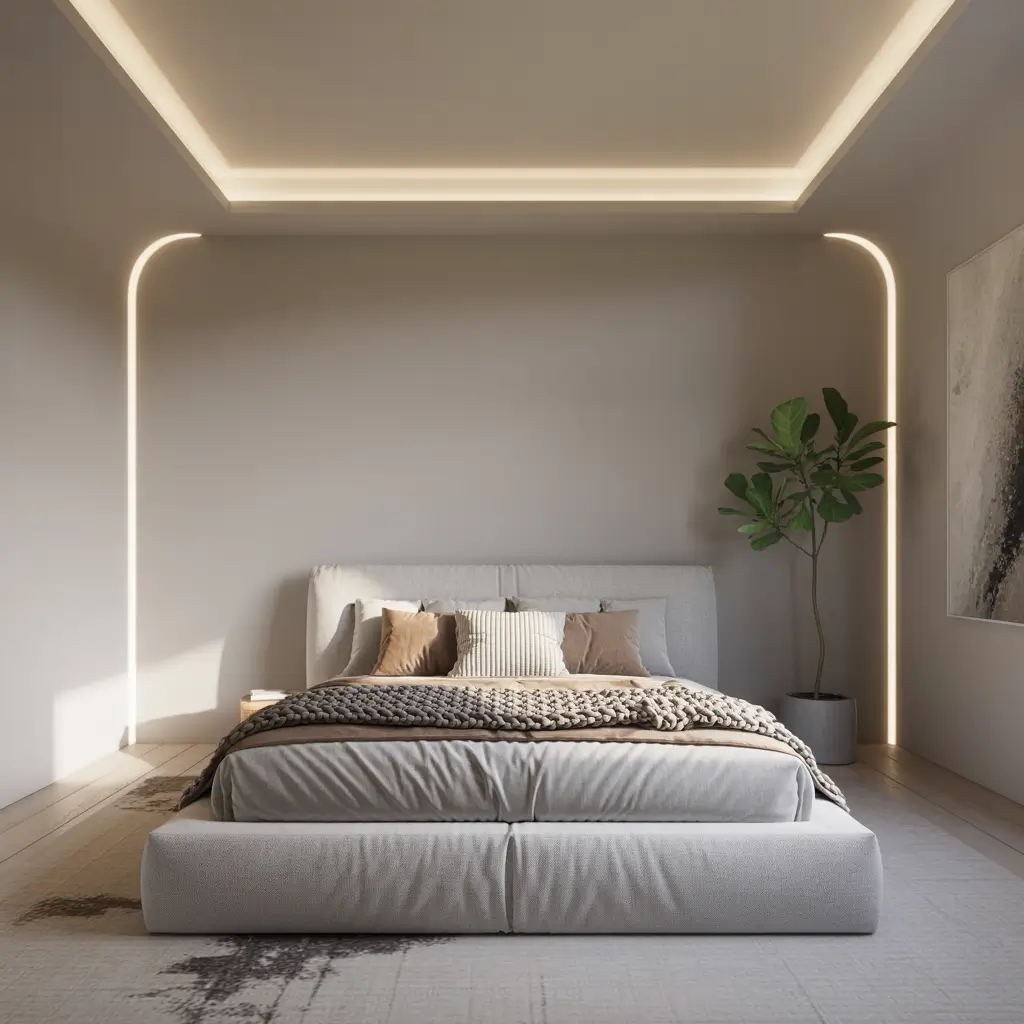
Minimalist layered ceilings create depth without complexity. I installed one in my bedroom using just two layers – a dropped perimeter and a raised center – and suddenly my basic box room looked like it had architectural character. The whole design uses straight lines and right angles, so even my questionable measuring skills couldn’t mess it up.
The beauty of this design lies in what you don’t do. No curves to calculate, no patterns to match, no intricate details to perfect. Just clean, simple layers that create shadow lines and define the space. My bedroom went from feeling cramped to feeling designed, all because of a 6-inch drop around the edges.
Making Minimalism Work
Keep your layers shallow for easier installation. My perimeter drops just 6 inches from the original ceiling – enough to create visual interest and hide LED strips, but not so much that it makes the room feel lower. Deeper drops require more framing and increase complexity.
Use the same color throughout for true minimalist impact. I painted everything white – the original ceiling, the dropped section, even the LED channel covers. The monochrome approach lets shadows create the design rather than color contrasts.
Plan your lighting before you start building. I installed LED strips in the gap between layers, creating soft ambient lighting that makes the center appear to float. The lighting transforms a simple geometric design into something that looks expensive and intentional.
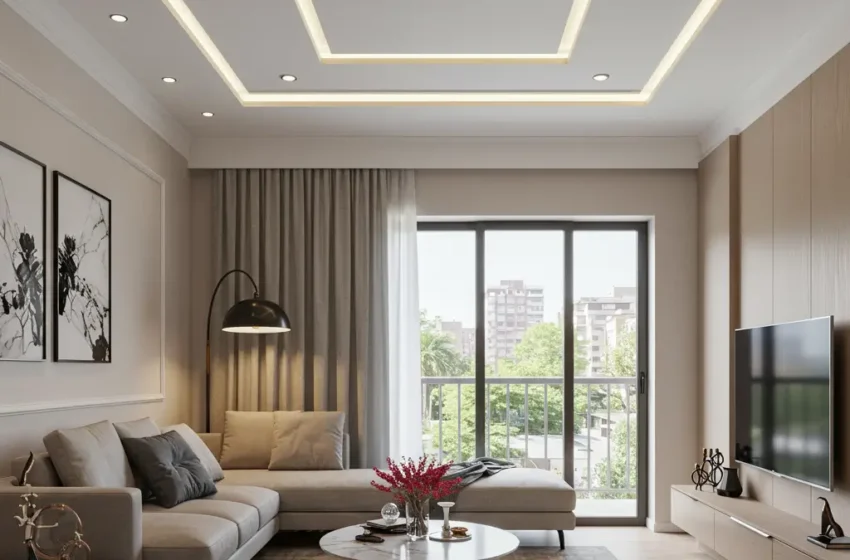
2. LED Strip Border Ceiling
LED strip border ceilings deliver drama with almost zero construction. I created one in my living room using just a simple gypsum border around the room’s perimeter with LED strips tucked behind. The entire installation took one Saturday, and now my living room has that ambient glow that makes everything look better.
The border runs about 12 inches in from the walls and drops down just 4 inches. Behind this lip, LED strips create a continuous line of light that washes the walls and eliminates harsh shadows. It’s like Instagram’s best filter, but for your entire room.
Bright Ideas for Borders
Choose the right LED density for even lighting. I learned this after my first attempt with cheap, sparse LEDs created a dotted effect rather than continuous light. Higher density strips cost more but deliver that smooth, professional look.
Install a dimmer switch – this is non-negotiable. The difference between 100% brightness for cleaning and 20% for movie night completely changes the room’s function. My living room serves triple duty as workspace, entertainment center, and relaxation zone, all controlled by one dimmer.
Consider smart LED strips for ultimate control. I upgraded to app-controlled strips that change color temperature throughout the day. Cool white for morning productivity, warm white for evening relaxation. It sounds fancy but costs barely more than regular strips.
3. Wooden Panel Accent Ceiling
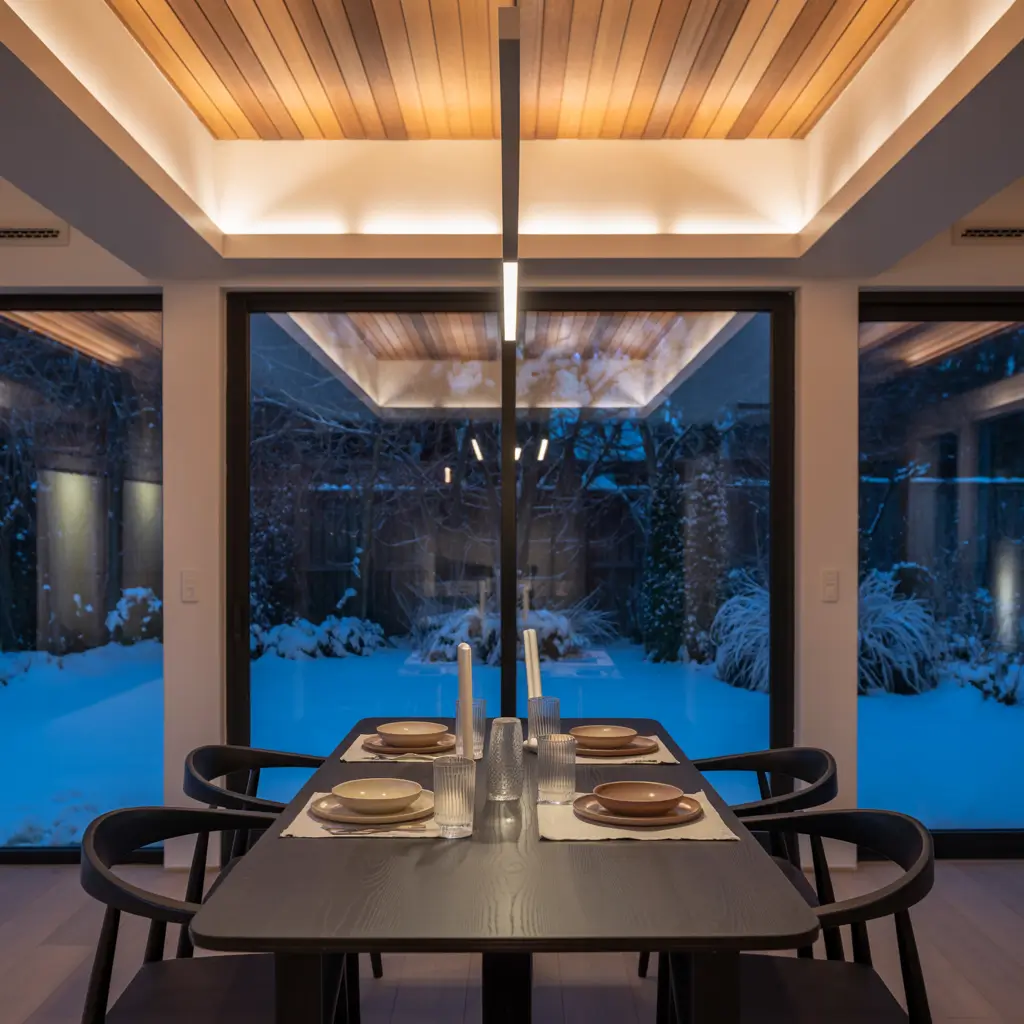
Wooden panel accents on false ceilings bring warmth without complexity. My dining room features a simple false ceiling with three wooden beams running across it, and everyone thinks I spent thousands on “exposed beams.” Reality: they’re hollow faux beams attached to a basic gypsum ceiling.
The combination works because the smooth false ceiling provides the perfect canvas for wooden accents. No need to deal with the actual ceiling’s imperfections or worry about structural support. The false ceiling handles the technical stuff while the wood brings the style.
Wood Without the Worry
Use lightweight faux beams instead of real wood. Real wooden beams are heavy, expensive, and require serious structural consideration. My polyurethane beams look exactly like weathered oak but weigh almost nothing and cost a fraction of real wood.
Create a simple pattern that doesn’t require complex cuts. My three parallel beams run the length of the room – no angles, no intersections, no complicated joinery. Simple, effective, and impossible to mess up.
Pre-stain or paint beams before installation. Trust me, trying to stain beams on the ceiling leads to drips, uneven color, and a very sore neck. Do all the finishing work on the ground where gravity is your friend, not your enemy.
Also Read: 10 Inspiring Gypsum Ceiling Design Ideas and Luxe Room Vibes
4. Geometric Pattern False Ceiling
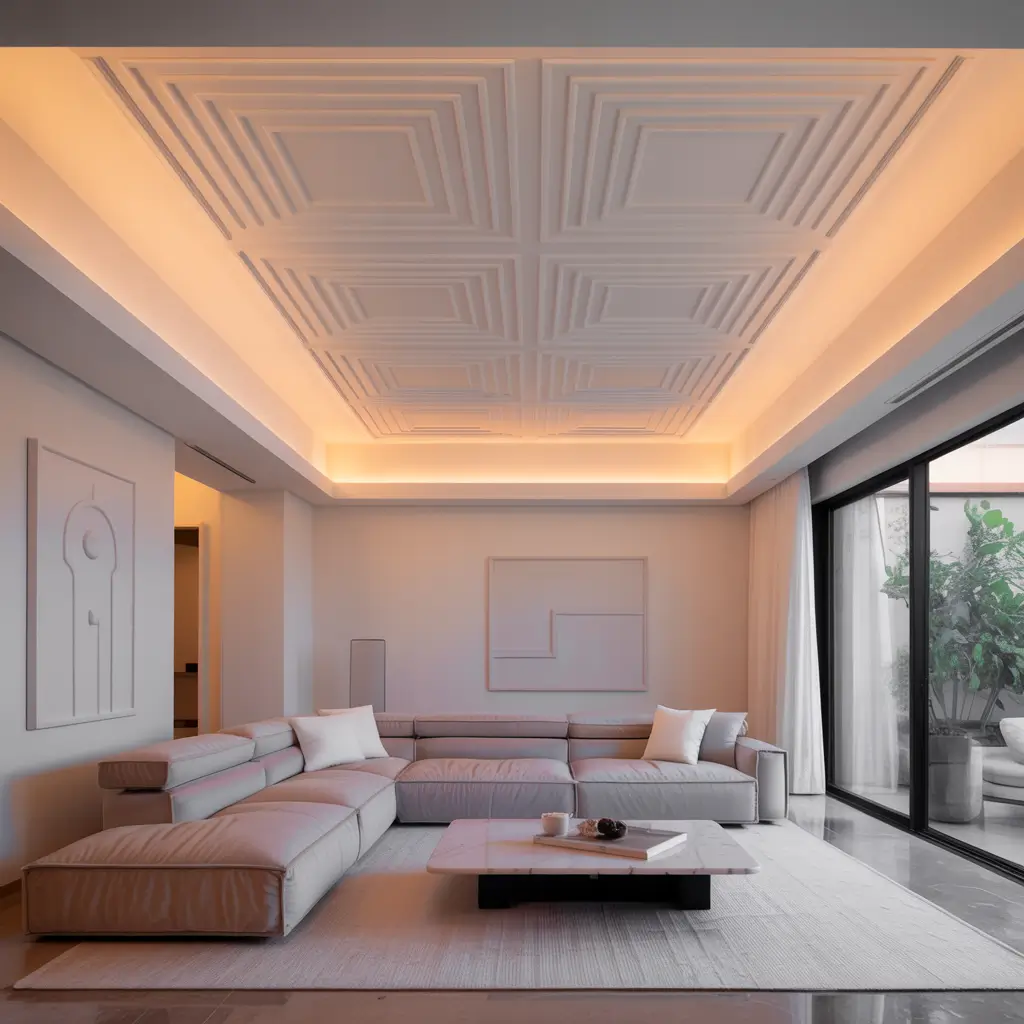
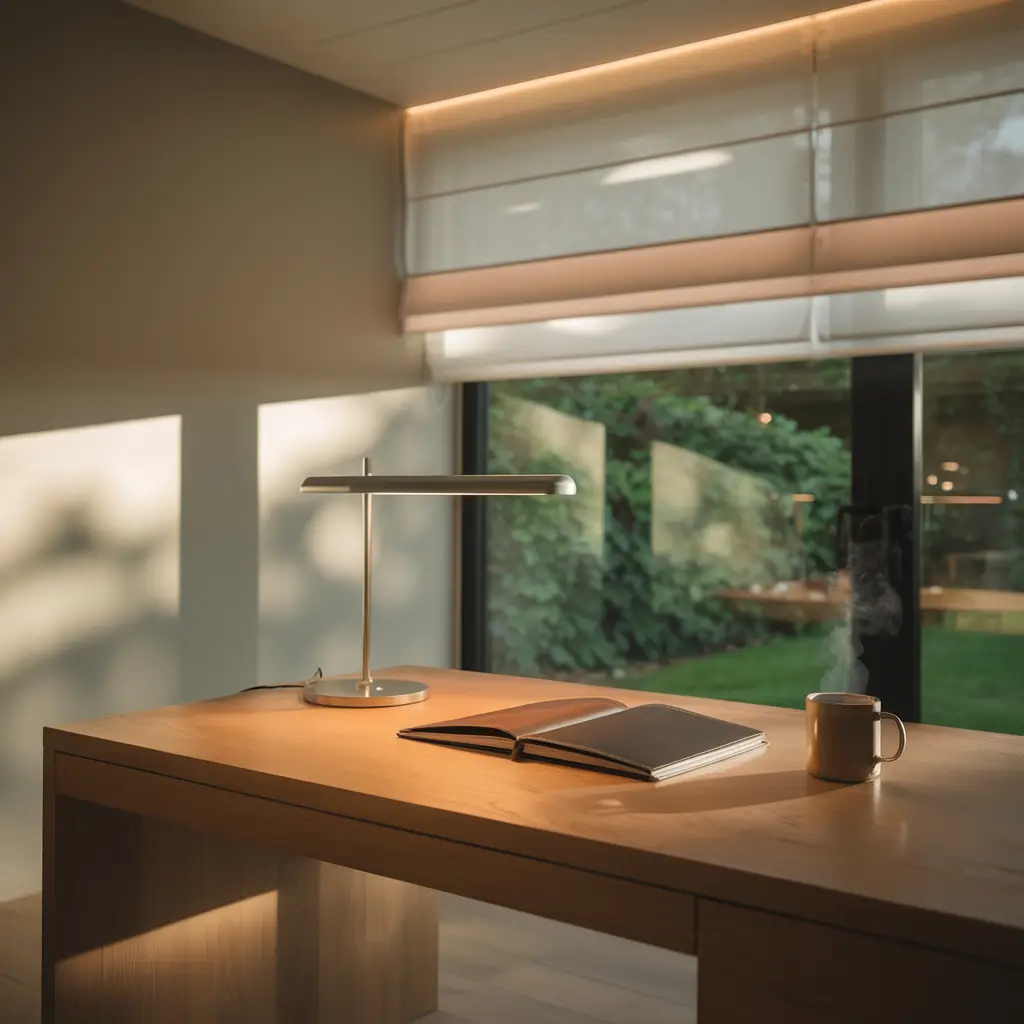
Geometric patterns sound complicated but don’t have to be. My home office has a simple grid pattern created with thin gypsum strips on a flat false ceiling. Nine squares, all the same size, creating subtle visual interest without any complex calculations or cuts.
The pattern adds just enough detail to make the ceiling interesting without overwhelming the space. Each square has a small LED downlight in the center, creating both functional task lighting and emphasizing the geometric design.
Getting Geometric Simply
Stick to basic shapes for your first attempt. Squares and rectangles are your friends. Triangles and hexagons are acquaintances you might hang out with later. Complex polygons? Those are strangers you’re not ready to meet.
Use painter’s tape to visualize patterns before committing. I mapped out my entire grid with blue tape first, lived with it for a week, and adjusted until it felt right. Way easier than installing and then realizing your proportions are off.
FYI, symmetry is key with geometric patterns. My grid has equal spacing between all elements. One off-center square would drive me crazy every single day. Measure everything twice, maybe three times.
5. Cove Lighting Simple Ceiling
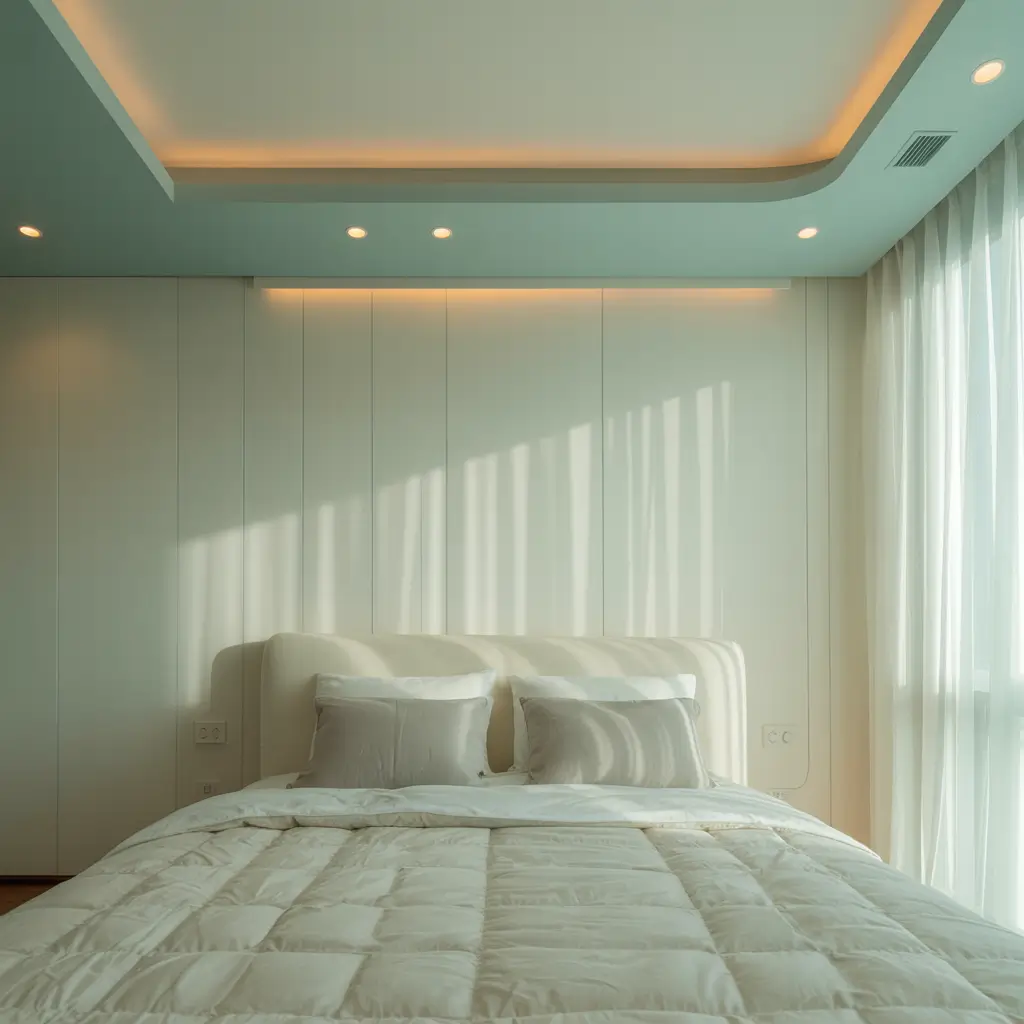
Cove lighting creates luxury hotel vibes with surprisingly simple installation. My master bedroom has a basic cove ceiling – essentially just a recessed channel around the perimeter where LED strips hide. The soft, indirect lighting makes the room feel twice as expensive as it actually is.
The cove doesn’t need to be elaborate. Mine is literally just an L-shaped channel created with two pieces of gypsum board. The horizontal piece creates the ledge, the vertical piece creates the light channel. Simple geometry, stunning results.
Cove Creation Made Easy
Keep your cove dimensions modest for easier construction. My cove extends 8 inches from the wall and drops 6 inches from the ceiling. Bigger coves don’t necessarily look better, but they definitely require more complex framing.
Paint the inside of your cove white for maximum light reflection. I initially left mine the same gray as the ceiling, and it absorbed too much light. A coat of white paint doubled the brightness without changing the LEDs.
Run your electrical before closing up the cove. This seems obvious, but I’ve watched two friends have to partially demolish their beautiful coves because they forgot to run power first. Learn from their pain.
6. Square Recessed Ceiling Design

Square recessed designs create architectural interest with basic box construction. My guest bedroom features one large recessed square in the center of the ceiling, and it completely transformed the bland box room into something that feels designed.
The recessed area is just a simple frame that drops down 6 inches from the main false ceiling. Inside, I installed a modern ceiling fan that now looks like it belongs there rather than just being stuck to the ceiling. The recess creates a natural frame that makes everything look intentional.
Square Success Strategies
Center your square precisely or it’ll haunt you forever. My first attempt was 2 inches off-center, and I couldn’t unsee it. Demolished and rebuilt because that 2-inch error would have annoyed me every single day.
Size your square relative to room dimensions. My 12×12 room has a 6×6 foot recessed square – exactly half the room’s dimensions. This proportion feels balanced and intentional rather than random.
Use the recess for functional elements. Mine houses the ceiling fan, but recesses work great for chandeliers, projector screens, or even just concentrated LED lighting. The frame makes functional elements feel like design choices.
Also Read: 12 Brilliant Luxury Ceiling Design Ideas for Modern Interiors
7. Floating Frame Ceiling
Floating frame ceilings create the illusion of architectural elements without actual structural changes. My hallway has a simple rectangular frame that appears to float 8 inches below the false ceiling, with hidden LED strips making it glow from behind.
The frame is just four pieces of gypsum board joined at the corners, suspended from the false ceiling with hidden brackets. It took half a day to install but makes my boring hallway look like it belongs in a boutique hotel.
Frame It Right
Build your frame proportional to your space. My hallway is 4 feet wide and 12 feet long, so my frame is 3 feet by 10 feet. The border creates visual boundaries without making the space feel smaller.
Hide all mounting hardware for the true floating effect. Visible brackets or wires ruin the illusion. I used L-brackets hidden inside the frame itself – completely invisible from below but rock solid.
IMO, lighting is what sells the floating illusion. Without backlighting, it’s just a box hanging from the ceiling. With proper LED placement, it becomes architectural magic :/
8. Circular Centerpiece Ceiling
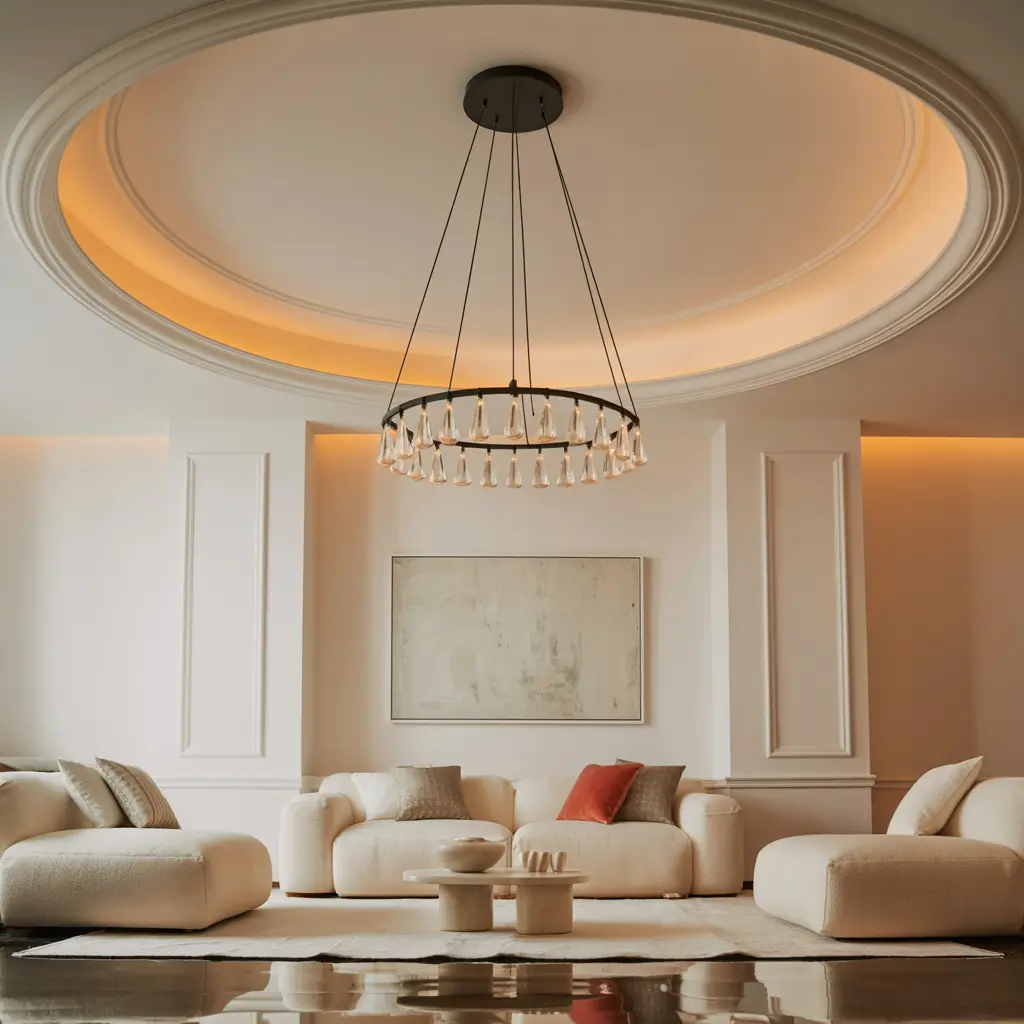
Circular elements soften rectangular rooms beautifully. My daughter’s room has a simple circular recess in the center of an otherwise flat false ceiling, and it completely changed the room’s energy. The curve breaks up all those hard angles and creates a natural focal point.
Creating the circle was easier than I expected. I used flexible gypsum board that bends when dampened, forming a perfect circle with a simple wooden frame as a guide. No complex mathematics, no special tools, just patience and spray bottle.
Circling Back to Simple
Start with a shallow circle for easier construction. My circle drops just 4 inches from the main ceiling – enough to create definition without complex curves. Deeper circles require more bending and increase the chance of cracks.
Use the circle to highlight a central feature. Mine frames a beautiful star projector that my daughter loves. The circular frame makes the projector look built-in rather than just stuck to the ceiling.
Keep the rest of the ceiling simple when you have a circular element. The circle is your statement piece. Additional patterns or designs would compete for attention and create visual chaos.
9. Two-Tone Color False Ceiling
Two-tone ceilings add visual interest without any 3D elements at all. My kitchen has a simple flat false ceiling painted white in the center with a grey border, and this basic color blocking completely transformed the space’s perception.
The color change happens at a natural break created by a thin wooden strip. No complex construction, no levels, just paint and a simple divider. The whole transformation took a weekend and cost less than ordering pizza for a month.
Color Coding Success
Choose colors with enough contrast to matter. My first attempt used two barely different whites, which looked like a painting mistake rather than a design choice. The white and grey combo makes a clear statement.
Use painter’s tape for crisp lines where colors meet. Bleeding paint ruins the effect. I sealed my tape edges with the base color first, then applied the second color. Extra step, but the razor-sharp lines are worth it.
Align color changes with room features. My grey border is exactly 18 inches wide, matching the depth of my kitchen cabinets. This alignment makes the design feel architectural rather than arbitrary.
Also Read: 10 Modern POP False Ceiling Design Ideas for Living Rooms
10. Modern Slatted Wooden Ceiling
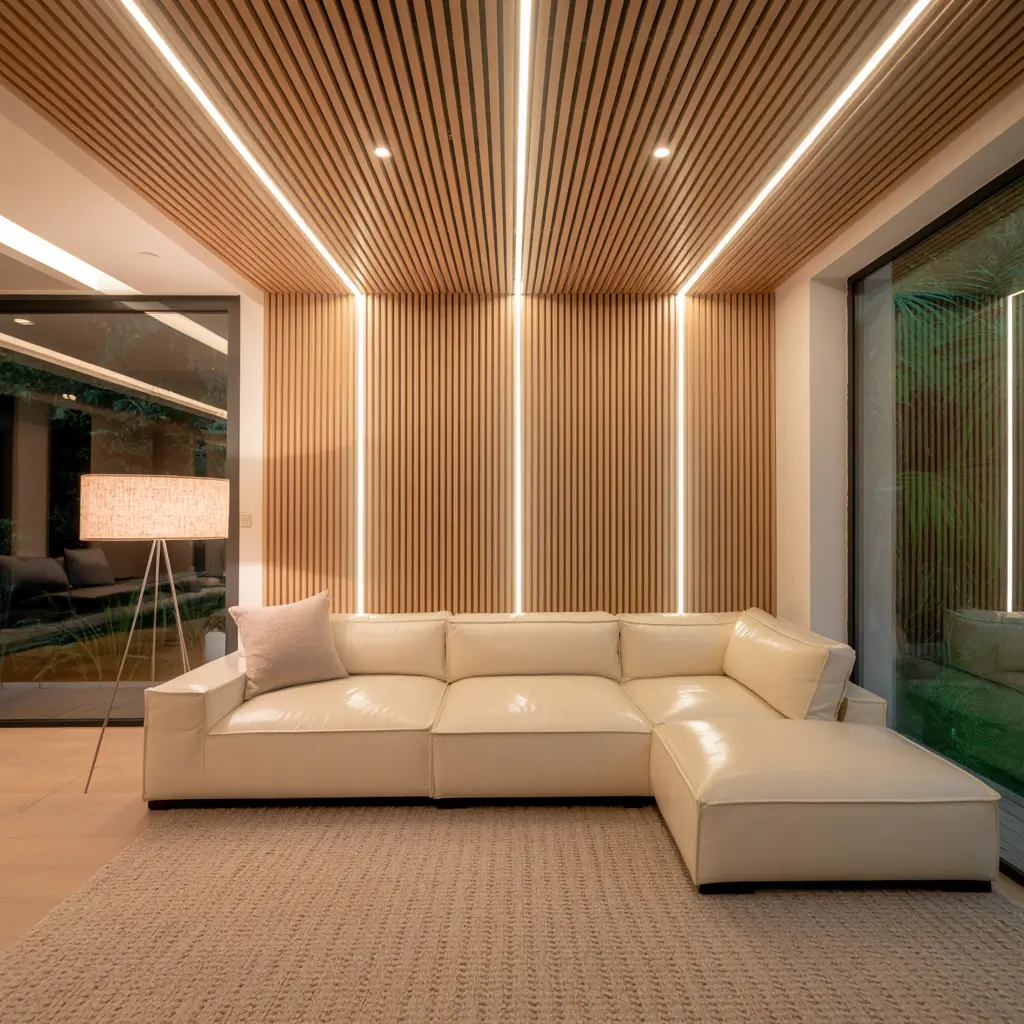
Slatted wooden ceilings bring Scandinavian style without Scandinavian complexity. My breakfast nook features wood-look PVC slats attached to a simple false ceiling frame, and everyone assumes it’s real wood until they touch it.
The slats run parallel with 1-inch gaps between them, and the black false ceiling visible between creates beautiful contrast. The installation was basically like building a fence on the ceiling – simple, repetitive, and oddly satisfying.
Slatted for Success
Use lightweight materials for easier installation. Real wood slats are beautiful but heavy and expensive. My PVC slats look identical to oak but weigh nothing and cost a third of real wood.
Maintain consistent spacing between slats. I made a simple spacer block from scrap wood to ensure every gap was exactly 1 inch. Inconsistent spacing looks sloppy and draws the eye to mistakes rather than the overall design.
Run slats perpendicular to the longest wall to widen narrow spaces. My narrow breakfast nook feels twice as wide with slats running across rather than lengthwise. It’s an optical illusion that actually works.
Your Simple Ceiling Awaits
There you have it – ten simple false ceiling designs that prove you don’t need complexity to create impact.
Each of these ideas can transform a room from forgotten to fantastic without requiring professional skills or professional budgets.
The key to simple false ceiling success? Start with the simplest design that appeals to you and build confidence from there.
My journey began with a basic LED border and evolved into more adventurous projects as I learned what worked.
Remember that “simple” is relative to your skill level. What seems simple after five projects might feel overwhelming on your first attempt.
Start where you’re comfortable, learn as you go, and don’t be afraid to ask for help when you need it.
Your ceiling doesn’t have to remain that boring fifth wall you ignore. With these simple false ceiling ideas and a weekend of effort, you can create something that makes you smile every time you look up.
And honestly, isn’t that worth more than scrolling through another renovation show you’ll never actually replicate? Time to stop looking at other people’s ceilings on Instagram and start creating your own! 🙂


