12 Creative DIY Closet Shelves Ideas and Stylish Organization
- Floating Shelves
 Ben
Ben- 0
- 30 minutes read
Your closet looks like a crime scene where clothes attacked each other, right? I’ve been there – staring into the chaos every morning, knowing I own thirty shirts but can only see five because the rest disappeared into the black hole behind the ones on hangers.
That was me until I discovered that DIY closet shelves could transform my disaster zone into something that actually functions.
Here’s the beautiful truth about DIY closet shelving: you don’t need carpentry skills or a trust fund to make it happen.
After building shelves in five different closets (including one spectacular failure involving crooked cuts and creative swearing), I’ve figured out what actually works for real people with real budgets and questionable measuring skills.
Let me save you from my mistakes and show you the shelf solutions that’ll make you wonder why you lived with closet chaos for so long.
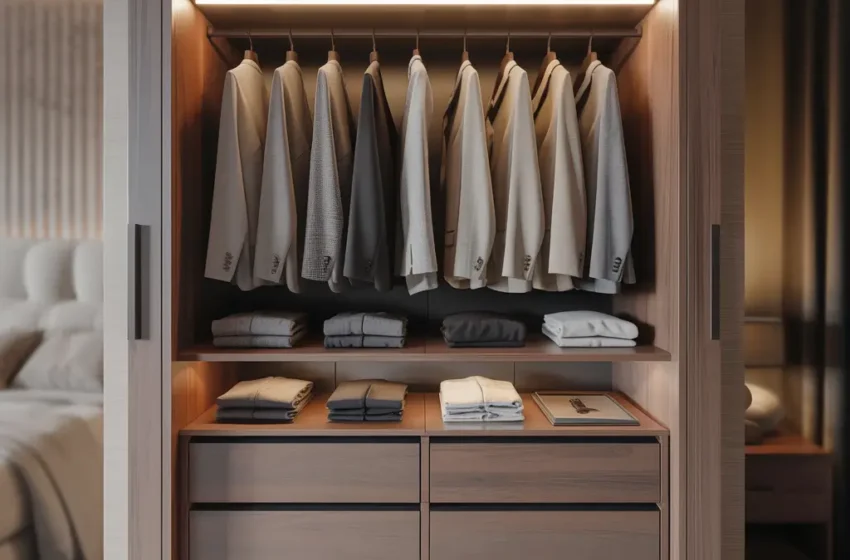
Floating Closet Shelves for Small Spaces: The Minimalist’s Best Friend
Floating shelves in small closets are like finding hidden storage you didn’t know existed. They use vertical space without eating up precious floor area, which matters when your closet is roughly the size of a shoebox. I installed floating shelves in my tiny apartment closet, and suddenly I had room for folded sweaters instead of the precarious tower system I’d been using.
The invisible bracket system makes these shelves look like they’re defying gravity, which creates a cleaner, more spacious feel. Your closet goes from cramped storage unit to boutique dressing room with just a few well-placed floating shelves.
Building Your Floating Shelf Empire
Start with quality brackets rated for real weight. I cheaped out on my first attempt and watched my shelf slowly bow like a sad smile over three weeks. Now I use heavy-duty brackets designed for closets, where clothes and shoes create surprising weight.
The depth matters more in closets than anywhere else. Too deep and you can’t reach items in the back. Too shallow and folded jeans hang over the edge. I’ve found that 12-14 inches works perfectly for most clothing items while keeping everything accessible.
Install multiple shorter shelves rather than one long one. This prevents sagging in the middle and lets you customize heights for different items. My setup has three 36-inch shelves at varying heights, and I can actually see and access everything now. Revolutionary, I know.
Rustic Wooden DIY Closet Shelves: The Character Addition
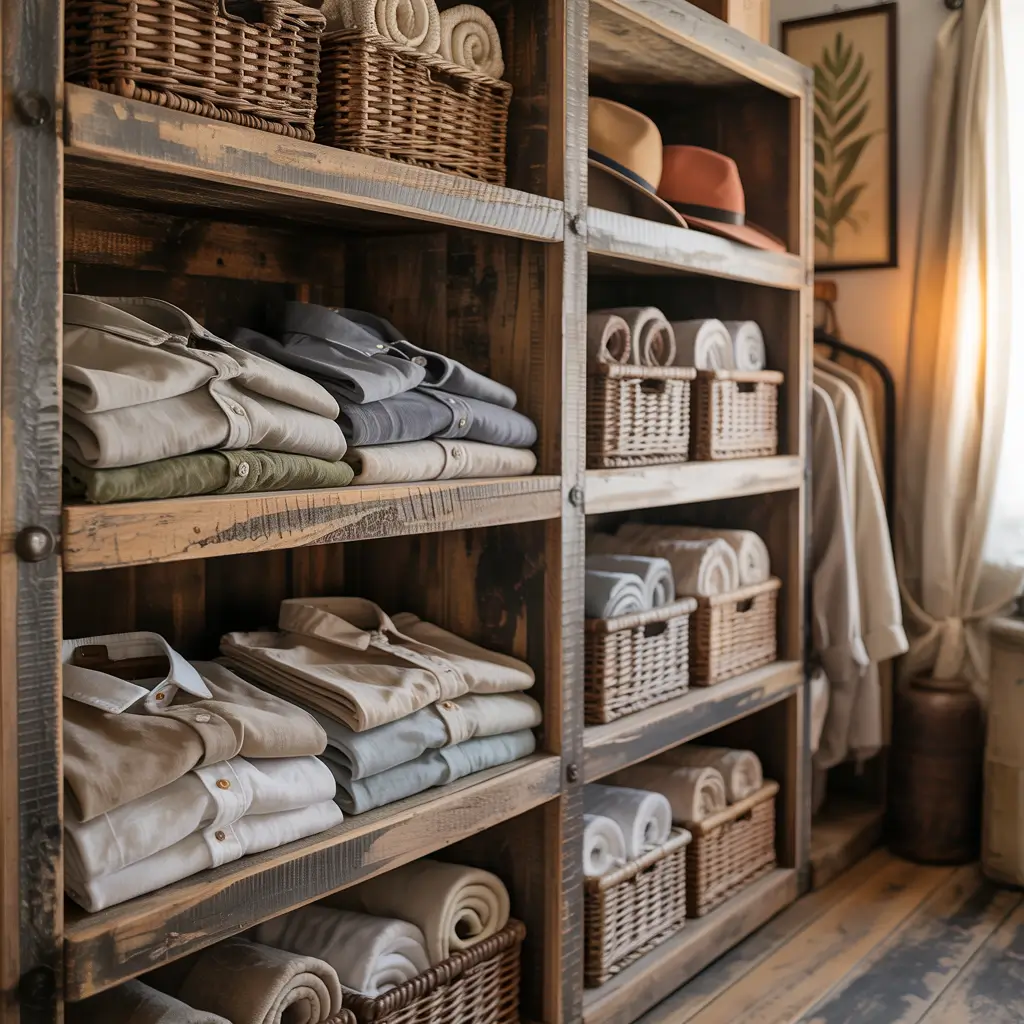
Rustic wooden shelves bring warmth to closets that typically feel cold and utilitarian. I built mine from pine boards stained with a walnut finish, and now opening my closet feels less like accessing storage and more like entering a cozy cabin. Even my socks seem happier in there.
The best part about rustic shelves? Imperfections add to the charm rather than ruining the look. That slightly uneven cut or the knot in the wood becomes character, not failure. Perfect for those of us whose DIY projects rarely turn out perfect.
Creating Your Rustic Closet Retreat
Choose your wood based on budget and availability. Pine is affordable and easy to work with, making it perfect for beginners. I started with pine and haven’t felt the need to upgrade – it holds up beautifully and takes stain like a dream.
Sand more than you think necessary. I skipped thorough sanding once and ended up with splinters in my favorite cashmere sweater. Now I sand with 120-grit, then 220-grit, then touch everything with my bare hands to check for rough spots.
Seal the wood to protect against moisture from clothes. Closets get surprisingly humid, especially if you hang damp towels or recently worn items. Three coats of polyurethane keep my shelves looking new after two years of daily use.
Adjustable Closet Shelving on a Budget: The Flexible Solution
Adjustable shelving is genius for closets because your storage needs change over time. What worked for summer tank tops doesn’t work for winter sweaters. I built my adjustable system for under $75, and I’ve reconfigured it three times to accommodate different wardrobes.
The track and bracket system lets you move shelves up or down in minutes. No new drilling, no permanent commitments, just flexibility when you need it. It’s like having a closet that grows with your life changes.
Making Adjustability Work
Install the tracks first, then plan shelf positions. I made the mistake of planning shelves then trying to fit tracks around them. Starting with tracks properly installed makes everything else infinitely easier.
Buy extra shelf brackets from the start. They’re cheap, and having extras means you can add or reconfigure shelves without hunting down matching hardware. I keep spare brackets in a drawer for whenever inspiration or necessity strikes.
Use plywood for the shelves themselves to keep costs down. I bought one 4×8 sheet and had it cut at the hardware store for free. This gave me six shelves for about $40. Add some edge banding to hide the plywood layers, and they look surprisingly professional.
Also Read: 10 Beautiful Store Shelves Design Ideas and Eye-Catching Displays
Corner Closet Shelf Hacks: The Dead Space Revival
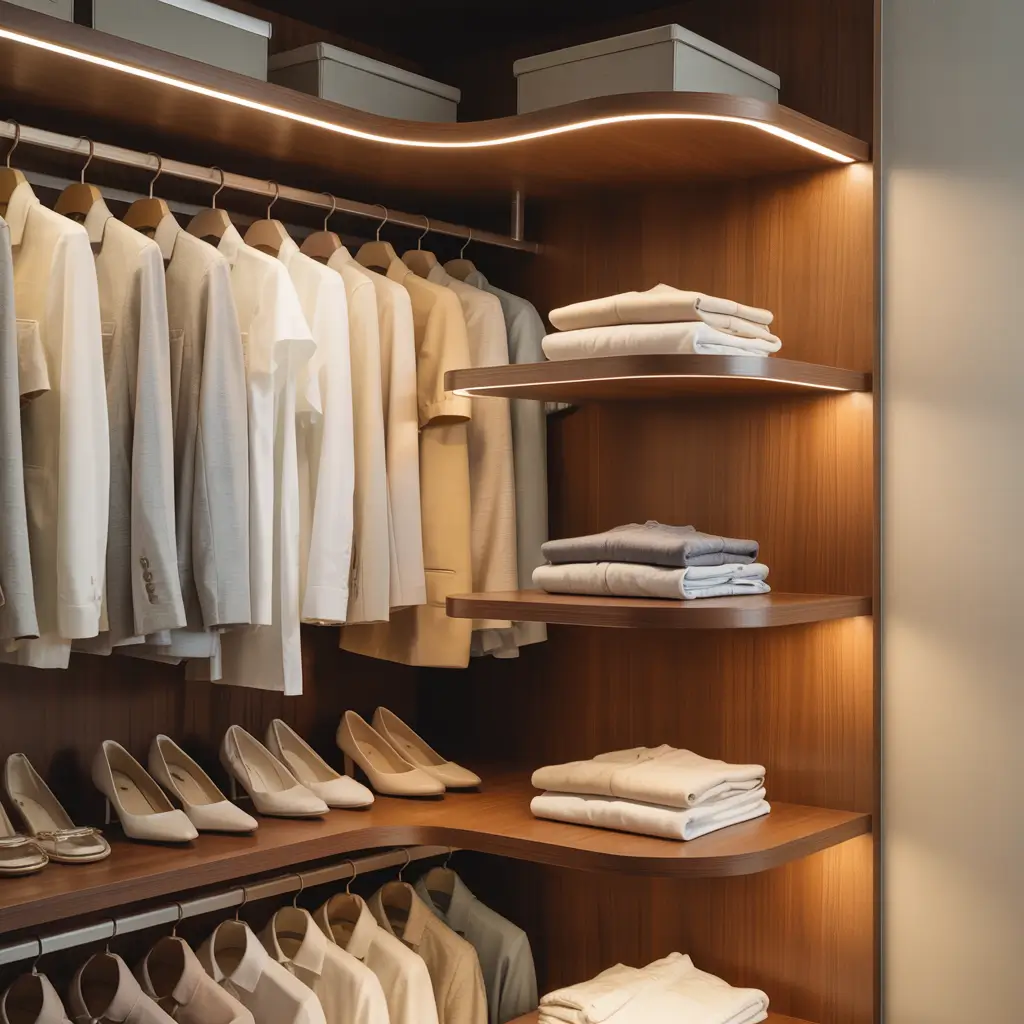
Corner spaces in closets are where clothes go to die, forgotten and unreachable. Corner shelves turn this dead zone into prime real estate. My walk-in closet had two useless corners until I built custom corner shelves – now they hold my entire purse collection.
The key is making corners accessible rather than just filled. A shelf you can’t reach might as well not exist. I learned this after building a beautiful corner shelf that required gymnastics to access anything beyond the front row.
Conquering Closet Corners
Curved corner shelves work better than square ones meeting at an angle. The curve brings items forward, making everything reachable. I built mine with a gentle radius using a homemade compass (string, pencil, and a nail). Fancy tools optional!
Consider pull-out corner shelves for deep closets. These slide forward, revealing everything stored in the back. I built mine on drawer slides, and now I actually use that back corner space instead of treating it like a black hole.
Light your corners properly. Dark corners hide items, making them pointless. I added battery-operated LED strips under my corner shelves, and suddenly I can see what I’m storing. Game changer for actually using the space.
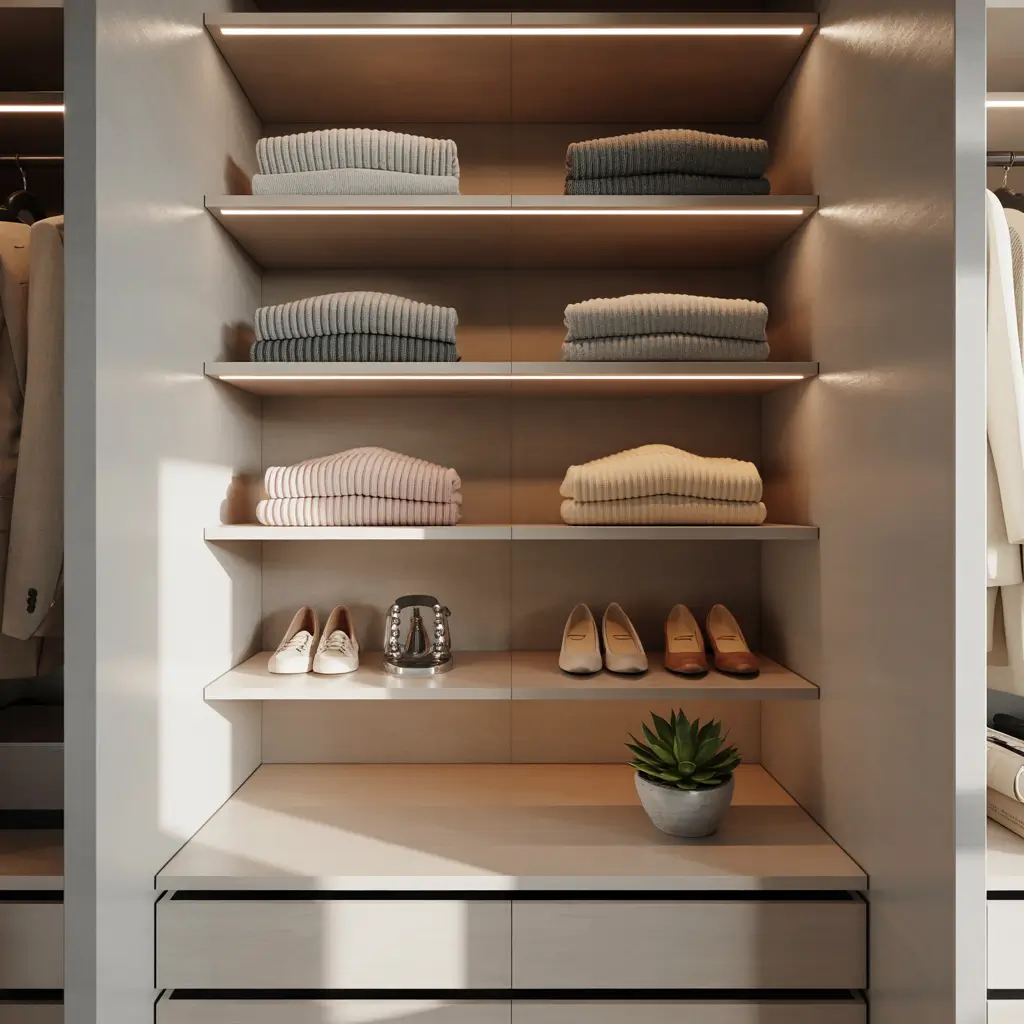
Minimalist White Closet Shelf Ideas: The Clean Slate Approach
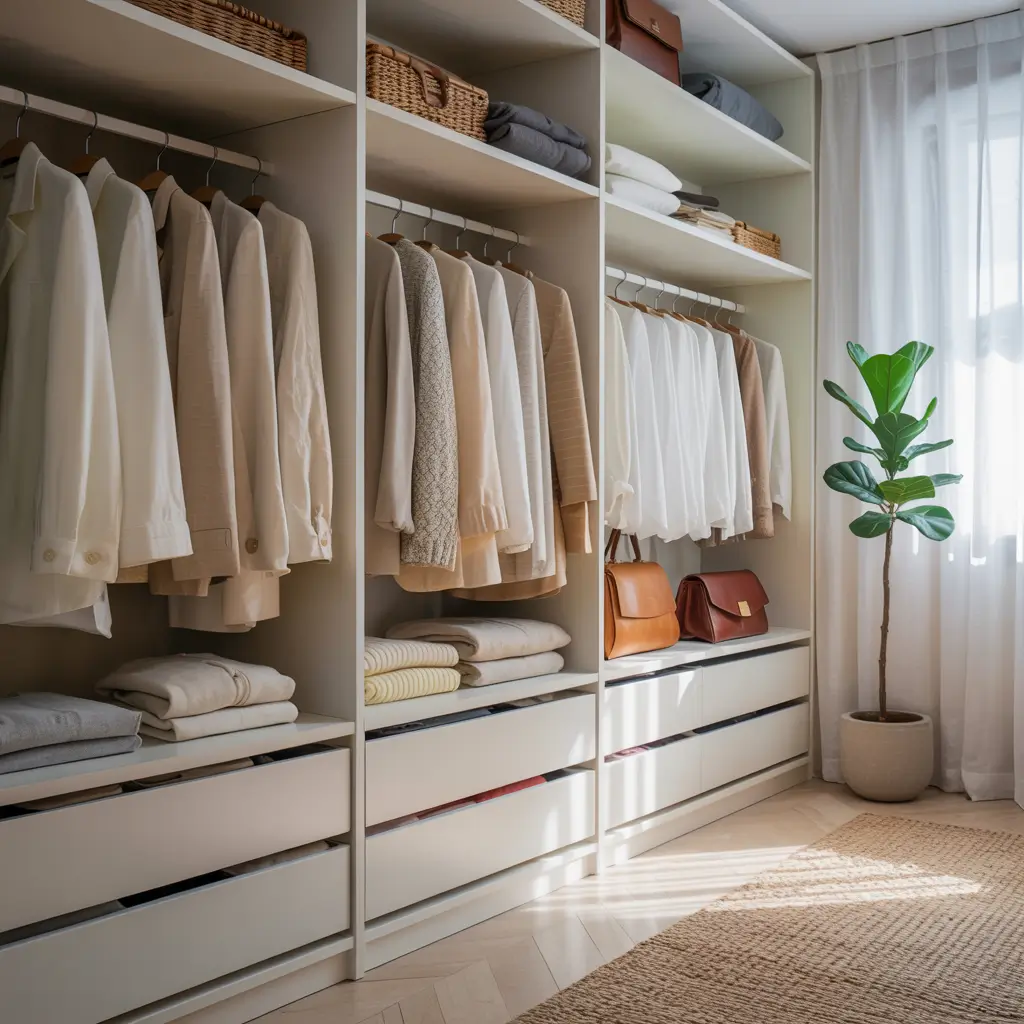
White shelves make closets feel bigger, brighter, and more organized – even when they’re not perfectly organized. I painted my closet shelves white last year, and the transformation made me feel like I’d moved into a luxury apartment. Same closet, just white shelves. The power of paint!
The monochrome backdrop lets your clothes become the color story. Everything pops against white, making it easier to spot what you’re looking for during frantic morning searches.
Achieving Minimalist Perfection
Prime before painting white shelves. I skipped this step on my first attempt, and the wood grain bled through the white paint like a ghost haunting my minimalist dreams. Primer blocks stains and creates an even white finish.
Use semi-gloss or satin finish paint for closet shelves. Flat paint shows every mark and scuff. Semi-gloss wipes clean and reflects light, making the space feel brighter. I touch up my white shelves every six months with leftover paint – takes ten minutes and keeps them looking fresh.
Keep the hardware minimal and matching. Black or chrome brackets look sleek against white. I went with matte black brackets, and the contrast creates a modern look without overwhelming the minimalist vibe.
DIY Hanging Closet Shelves: The Suspended Storage Solution
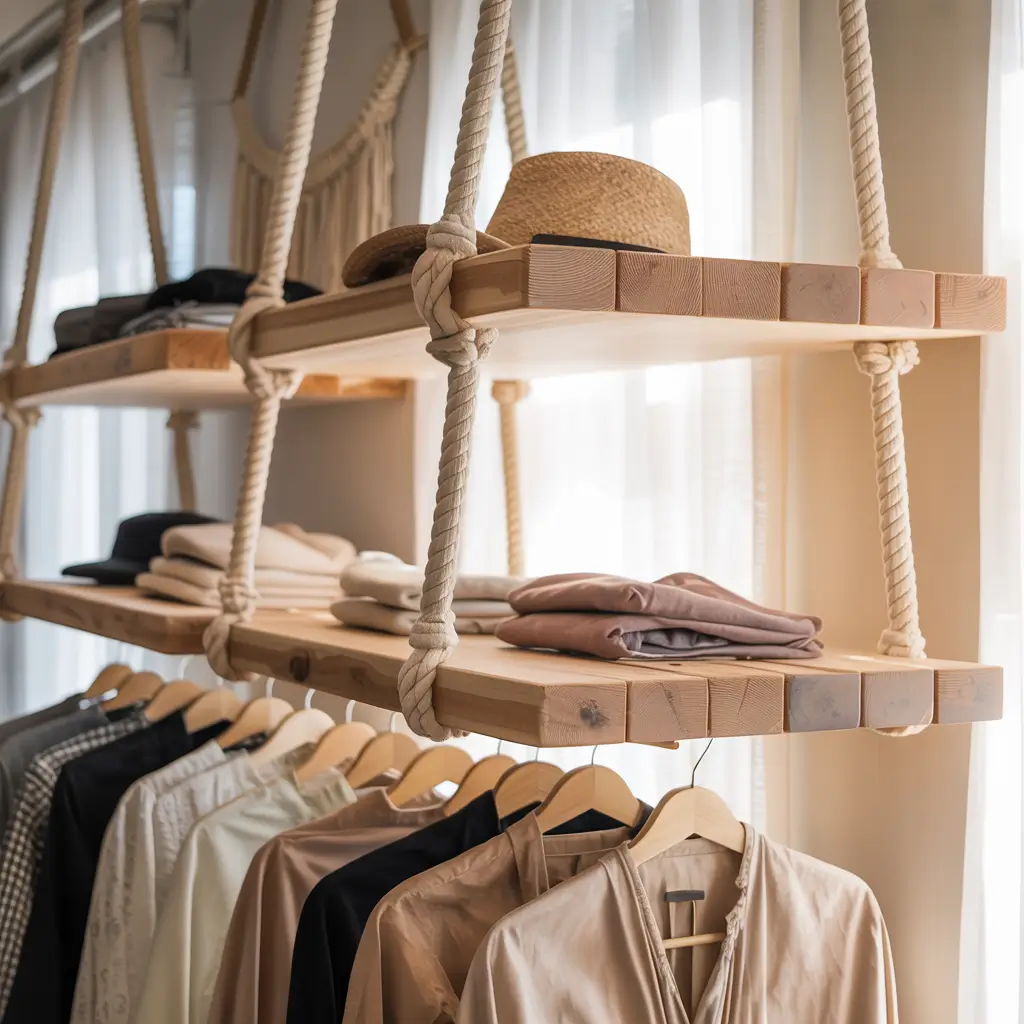
Hanging shelves that suspend from your closet rod are perfect for renters or commitment-phobes. No drilling, no permanent installation, just instant shelving that moves with you. I used these in my rental apartment and took them with me when I moved. Three apartments later, they’re still going strong.
The fabric or canvas construction makes them lightweight and flexible. They conform to your closet’s quirks instead of requiring your closet to be perfect. My slightly slanted closet rod? Not a problem with hanging shelves.
Hanging Shelf Success Strategies
Choose sturdy fabric over cheap mesh. I tried the dollar store mesh shelves first and watched them sag pathetically under the weight of two sweaters. Canvas or thick polyester holds up way better and doesn’t look sad.
Add cardboard inserts to keep shelves rigid. Most hanging shelves include these, but they slip out over time. I cut custom cardboard pieces and secure them with clear packing tape. This keeps shelves from turning into hammocks.
Reserve hanging shelves for lighter items. These aren’t meant for your entire book collection. I use mine for t-shirts, pajamas, and accessories – things that won’t stress the fabric or rod. Heavy items go on built-in shelves.
Also Read: 12 Elegant Plant Shelves Ideas and Minimalist Styling
Closet Shelves with Built-In Drawers: The Hidden Storage Heroes

Shelves with integrated drawers combine display and concealment perfectly. Some items deserve to be hidden – I’m looking at you, random collection of phone chargers and mystery cables that might be important someday. My closet shelf-drawer combo keeps the chaos contained.
Building drawers into shelving sounds complicated but isn’t. I created mine using basic drawer slides and plywood boxes. The satisfaction of smoothly sliding drawers I built myself never gets old, even after two years.
Drawer-Building for Beginners
Start with simple boxes before attempting fancy joinery. My first drawers used butt joints and wood glue. Not pretty, but completely functional and hidden inside the closet anyway. Fancy dovetails can wait until you’re confident.
Buy quality drawer slides – this isn’t the place to save money. Cheap slides bind, stick, and generally make you regret building drawers. I use full-extension ball-bearing slides that cost $8 per pair. Worth every penny.
Size drawers based on what you’ll store. I made one drawer too deep, and now it’s a bottomless pit where small items disappear. Shallow drawers (4-6 inches) work better for most closet items – you can actually see what’s inside.
Repurposed Crates as Closet Shelves: The Eco-Chic Solution
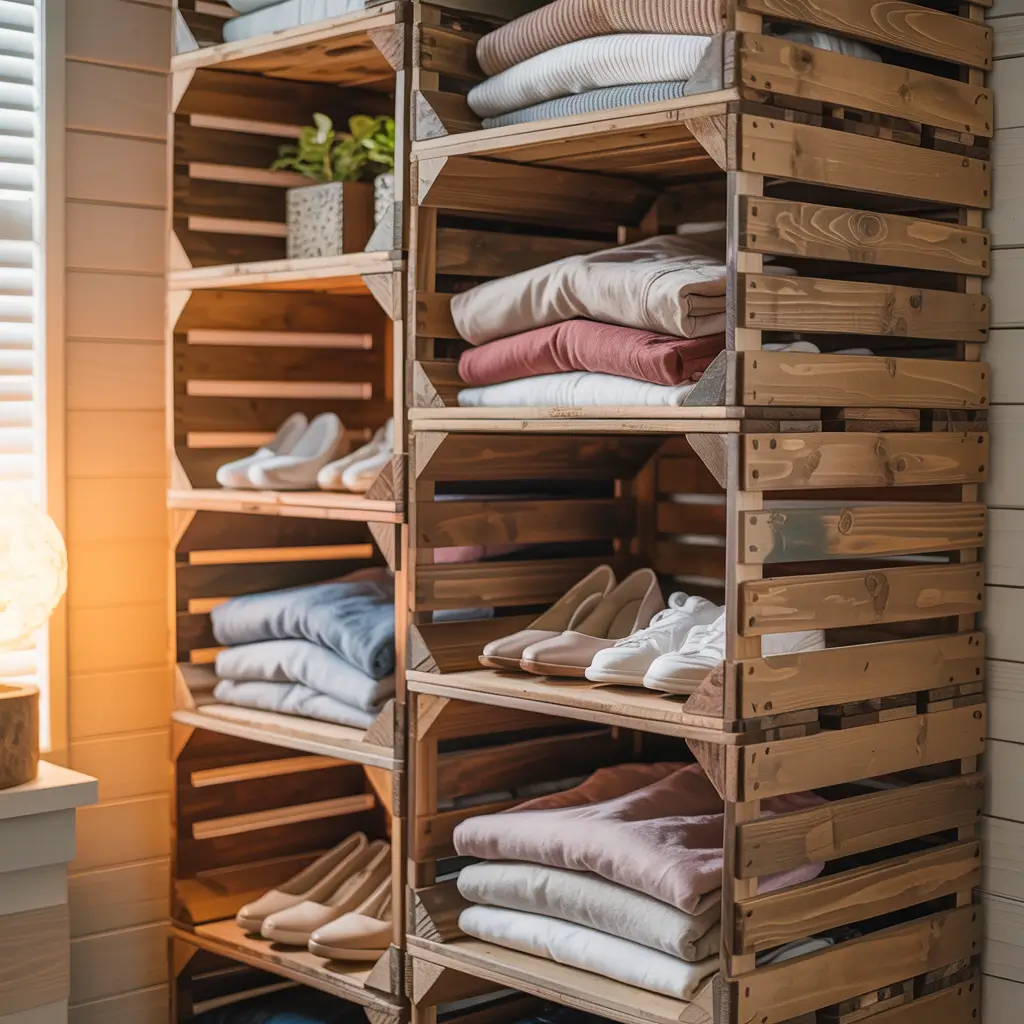
Wooden crates make fantastic closet shelves with zero building required. I found six matching crates at a flea market for $20 total, stacked and secured them, and had instant rustic shelving. The project took maybe an hour including securing them to the wall.
The open sides create built-in compartments perfect for organizing by category. Each crate becomes its own zone – scarves in one, belts in another, gym clothes in a third. Visual organization without buying fancy dividers.
Crate Shelf Assembly Made Simple
Secure crates to each other and the wall. Stacking alone isn’t safe, especially in closets where you’re pulling items out daily. I use L-brackets to connect crates and wall anchors to secure the stack. Stability matters when clothes are involved.
Mix crate orientations for visual interest. Some openings facing forward, others to the side, creates a dynamic look. I alternate orientations in my stack, and it looks intentional rather than like I just stacked boxes and called it done.
Line crate bottoms with fabric or shelf liner. Raw wood can snag delicate clothes. I cut shelf liner to size for each crate – took fifteen minutes and protects my clothes from splinters. Plus it adds a pop of color when you open the closet.
Modern Industrial Closet Shelf Design: The Pipes and Wood Aesthetic
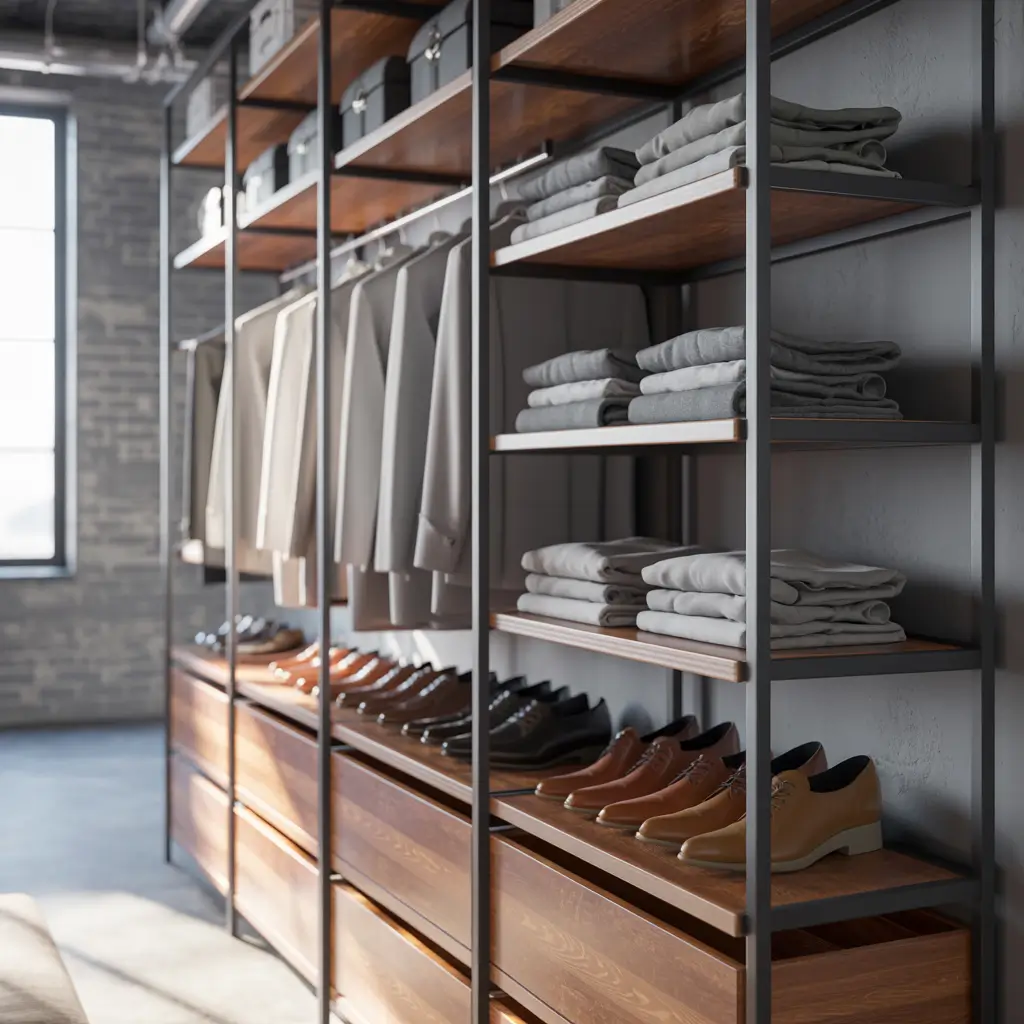
Industrial pipe shelving in closets brings that urban loft vibe I can’t afford to live in but can fake in my closet. Black pipes with wood shelves create a masculine-meets-functional look that makes getting dressed feel like browsing a high-end boutique. I installed these in my partner’s closet, and now he actually enjoys organizing his clothes.
The exposed hardware becomes part of the design rather than something to hide. Every joint, elbow, and flange contributes to the industrial aesthetic. It’s like your closet went to Brooklyn and came back cooler.
Piping Your Way to Cool
Plan your pipe configuration completely before buying anything. I sketched mine out, made a detailed parts list, and still forgot crucial connectors. Buy extras of elbows and tees – having extras beats making three trips to the hardware store.
Black iron pipes look best but show every fingerprint and water spot. I seal mine with clear matte polyurethane to protect against moisture and make cleaning easier. Unsealed pipes can rust in humid closets, which isn’t the industrial look anyone wants.
Keep clothing rod height standard (around 65-68 inches) even with industrial design. I got creative and hung mine at 72 inches because it “looked better.” Reaching for shirts every morning while half-asleep made me regret that artistic choice. Function first, aesthetics second :/
Also Read: 10 Smart Bathroom Shelves Over Toilet Ideas for Small Spaces
Closet Shelf Organizer for Shoes & Accessories: The Specialized System
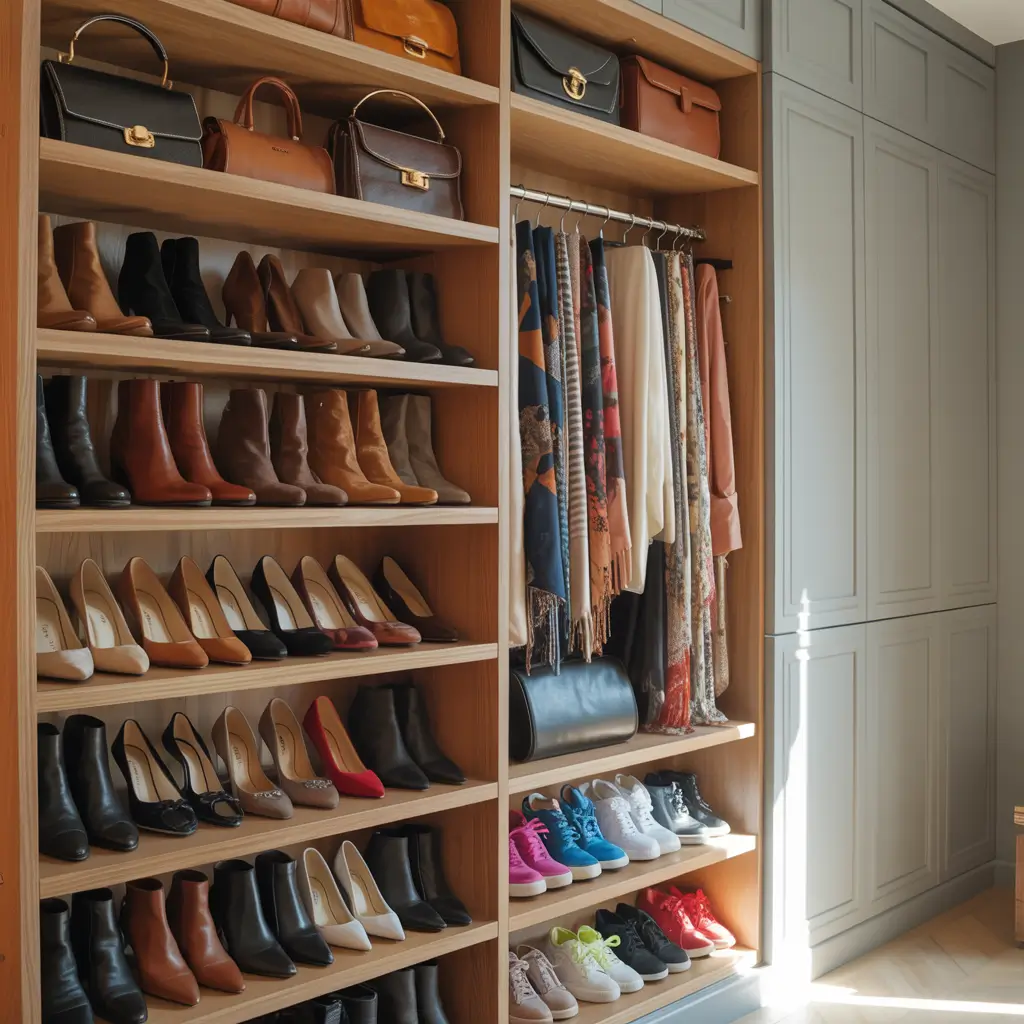
Dedicated shoe and accessory shelves prevent the pile-up problem that makes finding the left shoe impossible. I built angled shoe shelves in my closet, and my mornings got 10 minutes shorter because I stopped playing hide-and-seek with footwear.
Customizing shelf height and angle for specific items works better than general shelving. Shoes need different spacing than purses, which need different support than jewelry. Specialized shelving acknowledges this instead of forcing everything into uniform boxes.
Organizing the Small Stuff
Angled shoe shelves display shoes while using vertical space efficiently. I built mine at a 15-degree angle – steep enough to see all shoes at once, gentle enough that they don’t slide off. Each pair gets its own spot, ending the single-shoe mystery.
Install narrow shelves for accessories. My belt and scarf shelf is only 6 inches deep, mounted high on the wall. This uses otherwise wasted space and keeps accessories visible instead of tangled in a drawer.
Add small dividers to keep items separated. I use tension rods turned sideways to create purse dividers. They hold bags upright and prevent the avalanche that happens when you pull one purse from a pile of six.
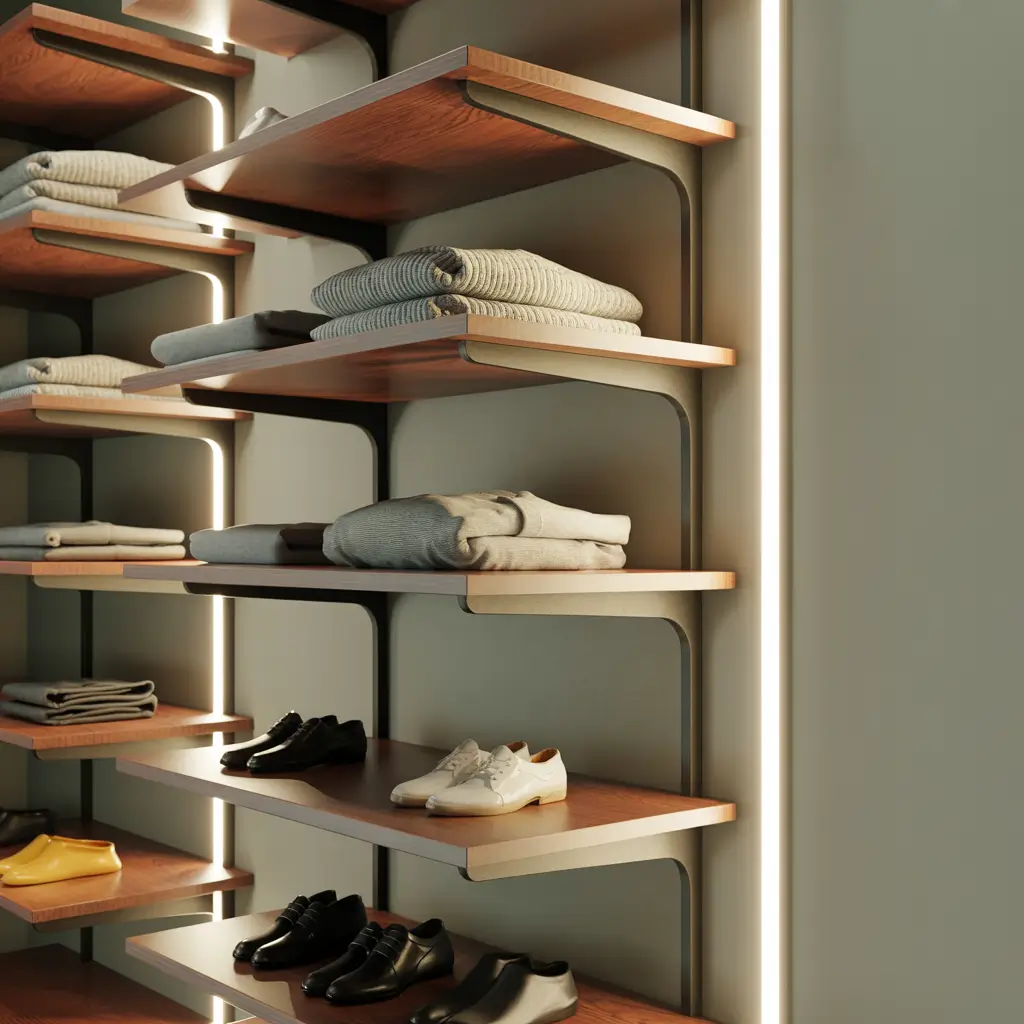
Space-Saving Vertical Closet Shelves: The Ceiling-High Solution
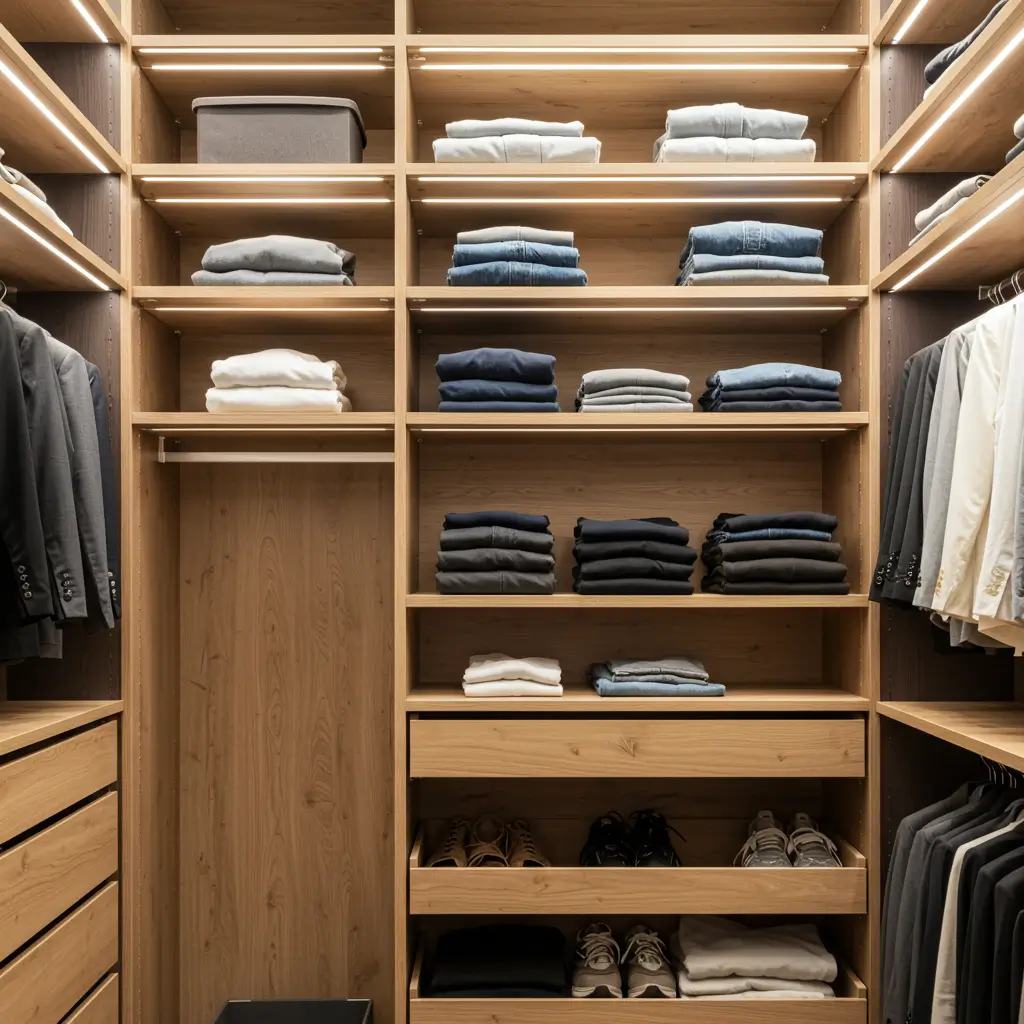
Vertical shelves that run floor to ceiling maximize every inch of closet height. My ceilings are 8 feet tall, but I’d only been using about 5 feet of that space. Adding shelves all the way up gave me 60% more storage without expanding the closet’s footprint.
Going vertical draws the eye upward and makes closets feel taller and more spacious. Even though you’re adding storage, the room doesn’t feel more cramped. It’s organizational magic based on simple visual psychology.
Building Upward Successfully
Reserve high shelves for seasonal or rarely used items. I keep winter coats up high in summer, beach stuff up there in winter. Daily items live in the sweet spot between hip and shoulder height for easy access.
Invest in a good step stool that lives in or near the closet. I bought a folding two-step stool that hangs on the closet door. Having it immediately accessible means I actually use those high shelves instead of avoiding them.
Install shelves at varied heights based on what you’re storing. I have tighter spacing in my t-shirt zone, wider gaps for bulkier items like handbags. This customization uses vertical space more efficiently than uniform spacing would.
Custom L-Shaped DIY Closet Shelves: The Corner Connector

L-shaped shelves that wrap around corners create continuous storage that makes closets feel more built-in and expensive. I installed these in my walk-in closet, connecting two walls with one flowing shelf system. The transformation made my DIY look professionally installed.
The wraparound design eliminates dead corner space while creating visual flow. Your eye follows the shelf around the corner, making the closet feel cohesive rather than like a collection of separate storage solutions.
L-Shaped Success Strategies
Build each wall’s section separately, then connect at the corner. I tried building one massive L-shaped unit and couldn’t get it into the closet. Two separate pieces that join in place worked infinitely better and actually fit through the door.
Use a biscuit joiner or pocket screws for corner connections. These create strong joints that won’t sag over time. I used pocket screws on my L-shaped shelves, and the corners are still perfectly aligned three years later.
Ensure the corner is properly supported. The meeting point bears stress from two directions. I added an extra bracket right at the corner joint. This prevents sagging and gives me confidence to load up both shelf sections without worry.
Your DIY Closet Transformation Starts Now
Here’s what I’ve learned after building shelves in more closets than I can count: the perfect closet shelving system is the one you’ll actually maintain and use.
I’ve built gorgeous setups that I never kept organized because they were too fussy. Now I prioritize function, then make it pretty.
Start with your most annoying closet problem and solve that first. Can’t find shoes? Build shoe shelves. Sweaters everywhere? Add folding shelves. Don’t try to solve every organizational issue at once or you’ll get overwhelmed and quit.
Remember that DIY closet shelving is forgiving. If you mess up a measurement, you can usually adjust or rebuild without major expense.
I’ve redone sections, moved shelves, and completely reconfigured systems. That’s the beauty of DIY – you’re not locked into anything permanent.
FYI, your first project won’t be perfect, and that’s completely fine. My first closet shelf was crooked, used way too many screws, and definitely didn’t look “professionally installed.”
But it held my clothes, solved my storage problem, and taught me enough to make the next one better. Start somewhere, learn from mistakes, and enjoy finally having a closet that works for you instead of against you.
Your future organized self will thank you every single morning!


