Taming the Inferno: Temperature of Wood Burning Stove Mastery

There’s a primal satisfaction in warming your home with a wood-burning stove. The crackle of the logs and the radiant heat create an ambiance that modern heating can’t match. Yet, the difference between a cozy, efficient stove and a dangerous, wasteful one boils down to a single factor: temperature. Understanding and controlling the temperature of your wood burning stove is not just a technicality—it’s the essential skill that ensures safety, maximizes efficiency, and extends the life of your appliance. This comprehensive guide will equip you with the knowledge to master your wood stove, transforming you from a casual user into a confident expert.
Chapter 1: The Blueprint of Heat – Understanding Your Wood Stove’s Anatomy
Before we dive into gauges and numbers, it’s crucial to understand where that heat comes from and how it moves. A wood stove is a sophisticated system, and each component plays a vital role in managing temperature.
The Firebox: The Heart of the Inferno
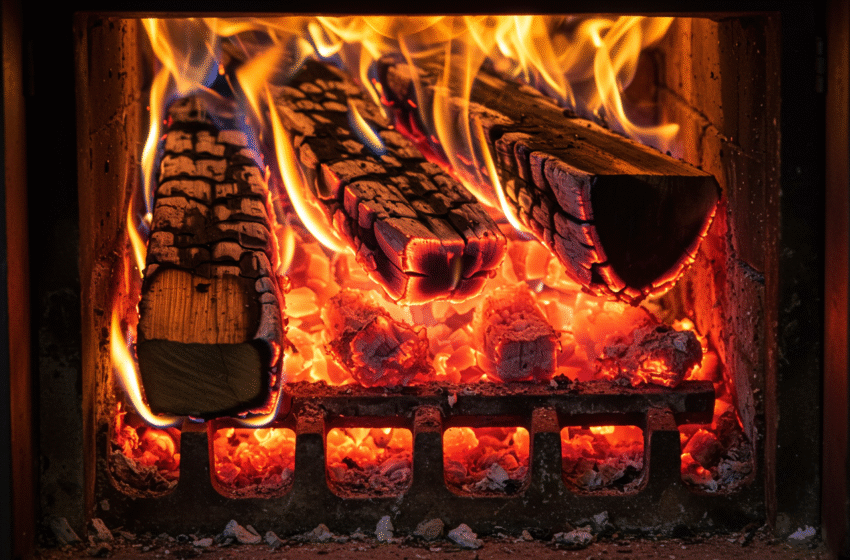
The firebox is the primary combustion chamber where wood is loaded and burned. Constructed from heavy-duty materials like steel, cast iron, or soapstone, it’s designed to withstand extreme heat. This is where temperatures are at their highest, capable of reaching a staggering 800°F to 1200°F (427°C to 649°C) . The material of your firebox influences how heat is stored and radiated. Cast iron and steel heat up quickly, while soapstone heats slowly but releases heat steadily over a much longer period.
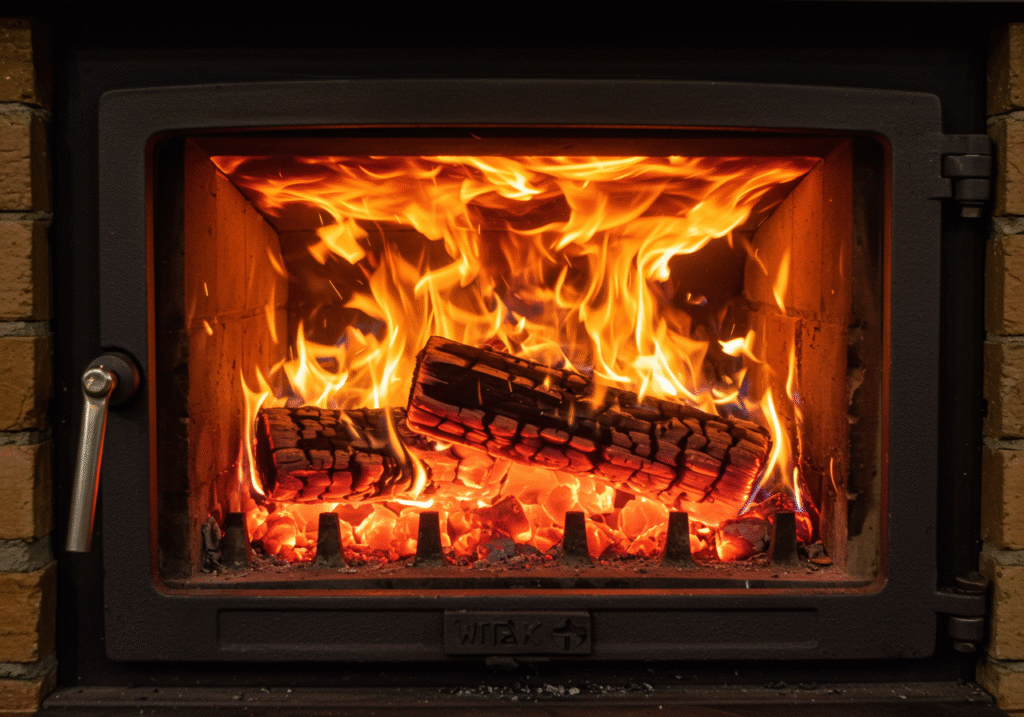
The Baffle and Secondary Combustion Systems
Modern, efficient stoves often feature a baffle, a heat-resistant plate inside the top of the firebox. Its job is to force hot gases to take a longer, more circuitous path before exiting into the flue. This allows more heat to be extracted from the gases and, in many stoves, enables secondary combustion. This process introduces pre-heated air to burn off volatile gases and particles that would otherwise become smoke, dramatically increasing efficiency and heat output while reducing emissions .
The Flue and Chimney: The Engine’s Exhaust
The flue (or stovepipe) and chimney create the draft—the upward flow of air that pulls fresh oxygen into the firebox and expels exhaust gases. A strong, consistent draft is essential for complete combustion and preventing smoke from spilling into your home. The temperature within the flue is a critical indicator of your stove’s performance, with ideal operating ranges typically between 300°F and 600°F (149°C to 316°C) .
Chapter 2: The Temperature Spectrum – A Trio of Critical Readings
When we talk about stove temperature, we’re actually referring to three distinct measurements, each with its own significance. The following table provides a clear overview of these key zones.
Table: The Three Critical Temperature Zones of a Wood Burning Stove
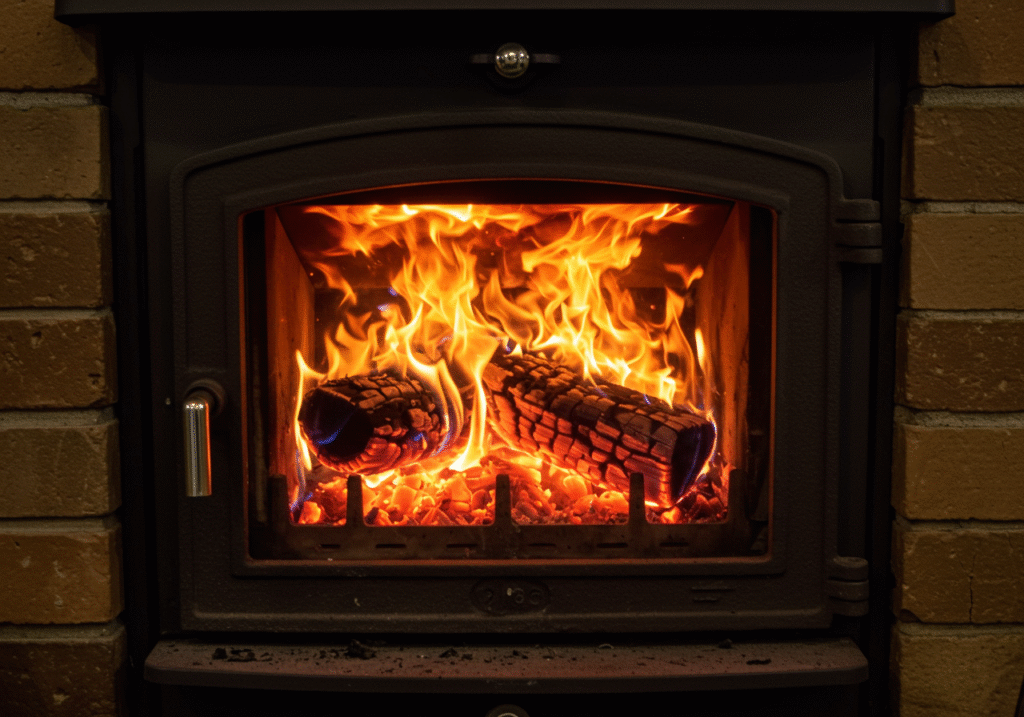
Stovetop Temperature: Your Primary Gauge
For most users, the stovetop temperature is the most practical and commonly monitored reading. It serves as a reliable proxy for the stove’s overall operating condition. According to industry experts like Condar, the ideal stovetop temperature for efficiency and safety is between 400°F and 650°F (200°C and 350°C) . This is considered the “sweet spot” where combustion is clean, and heat transfer to the room is optimal.
- Below 400°F (200°C): The fire is likely smoldering. This is the most dangerous operational zone, as it produces excessive smoke and leads to rapid creosote buildup in your chimney .
- Above 650°F (350°C): You are entering the “over-firing” zone. While modern steel stoves can handle brief periods at 700°F or even 750°F, sustained operation at these temperatures wastes wood and can cause long-term damage to internal components .
Experienced users on wood stove forums often report cruising comfortably in the 500°F to 700°F range, depending on their stove model and heating needs . The key is to know your specific stove’s limits, which can often be found in the owner’s manual.
Chapter 3: The Art of Control – Mastering Your Stove’s Temperature
Controlling a wood stove is a dynamic process. It’s an interplay between fuel, air, and heat that you will learn to manage with practice.
The Fuel: It All Starts with the Wood
The type and condition of your firewood are the most significant factors in controlling temperature.
- Wood Species: Hardwoods like oak, maple, and hickory are denser and contain more energy per log. They burn hotter and longer, making them ideal for sustained, high-temperature burns. Softwoods like pine and fir ignite easily and burn quickly, useful for kindling or a short, hot fire to warm a cool stove .
- Moisture Content: This is non-negotiable. Seasoned wood with a moisture content below 20% is essential. Wet or “green” wood wastes a tremendous amount of energy boiling off water, resulting in a cooler, smokier fire that clogs your chimney with creosote . Investing in a moisture meter is one of the best decisions a wood burner can make.
The Air Supply: The Throttle of Your Stove
Air controls are your primary tool for fine-tuning the burn.
- Primary Air Control: This is the main intake, usually located at the bottom of the stove door. Opening it wide allows maximum oxygen to the fire, creating a hot, vigorous burn. Closing it down slows the burn rate and lowers the temperature. Once a good coal bed is established, you primarily use this control to regulate the burn .
- Secondary Air Control: Found on many modern stoves, this intake supplies air above the fire for secondary combustion of gases. Proper use of this control is key to achieving high efficiency and low emissions .
- The Damper: This is a plate located in the flue that can restrict the exhaust flow. Closing the damper slows the draft, keeping heat in the stove longer. However, it should never be fully closed when a fire is active, as this can trap dangerous gases inside your home .
A sample burning cycle:
- Startup: Open primary and secondary air fully. Load with kindling and small splits.
- Ignition: Let the fire establish itself until the flue temperature is in the safe zone.
- Loading: Add larger logs. Keep air open until the new wood catches and the stovetop temperature climbs.
- Cruising: As the temperature approaches your target (e.g., 550°F), begin to gradually close the primary air control.
- Maintenance: Find the air setting that maintains your desired temperature. The stove should have active, bright flames.
Chapter 4: The Essential Tools – How to Measure Temperature Accurately
You cannot control what you don’t measure. Relying on guesswork is inefficient and unsafe.
Magnetic Stovetop Thermometers
These are the most common and user-friendly tools. They attach via a magnet to the stove’s surface, typically on the top plate or the flue collar. They provide a clear, at-a-glance reading of your operating temperature. Look for models with color-coded zones indicating the optimal burn range, creosote danger zone, and over-fire zone .
Infrared (IR) Thermometers
An IR thermometer, or “heat gun,” offers a versatile way to spot-check temperatures anywhere on the stove’s surface or even on the stovepipe. This is useful for identifying hot spots and ensuring your stove is heating evenly. Forum users often use IR guns to verify the accuracy of their magnetic thermometers .
Stovepipe Thermometers
Placed on the single-wall stovepipe about 18 inches above the stove, this thermometer gives you direct insight into the temperature of the exhaust gases, which is critical for preventing creosote formation .
Chapter 5: Safety First – The Non-Negotiable Rules of Operation
Respecting the power of your wood stove is paramount. Adhering to these safety principles will protect your home and family.
Clearance to Combustibles
Every stove model has specific clearance requirements to walls, furniture, and flooring. These are not suggestions. Always follow the manufacturer’s guidelines. Installing a stove too close to a combustible material is a leading cause of house fires. Factory-made heat shields can sometimes be used to reduce these clearances, but this must be done according to code .
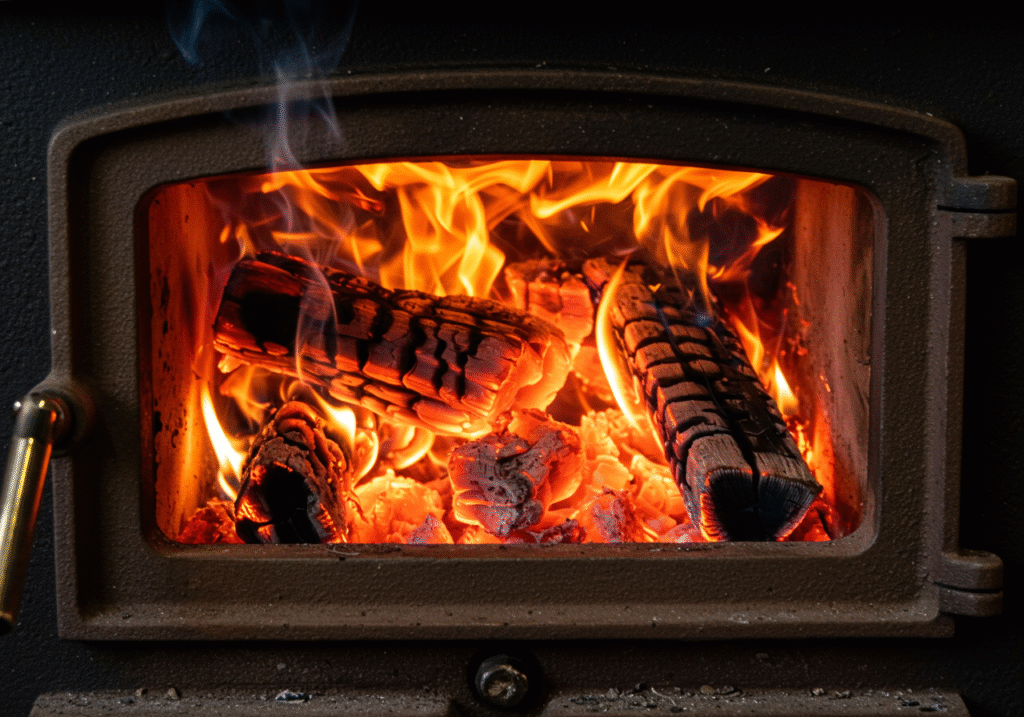
Recognizing and Preventing Over-Firing
Over-firing occurs when the stove burns too hot, beyond its design limits. Signs include:
- Stovetop temperatures sustained above 700°F-800°F .
- The stove or stovepipe glowing red .
- An roaring, uncontrollable sound from the firebox.
If you suspect an over-fire, immediately close the stove’s air controls to starve the fire of oxygen. Never use water to try and cool the stove, as the thermal shock can crack cast iron or steel .
The Invisible Killer: Creosote and Chimney Fires
Creosote is a flammable, tar-like substance that condenses on the cool surfaces of your chimney when you burn a fire too low and too smoky. A buildup of just 1/4 inch is considered a fire hazard .
- Prevention: The single best way to prevent creosote is to burn small, hot fires with seasoned wood, keeping your flue temperature above 250°F until the fuel is mostly charred.
- Annual Maintenance: Have your chimney and stove professionally inspected and cleaned at least once a year, preferably before the burning season begins .
Chapter 6: Advanced Techniques – From User to Connoisseur
Once you’ve mastered the basics, you can refine your technique for even better performance.
The Art of the Reload
How you add wood to a established fire matters. Before reloading, open the air control fully and open the door slowly to avoid puffing smoke into the room. Rake the coals to the front and place new logs at the back of the firebox. This “top-down” or “back-to-front” reloading technique promotes cleaner burning and more consistent temperatures.
Matching Output to Demand
Learn to adjust your burning cycle to the weather. On a mildly cold day, a single, moderate load might suffice. During a deep freeze, you’ll need to run the stove hotter and reload more frequently. The goal is to maintain a consistent, comfortable room temperature without wild swings.
Long, Slow Burns vs. High-Output Burns
- For Overnight Burns: Aim for a full load of dense hardwood when the stove is good and hot. Get the new load burning vigorously, then turn the air down to a low, steady setting. This should produce a long, slow burn that lasts 8+ hours.
- For Quick Heat: Use smaller splits of softer wood or a smaller load of hardwood with plenty of air. This will bring the stove up to temperature quickly to take the chill out of the room.
Mastering the temperature of your wood burning stove is a journey that pays back in safety, savings, and satisfaction. By understanding the different temperature zones, learning the art of control with air and fuel, and adhering to essential safety practices, you transform your stove from a simple heating appliance into a refined and reliable central hearth for your home. Light your next fire with confidence, knowing you are in complete command of the flame.