10 Easy Birthday Decor Ideas and Quick DIY Hacks
- Birthday Decor
 Ben
Ben- 0
- 29 minutes read
Planning a birthday party and feeling like you need a Pinterest-worthy setup without the Pinterest-level budget? Trust me, I’ve been there – staring at my living room wondering how on earth I’m going to transform it into party paradise without breaking the bank or my sanity.
Here’s the thing: you don’t need to be a professional party planner or have a massive budget to create something absolutely stunning. I’ve thrown my fair share of birthday bashes (some epic wins, some… well, let’s not talk about the Great Cake Disaster of 2023), and I’ve learned that the best parties come from creativity, not cash.
Ready to turn your space into the ultimate birthday celebration? Let’s jump into these 10 game-changing decor ideas that’ll have your guests thinking you hired a professional – when really, you just got a little crafty with some everyday items.
1. Rainbow-Themed Balloon Explosion
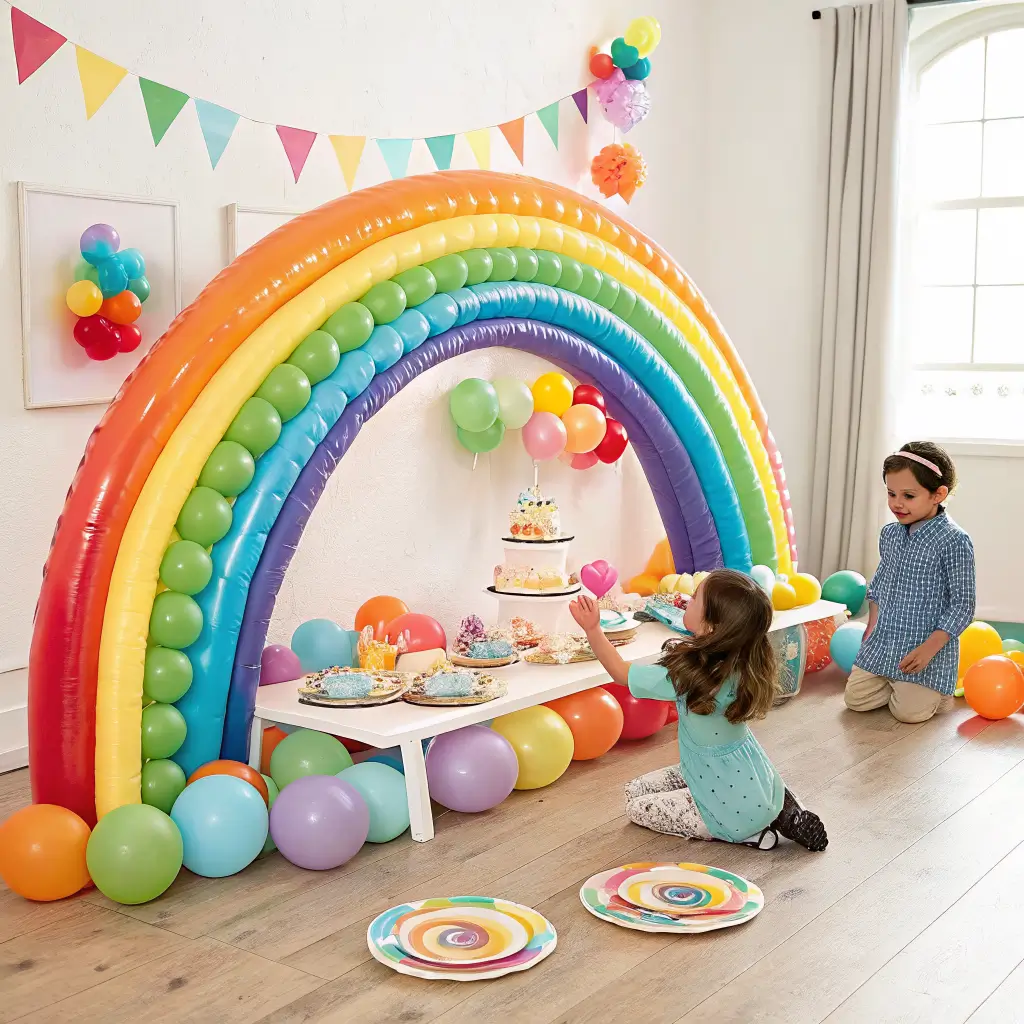
Ever walked into a room and felt instantly happy? That’s exactly what a rainbow balloon explosion does – it’s like bottled joy floating around your ceiling.
I discovered this trick completely by accident when I over-ordered balloons for my niece’s party. Instead of returning them (because who has time for that?), I decided to go absolutely wild with the colors. Best. Decision. Ever.
Creating Your Balloon Masterpiece
Start with helium balloons in every color you can get your hands on. I’m talking red, orange, yellow, green, blue, purple – the whole spectrum. Here’s my secret weapon: cluster them in groups of 3-5 balloons per color, then attach them to different heights using fishing line.
The magic happens when you create balloon clouds at varying levels. Hang some from the ceiling, tape others to walls at different heights, and let a few float freely around the room. Your guests will feel like they’ve stepped into a rainbow wonderland.
Pro tip: Mix in some metallic balloons for extra sparkle. Gold and silver add that premium touch without the premium price tag.
Quick DIY Hack
Can’t afford helium for every balloon? No problem! Fill about 70% with helium and 30% with regular air. The air-filled ones work perfectly as floor decorations or taped to walls. Nobody will know the difference, and your wallet will thank you.
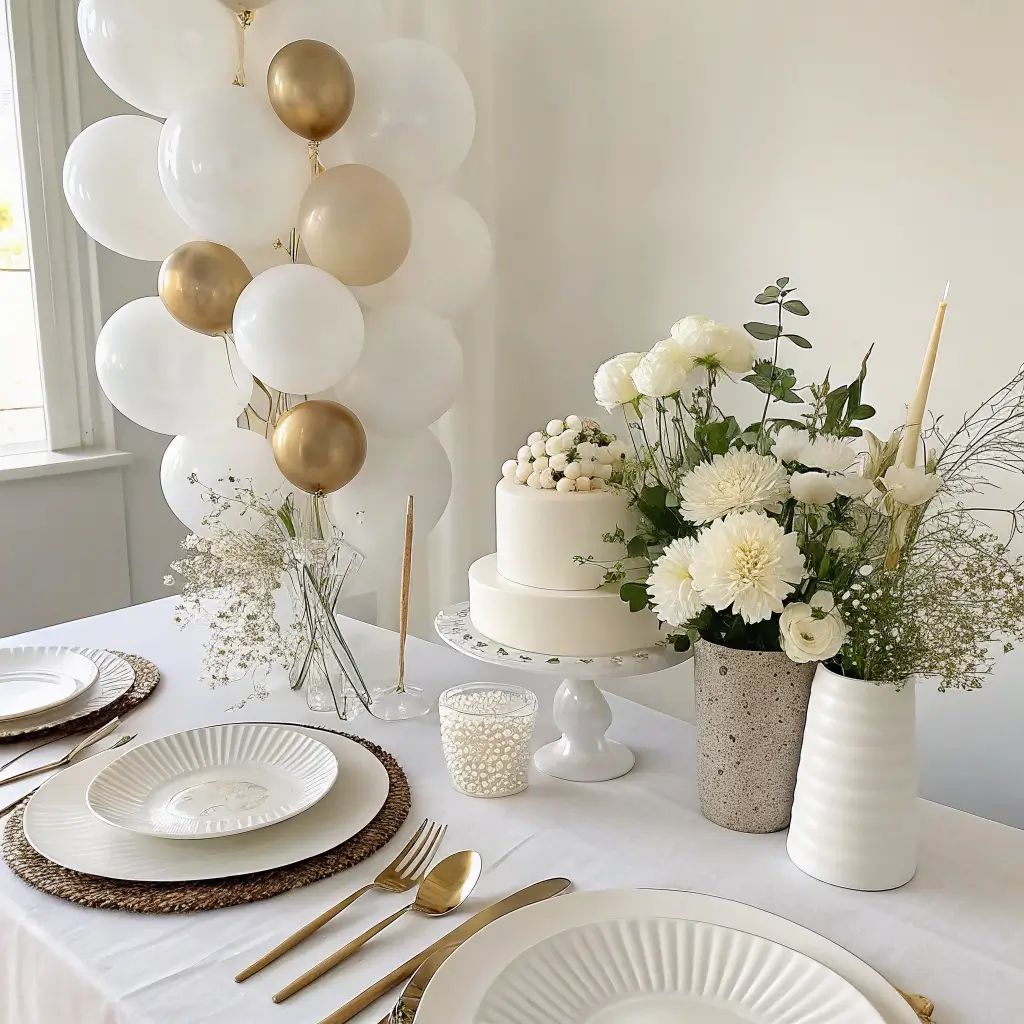
2. Minimalist Monochrome Table Setup
Sometimes less really is more, and nothing proves this better than a sleek monochrome table setup. I used to think minimalist meant boring until I tried this approach for my friend’s 30th – now I’m completely converted.
The Power of Two Colors
Pick two colors maximum – think black and white, navy and gold, or blush and cream. The key is sticking to your palette religiously. Every plate, napkin, centerpiece, and decoration should fit within these colors.
I love using white tablecloths with black accents because it’s classic and photographs beautifully. Add black plates, white napkins, and simple black candles in clear glass holders. The result? Effortlessly elegant.
Texture is Your Best Friend
Since you’re limiting colors, texture becomes crucial. Mix smooth ceramics with rough burlap, shiny metallics with matte finishes. I once used white plates on a black tablecloth with textured white napkins and smooth black river rocks as scatter decorations – it looked like something from a high-end restaurant.
Money-saving hack: Hit up the dollar store for basic plates and glasses, then elevate them with cloth napkins and simple centerpieces. The contrast between high and low elements creates visual interest without the high-end price tag.
3. DIY Fairy Light Canopy Decor
Want to create pure magic? Fairy lights are your answer. I’m not exaggerating when I say these tiny lights can transform any space into something absolutely enchanting.
Building Your Light Canopy
You’ll need string lights (lots of them), some clear fishing line, and small hooks or nails. Start by mapping out your ceiling – you want to create a canopy effect that covers the main party area.
Here’s my foolproof method: Create a grid pattern on your ceiling using the fishing line, then drape the fairy lights along these lines. The lights should hang at different levels, creating depth and movement. The uneven hanging is intentional – it mimics how light filters through tree branches.
Adding the Wow Factor
Layer different types of lights for maximum impact. I combine warm white fairy lights with cool white ones, and sometimes throw in some battery-operated LED stars. The mixed lighting creates this dreamy, almost ethereal atmosphere that makes everyone look amazing in photos.
Budget-friendly tip: You can find fairy lights at dollar stores, especially after Christmas. Stock up during post-holiday sales and you’ll have party supplies for the entire year.
Also Read: 10 Vibrant Jewel Tone Wedding Decor Ideas for Colorful Weddings
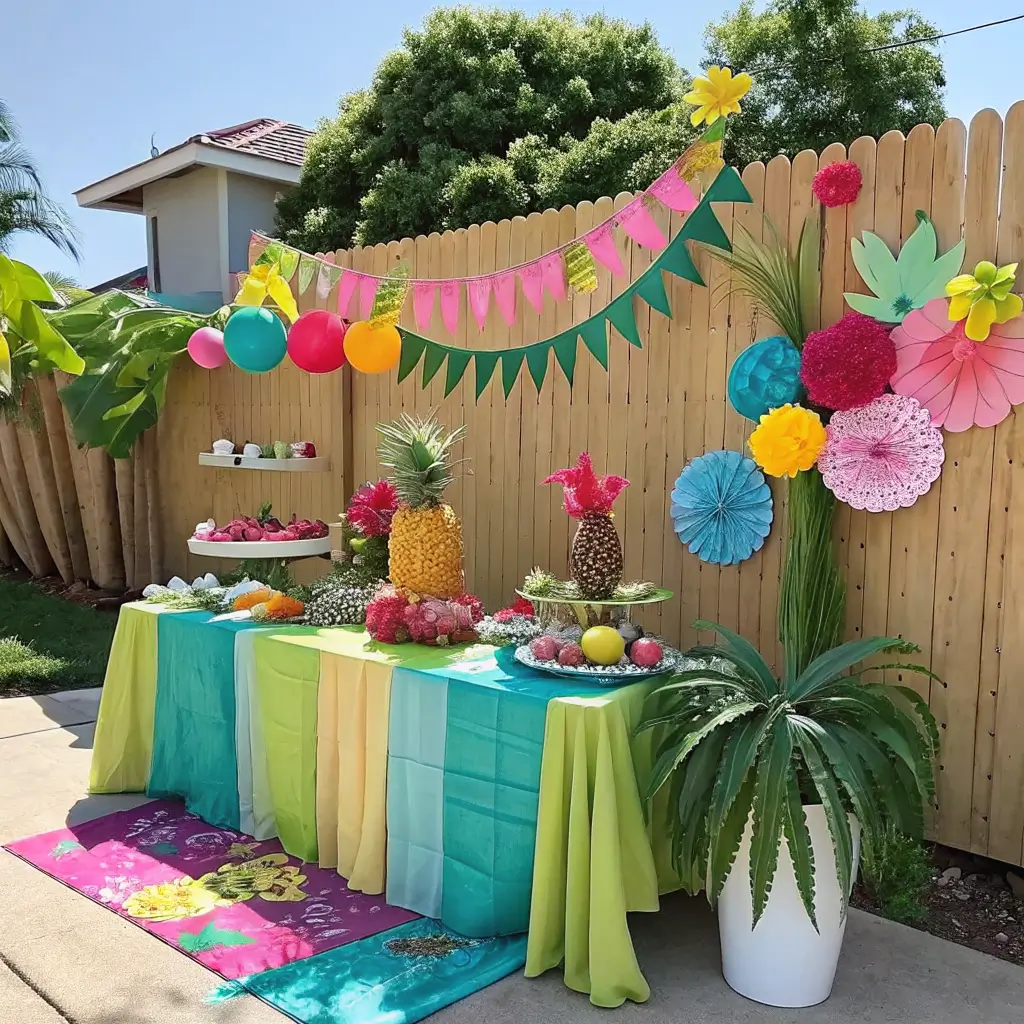
4. Tropical Luau Party Vibes
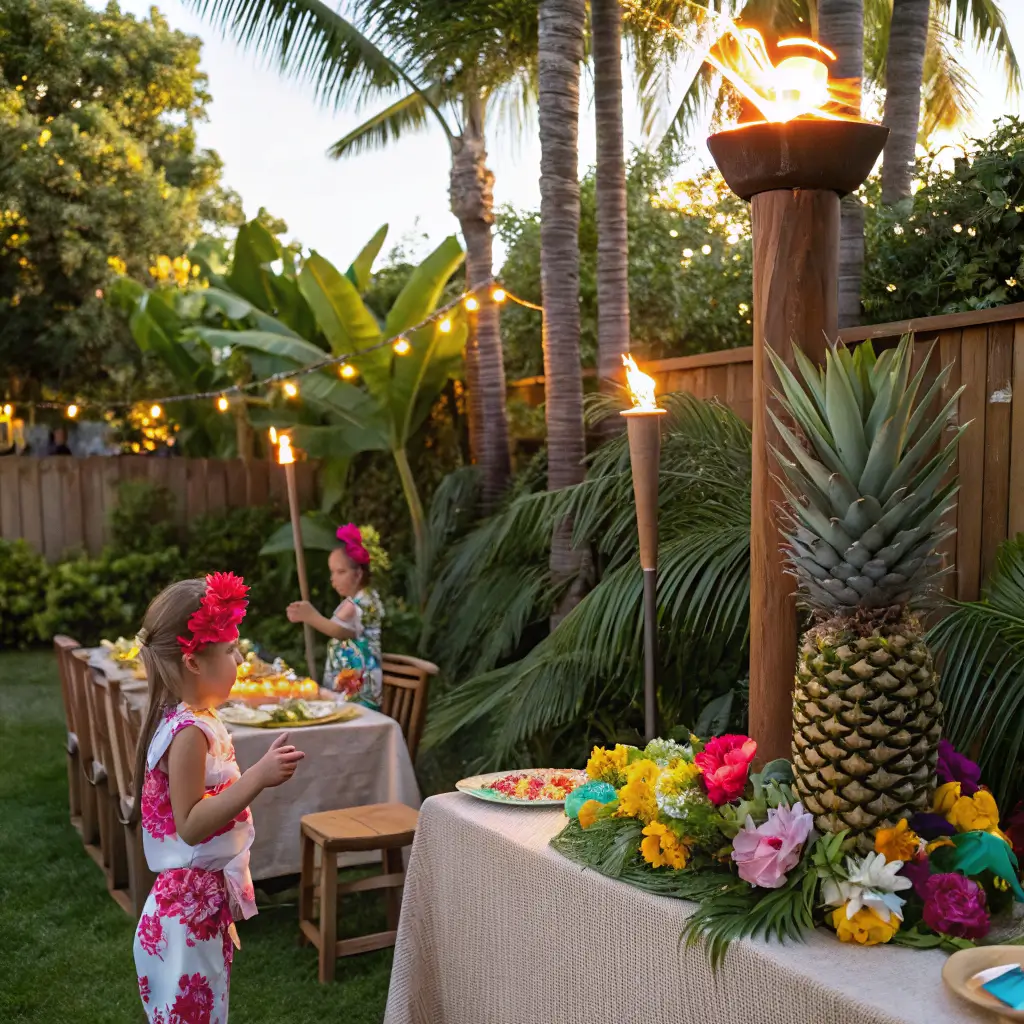
Nothing says “celebration” quite like bringing the tropics indoors. This theme works year-round and instantly puts everyone in vacation mode – even if you’re celebrating in the middle of winter.
Creating Your Island Paradise
Palm fronds are your foundation. You can buy artificial ones (they’re reusable!) or if you live somewhere tropical, cut fresh ones. Arrange them around doorways, tape them to walls, and use them as table runners.
Add bright tropical flowers – hibiscus, bird of paradise, or even colorful silk flowers from the craft store. The key is going bold with colors: hot pink, bright orange, electric blue, and sunshine yellow.
The Pineapple Game-Changer
Here’s something I learned from a party planning friend: pineapples make incredible centerpieces. Cut the top off, hollow out the inside, and use them as vases for tropical flowers. They’re natural, beautiful, and completely unexpected.
DIY hack: Can’t find fresh tropical flowers? Make your own using tissue paper. I’ve created stunning hibiscus flowers using red and pink tissue paper – they look surprisingly realistic and cost practically nothing.
5. Vintage Candy Shop Dessert Table
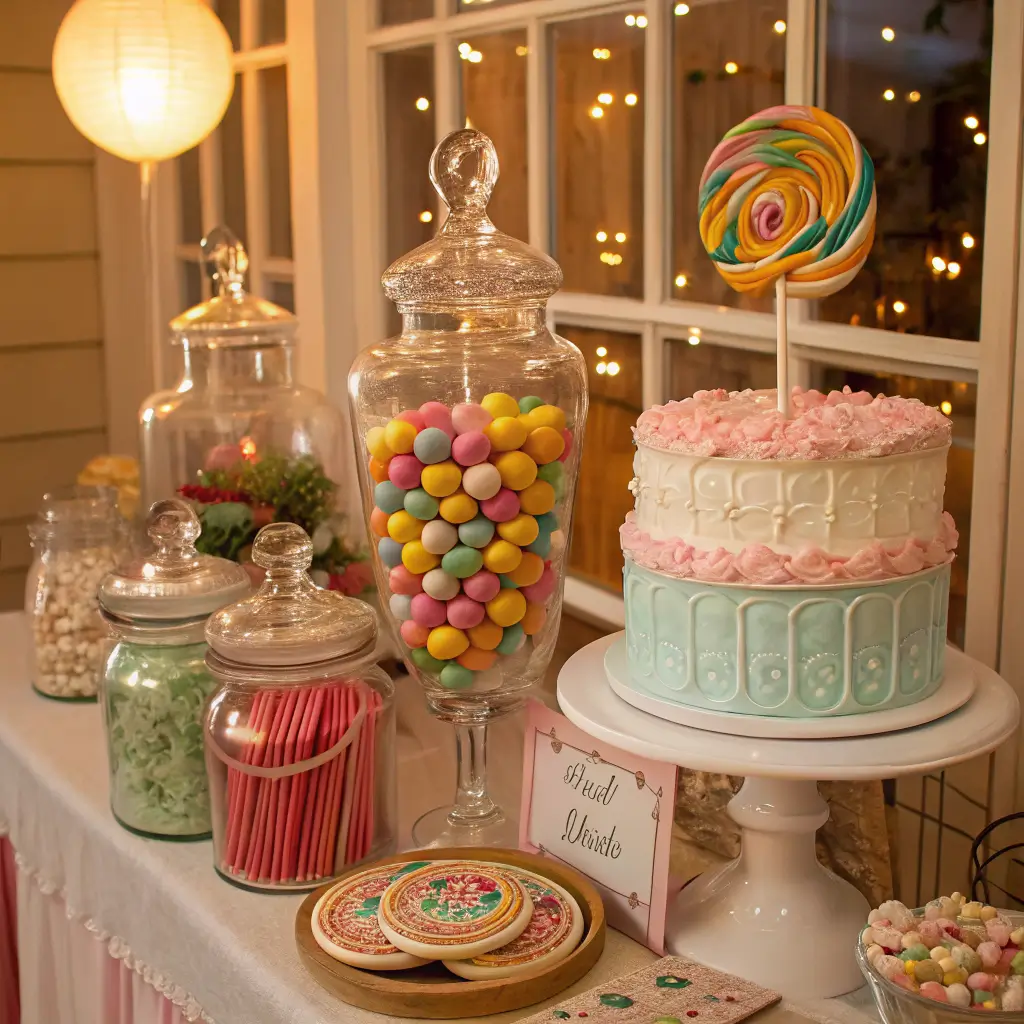
This setup takes me back to childhood every single time. There’s something magical about recreating that old-fashioned candy store feeling, and your guests will absolutely love the nostalgia factor.
Building Your Sweet Display
Start with glass jars of different sizes filled with colorful candies. I hit up thrift stores for vintage-looking jars – you’d be amazed what treasures you can find for under $5 each. Fill them with gummy bears, chocolate coins, rock candy, and old-fashioned favorites like ribbon candy.
Create height variation using cake stands, wooden boxes, or even stacked books covered with vintage-style fabric. The goal is to create a landscape of sweets that draws the eye around the entire table.
The Vintage Touch
Striped paper bags and scoops complete the authentic candy shop feel. I found adorable mini scoops at a restaurant supply store for practically nothing. Add some vintage-style signage – you can design and print these yourself using free online templates.
Money-saving secret: Buy candy in bulk from warehouse stores, then portion it into smaller jars. It looks more expensive than it actually is, and you’ll have enough variety to satisfy every sweet tooth.
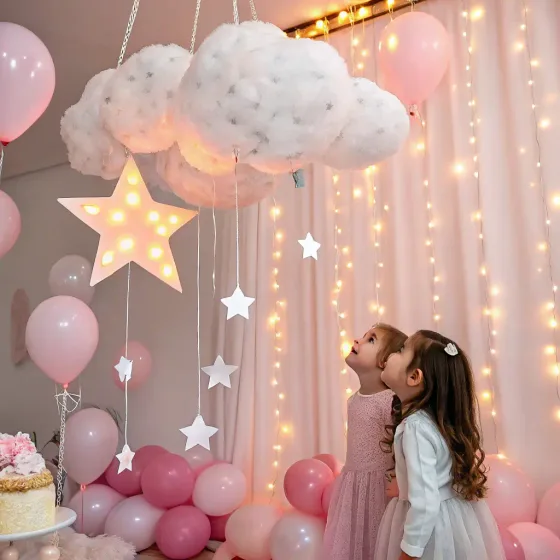
6. Whimsical Cloud and Star Ceiling

This decoration literally makes people look up in wonder. I’ve never seen a ceiling treatment that gets more “oohs” and “ahhs” from party guests.
Creating Your Sky
Cotton batting (the stuff used for quilting) becomes your clouds. Pull it apart to create natural, fluffy cloud shapes, then attach them to your ceiling using small pieces of tape or removable adhesive hooks.
For stars, I use metallic cardstock cut into different sizes. Some I hang from fishing line at various lengths, others I attach directly to the ceiling. The mix of hanging and stationary stars creates depth and movement.
Lighting Magic
Here’s where it gets really magical: add battery-operated LED lights inside some of the clouds. The soft glow creates this incredible ambiance, especially when you dim the room lights. It’s like having your own personal galaxy.
Pro tip: Make this setup reusable by storing the clouds in a large plastic container. I’ve used the same cloud decorations for three different parties – just reshape them slightly each time.
Also Read: 10 Luxurious Wedding Car Decor Ideas for a Glamorous Touch
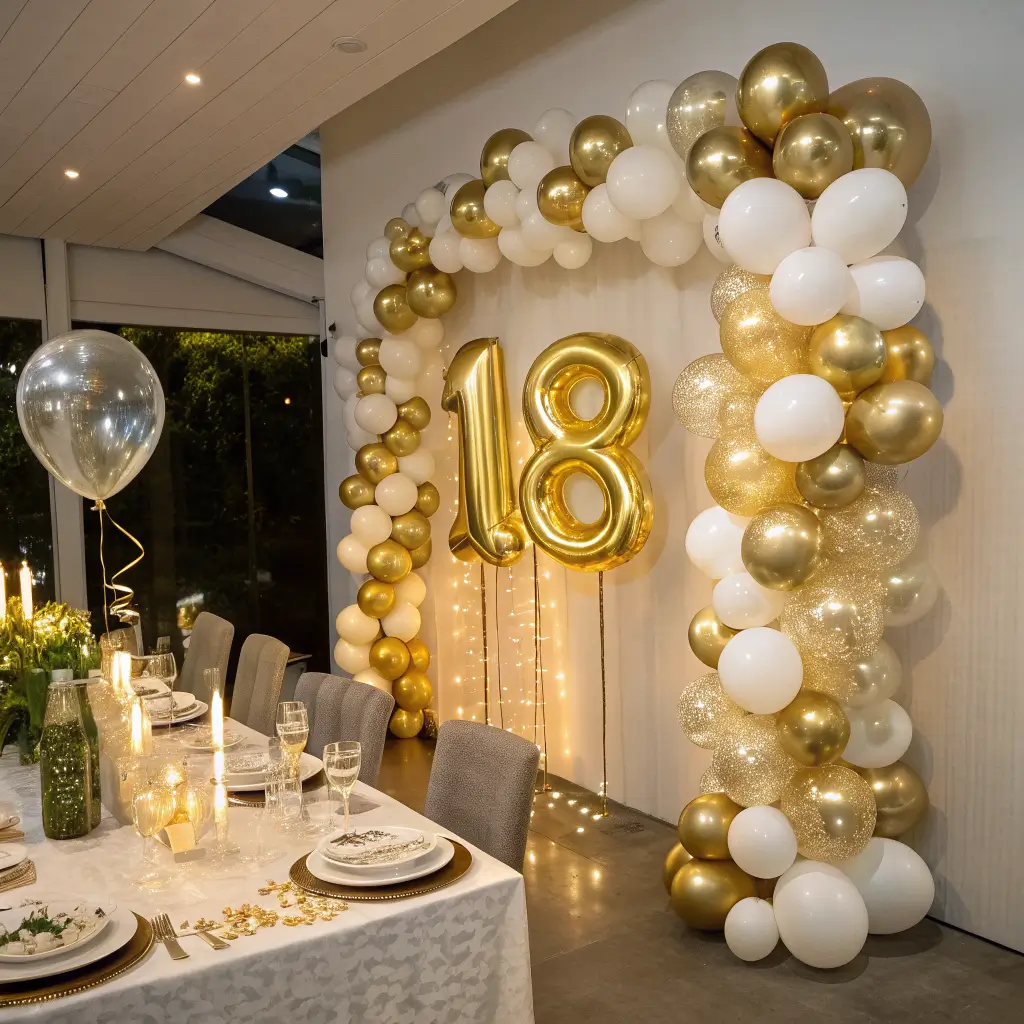
7. Elegant Black and Gold Birthday Glam
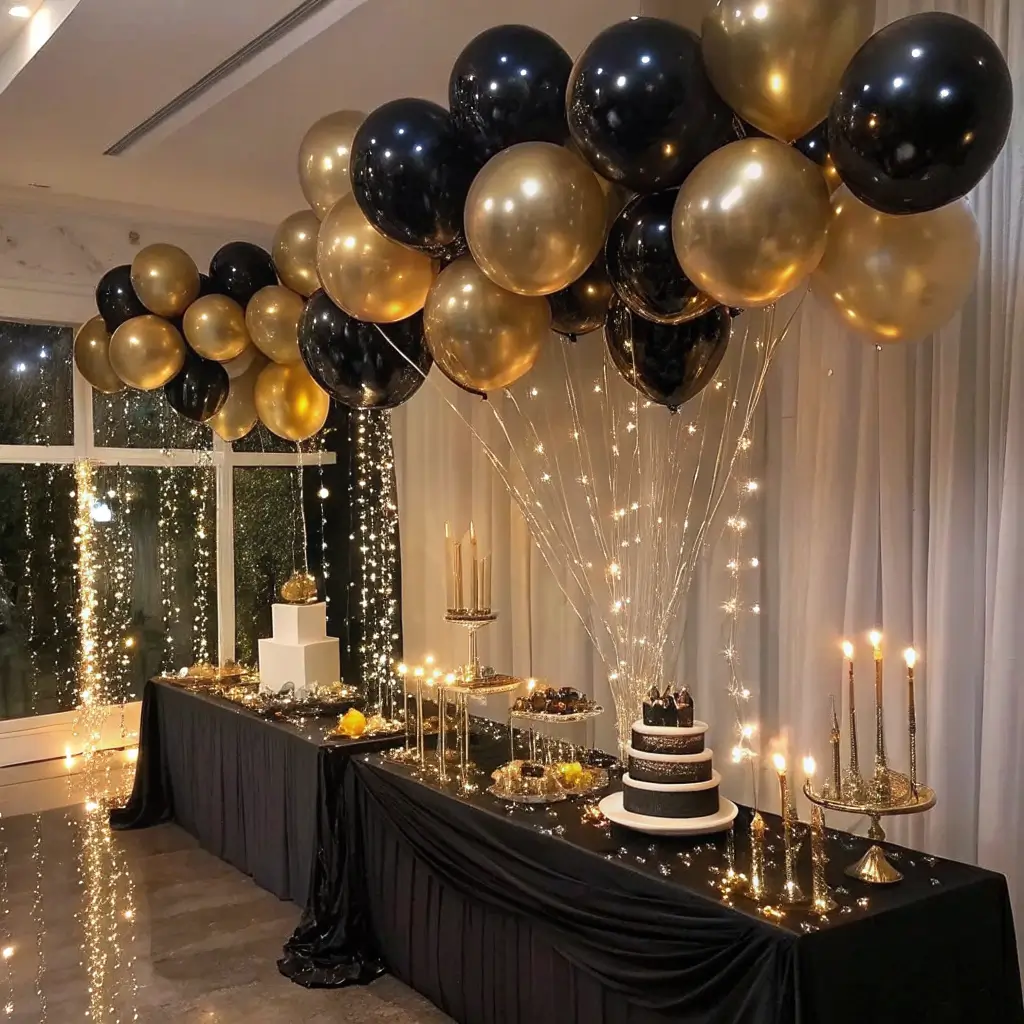
When you want sophisticated without stuffy, black and gold delivers every time. This color combo screams luxury but doesn’t require a luxury budget.
The Foundation Elements
Start with black tablecloths and gold accents. I’m talking gold charger plates (plastic ones work perfectly), gold napkins, and gold candles. The contrast is striking and photographs beautifully.
Metallic balloons in gold and black add height and drama. I like to create balloon bouquets with different sizes – some large statement balloons mixed with smaller ones creates visual interest.
Adding the Sparkle
Sequin table runners or gold confetti scattered on tables adds that glamorous touch. You can find affordable sequin fabric at craft stores, and a little goes a long way.
For centerpieces, I use black vases with gold spray paint accents. A few strategic stripes or geometric patterns transform dollar store vases into designer-looking pieces.
Budget hack: Gold plastic charger plates from the dollar store look identical to expensive ones from party supply stores. Seriously, nobody can tell the difference once they’re on the table.
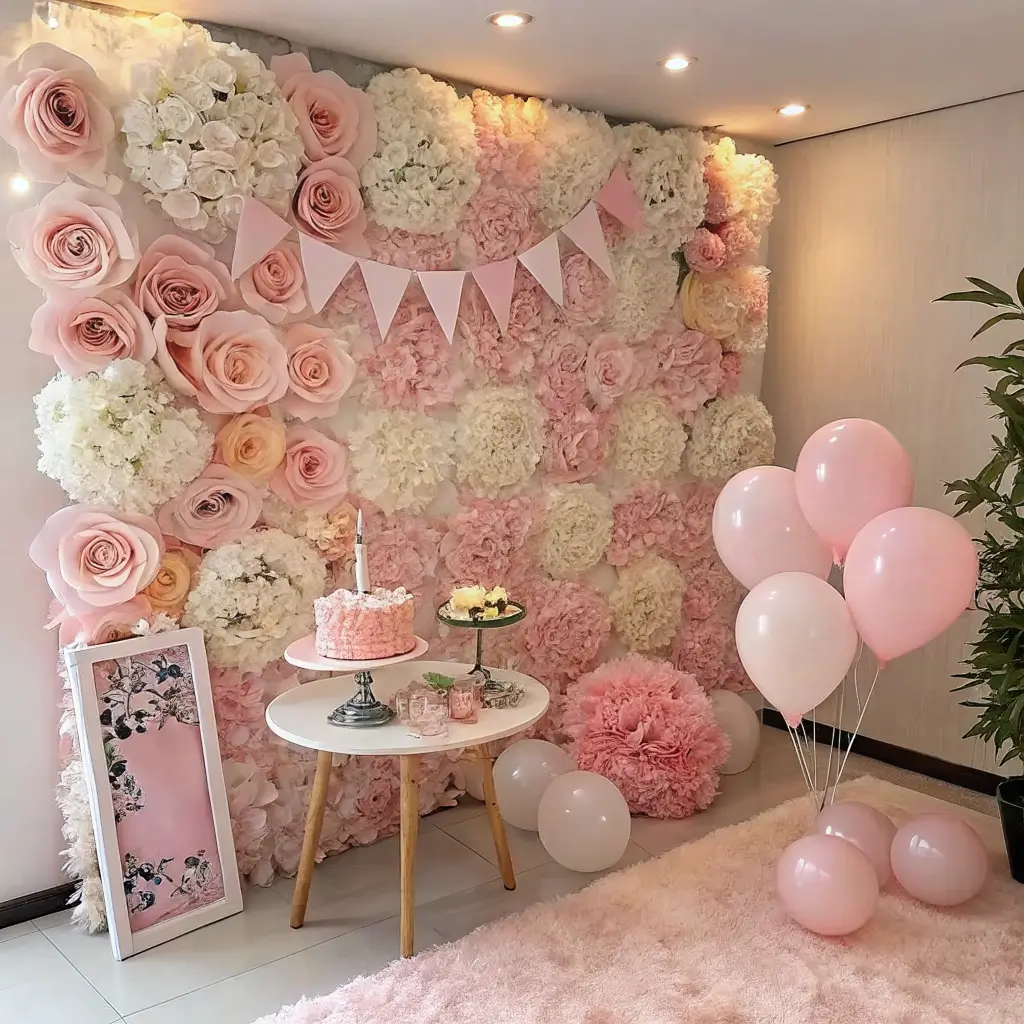
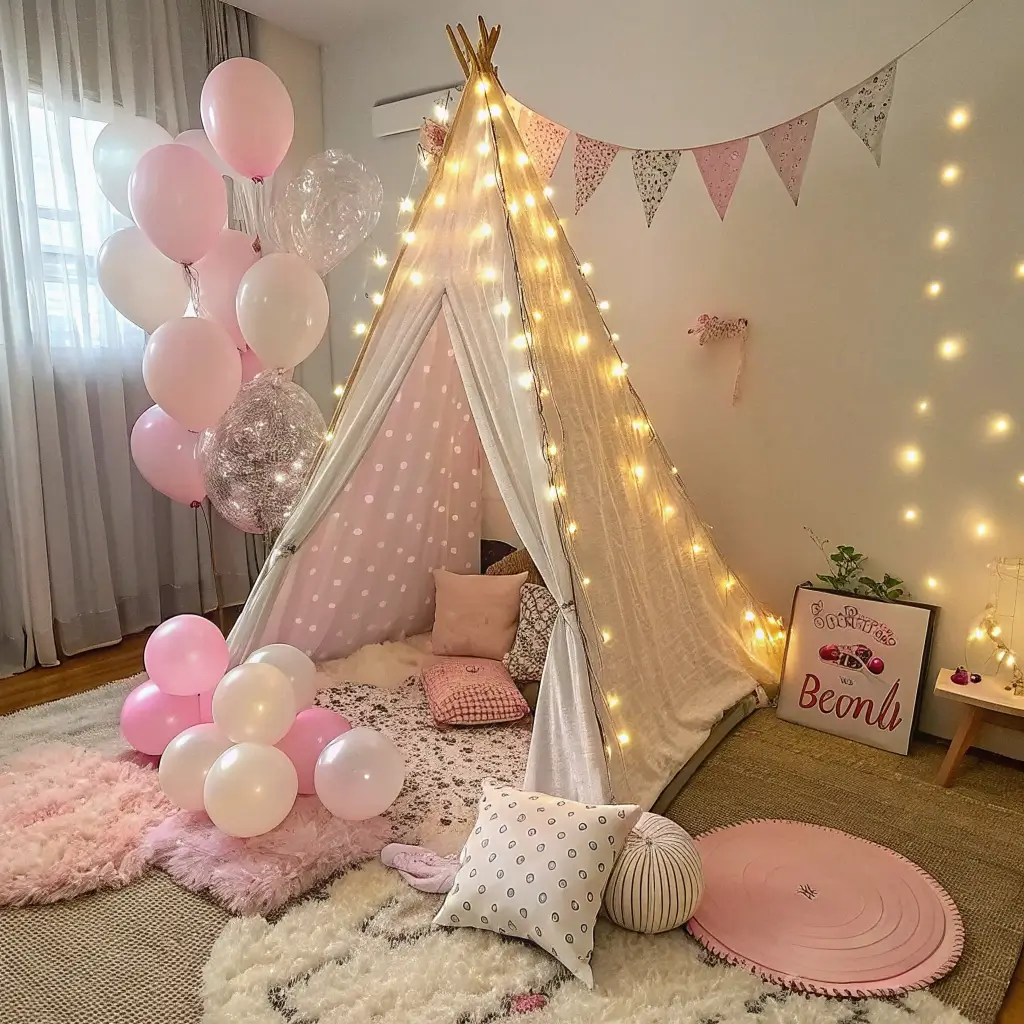
8. Pastel Garden Tea Party Setup
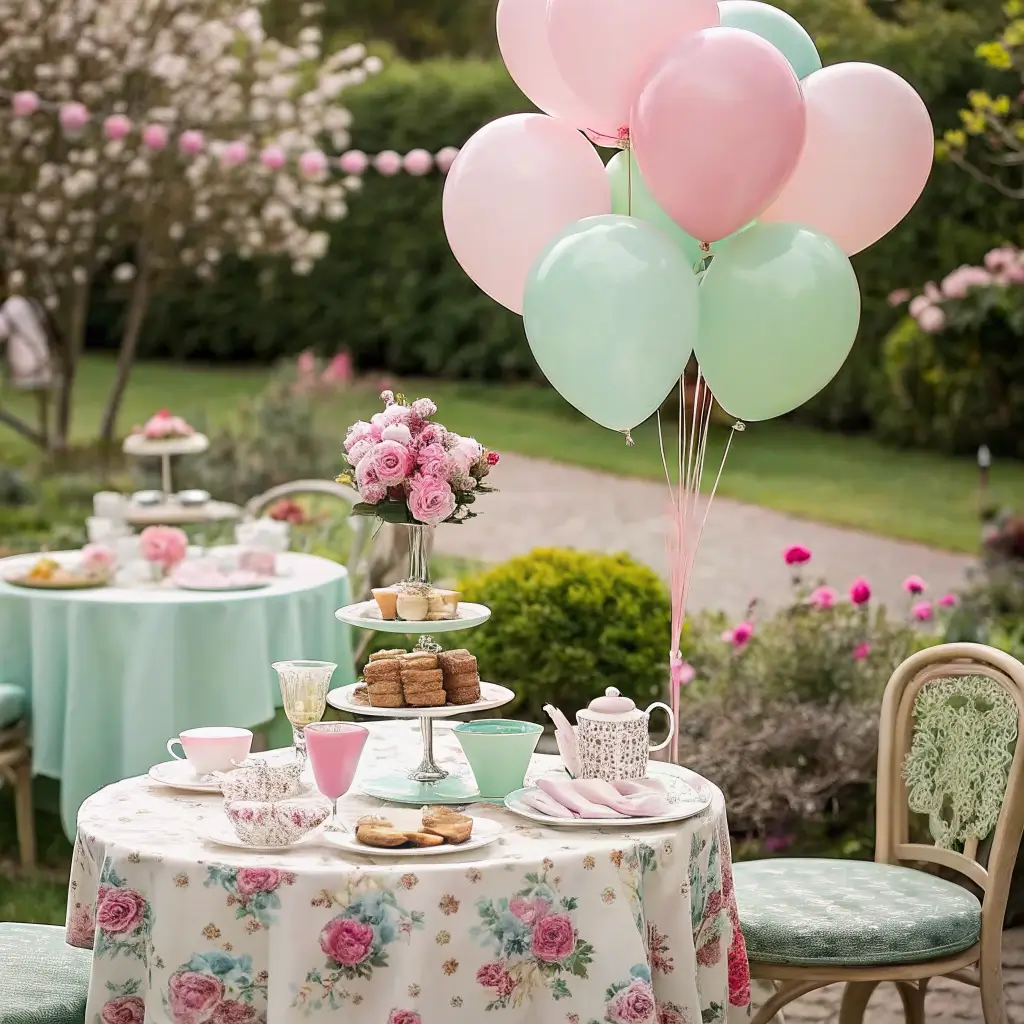
This theme brings out everyone’s inner romantic. There’s something so charming about soft pastels and delicate details – it’s like stepping into a fairy tale.
The Pastel Palette
Stick to soft pinks, lavenders, mint greens, and cream. These colors work beautifully together and create that dreamy, ethereal feeling you’re after.
Fresh flowers are essential for this theme. I hit up the grocery store flower section and buy whatever’s on sale, then arrange them in mismatched vintage teacups and small mason jars. The imperfect, gathered-from-the-garden look is exactly what you want.
Creating the Garden Feel
Lace doilies and vintage-style linens set the foundation. You can find these at thrift stores or even use your grandmother’s old linens if you have them. Layer different textures – lace over solid colors, ruffled edges with smooth surfaces.
Add string lights with flower attachments for that magical garden party glow. I found some at a craft store that had tiny roses attached to each light – absolutely perfect for this theme.
DIY element: Make your own bunting using pastel fabric scraps or even pretty napkins. It adds that handmade, personal touch that makes the party feel special.
9. Interactive DIY Photo Booth Corner
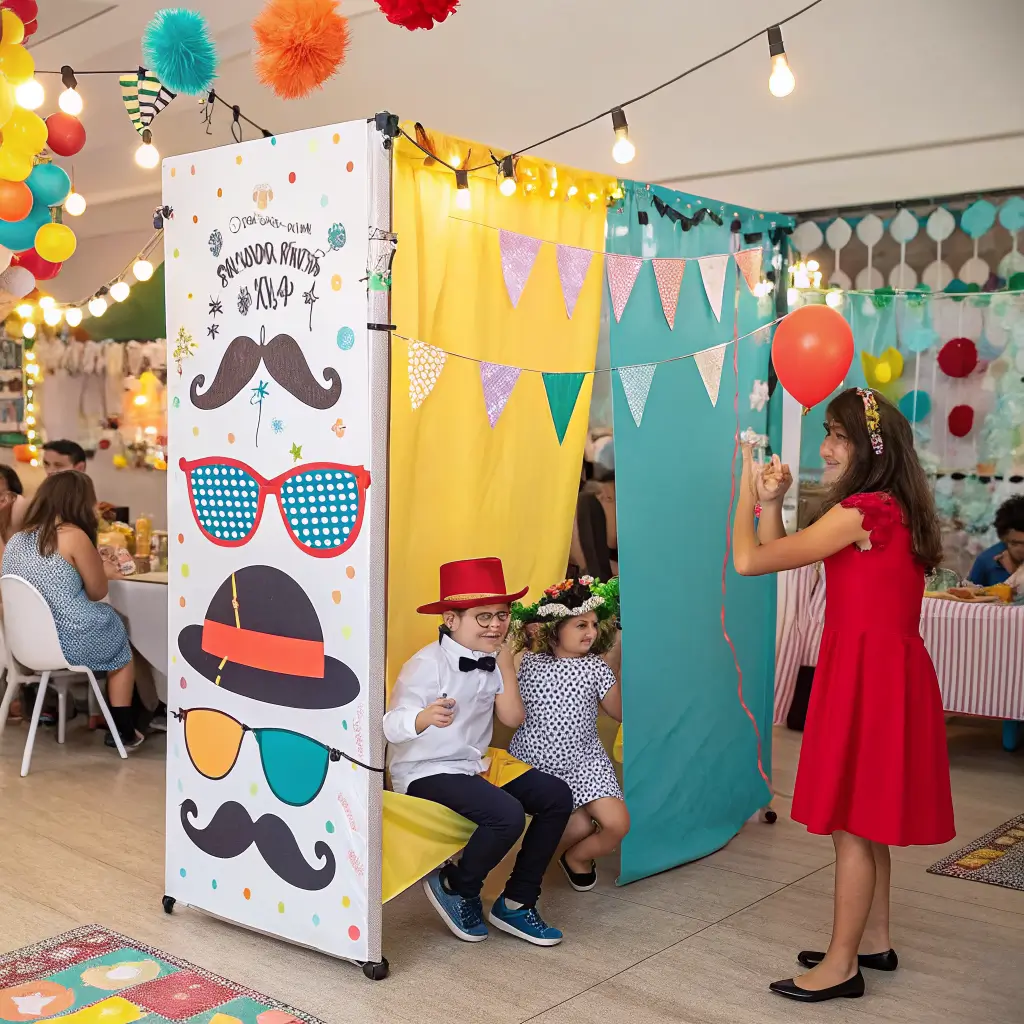
Every party needs a photo booth, but you don’t need to rent one. Creating your own interactive corner is way more fun and gives you complete creative control.
Setting Up Your Space
Choose a corner or wall that gets good lighting. Natural light is best, but if that’s not available, add some extra lamps or string lights to brighten the area.
Your backdrop can be anything – a colorful fabric, streamers, balloons, or even a simple wall with some decorations. I’ve used everything from shower curtains to wrapping paper as backdrops, and they all worked great.
Props That Actually Get Used
Here’s what I’ve learned: simple props work better than elaborate ones. Oversized sunglasses, funny hats, speech bubbles with sayings, and colorful signs get used way more than complicated costume pieces.
Make speech bubble props using poster board and wooden dowels. Write funny phrases, birthday wishes, or inside jokes that relate to the birthday person. These always get the biggest laughs.
Tech tip: Set up a tablet or phone on a tripod with a timer app. Guests can take their own photos without needing someone to operate the camera. FYI, this works way better than trying to designate a photographer 🙂
Also Read: 10 Sophisticated Brown Wedding Decor Ideas for Every Venue
10. Candy Land-Themed Kids Wonderland
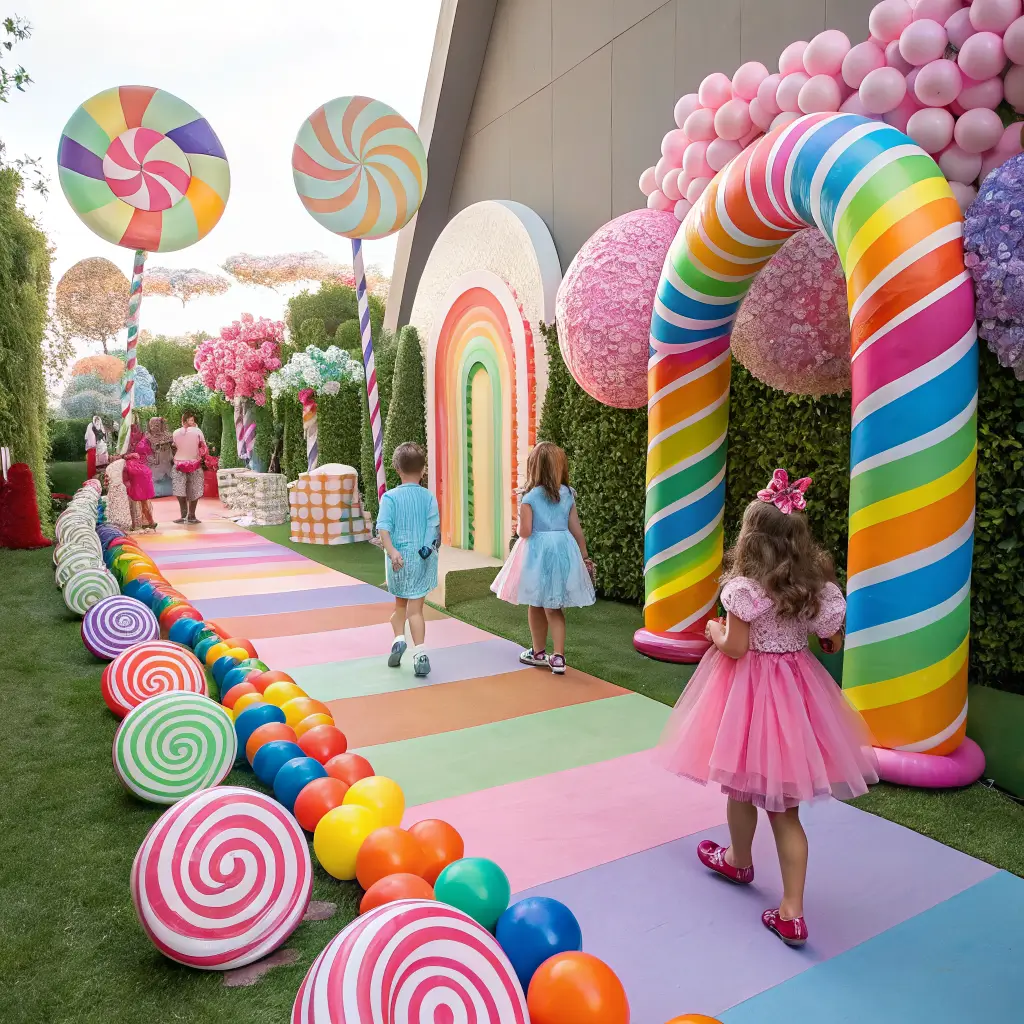
This theme is pure childhood magic. I’ve used it for kids’ parties and even adult birthday celebrations (because who doesn’t love a good throwback?).
Building Your Candy Landscape
Oversized candy decorations are your main event. You can buy these or make them yourself using pool noodles, foam, and paint. Giant lollipops, gummy bears, and candy canes create that whimsical Candy Land board game feeling.
Use bright, saturated colors – think hot pink, electric blue, sunshine yellow, and lime green. The more vibrant, the better. This isn’t the time for subtle or sophisticated color palettes.
Interactive Elements
Candy stations where kids (or adults!) can fill bags with their favorites make the theme functional as well as decorative. Set up different stations with various types of candy, each with its own colorful signage.
Create a candy-themed game area with activities like “pin the cherry on the sundae” or a candy-themed scavenger hunt. These interactive elements keep guests engaged and add to the overall theme.
Safety note: If you’re hosting young children, make sure any decorative candy elements are clearly marked as “not for eating” to avoid any confusion.
The Sweet Finishing Touches
Candy-colored tablecloths and napkins tie everything together. Layer different shades of the same color family for depth, or go completely rainbow for maximum impact.
Add candy-scented elements like cotton candy machines or candy-scented candles (kept safely away from little hands). The sensory experience makes the theme even more immersive.
Bringing It All Together
Here’s what I’ve learned after years of party planning successes (and a few spectacular failures): the best decorations come from enthusiasm, not expense. Your guests will remember the effort and creativity you put in, not whether you spent $50 or $500.
Start with one main theme and build from there. Don’t try to incorporate every idea into one party – that’s a recipe for chaos, not charm. Pick the theme that speaks to you and the birthday person, then commit to it fully.
Plan ahead but stay flexible. Some of my best party moments have come from last-minute improvisations when something didn’t go according to plan. That time the balloon arch collapsed? We turned it into a balloon dance floor, and it was actually more fun than the original plan.
Remember, the goal isn’t perfection – it’s celebration. Your decorations should enhance the joy, not stress you out. If something doesn’t work exactly as planned, laugh it off and move on. Trust me, your guests will be too busy having fun to notice if the fairy lights aren’t perfectly symmetrical.
Most importantly, take photos of your setup before the party starts. You’ll want to remember how amazing everything looked, and these photos will inspire your next celebration. Plus, you’ll have proof that yes, you really did create something this beautiful with your own two hands and a reasonable budget.
Now go forth and create some birthday magic – your party guests are going to be absolutely amazed by what you can accomplish! 🎉