12 Modern Camper Bathroom Remodel Ideas on a Budget
- Bathroom Design
 Ben
Ben- 0
- 34 minutes read
Let me guess – your camper bathroom is basically a closet where you can simultaneously shower, brush your teeth, and use the toilet without moving an inch. Mine was too.
Actually, it was so small that I had to back out of the bathroom to change my mind. After spending three camping seasons performing acrobatic feats just to wash my hair, I finally decided my camper bathroom needed serious help.
Here’s the brutal truth about camper bathrooms: they’re afterthoughts in most RV designs. Manufacturers squeeze them into whatever space is left over after fitting in the bed, kitchen, and dinette.
My camper’s bathroom was literally 3×3 feet, and I’m pretty sure the designer had never actually tried using one. But after remodeling four different camper bathrooms (mine twice because I made mistakes the first time), I’ve figured out what actually works in these impossibly tiny spaces.
Whether you’ve got a vintage trailer with a wet bath, a Class C with a slightly-less-terrible bathroom, or a teardrop where the bathroom is basically a suggestion, these ideas will help you create something functional and maybe even pleasant.
And the best part? Most of these won’t require you to tear out walls or develop carpentry skills overnight. Let’s make your camper bathroom suck less, shall we?
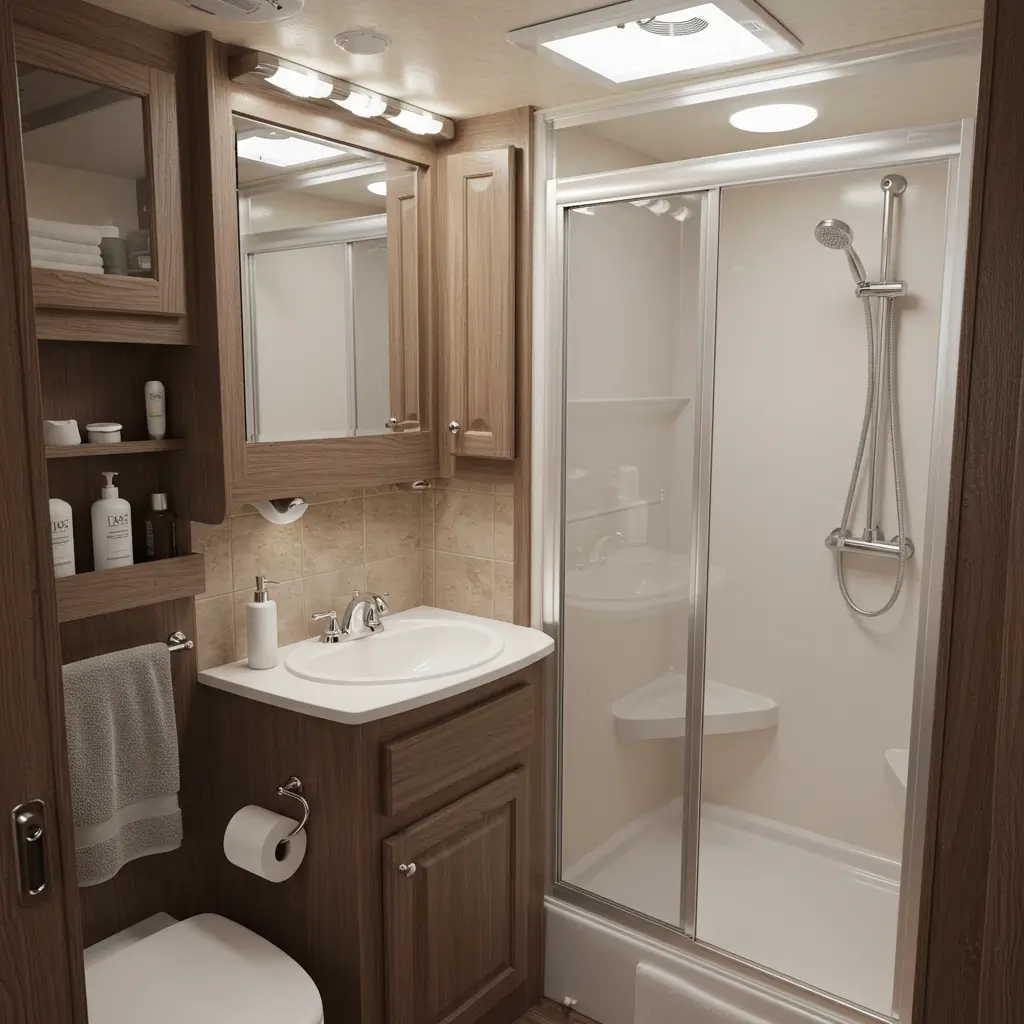
1. Tiny Camper Bathroom Transformation Hacks

Camper bathrooms redefine the meaning of “tiny.” My wet bath measured exactly 36 inches square, which meant I literally showered while sitting on the toilet. Glamorous, right? But I’ve learned that tiny doesn’t have to mean terrible if you’re smart about design.
The key to transforming microscopic bathrooms is accepting you’ll never have a spa experience and focusing on making it functional instead. Once I stopped comparing my camper bathroom to my house bathroom, I got way more creative.
Maximum Functionality in Minimum Space
Remove everything that doesn’t serve multiple purposes. I ripped out the useless medicine cabinet that only held three items and replaced it with a magnetic board that holds everything from bobby pins to my toothbrush. Game changer.
Collapsible everything saves space when not in use. My sink cover doubles as counter space, my shower caddy folds flat, and my trash can collapses to 2 inches thick. When everything folds, collapses, or stows away, you actually have room to move.
Corner shelves utilize dead space brilliantly. I installed three tension-rod corner shelves in my shower, and they hold all my products without taking up any usable shower space. Before that, everything lived on the floor getting gross and in my way.
Creating Visual Space
Mirrors multiply perceived space. I covered an entire wall with mirror tiles, and my bathroom suddenly felt twice as big. Sure, I see myself from unflattering angles, but the spaciousness is worth it.
Light colors are non-negotiable in tiny camper bathrooms. I painted everything white, and the difference was shocking. My friend kept his dark brown paneling, and his identical bathroom feels like a cave compared to mine.
2. Budget-Friendly Camper Bathroom Makeover Ideas
Camper bathroom remodels don’t require trust fund money. I completely transformed mine for under $300, and people genuinely ask if I bought a new camper. The secret is knowing where to spend and where to get creative.
Paint is your cheapest best friend. Seriously, I’ve spent more money on bad takeout than I spent painting my entire camper bathroom. It cost $25 and made the single biggest visual impact.
Affordable Updates With Major Impact
Peel-and-stick tile transforms showers and walls. I covered my ugly fiberglass shower surround with subway tile stickers for $40. Three years and countless showers later, they still look perfect. No grout, no heavy tile, no expensive installation.
Replace hardware instead of fixtures. New drawer pulls, towel bars, and a toilet paper holder cost me $30 total. My old fixtures stayed, but with new hardware, everything looked intentionally updated instead of randomly old.
Contact paper gives instant countertop upgrades. I covered my stained laminate sink surround with marble-look contact paper. Total cost: $8. Total compliments from other campers: too many to count.
Shopping Smart for Camper Bathrooms
Dollar stores stock amazing organizers. My entire shower organization system came from Dollar Tree for $12. It works better than the expensive RV-specific organizers I bought online.
Facebook Marketplace has tons of RV parts. I found a perfect medicine cabinet for $10 from someone who upgraded their camper. One man’s trash is another camper’s treasure.
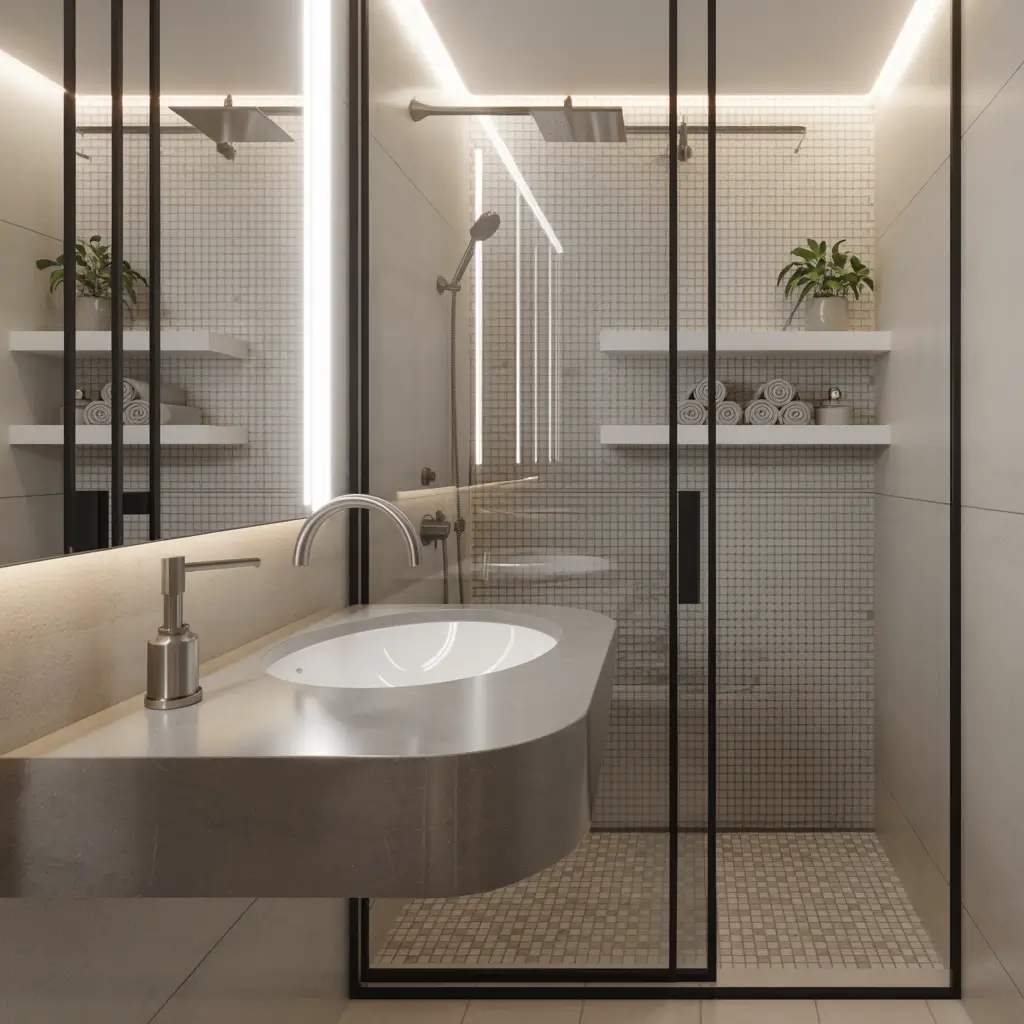
3. Minimalist Camper Bathroom Design Inspirations
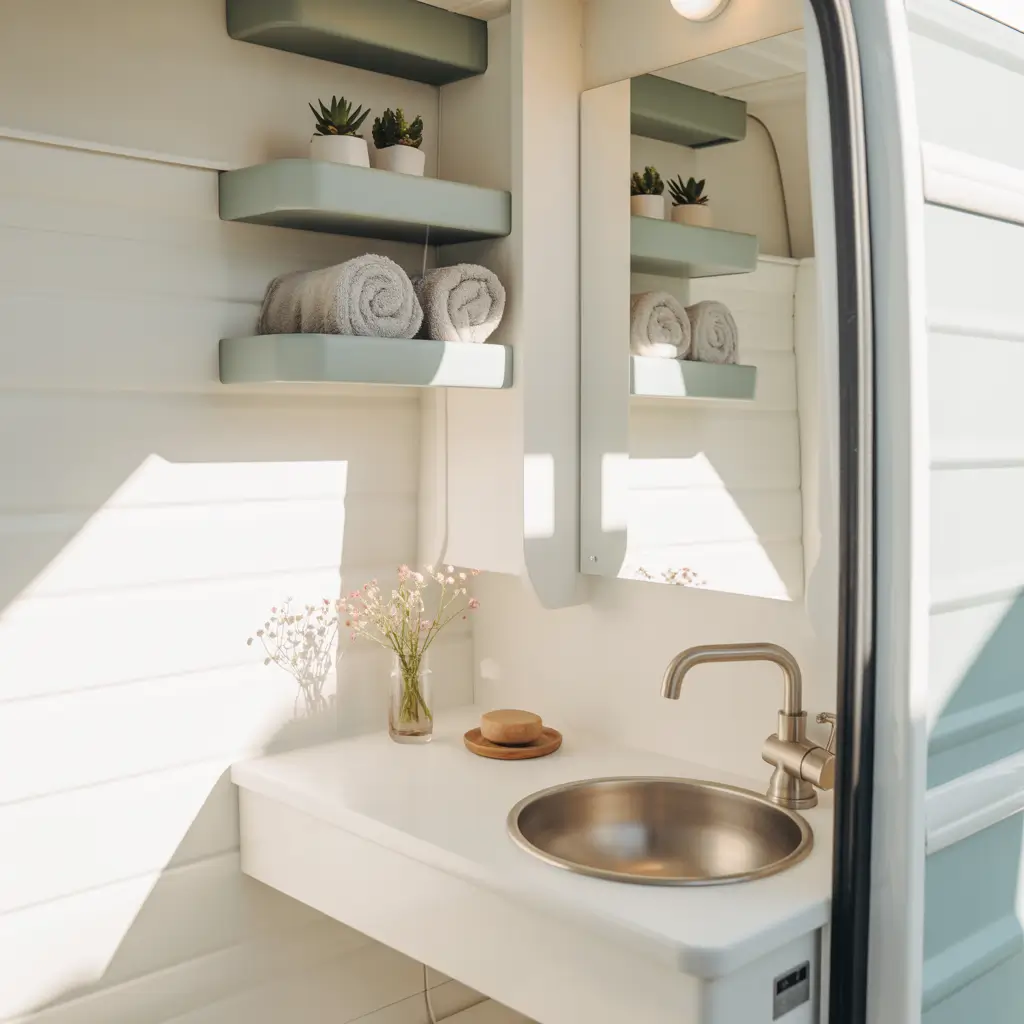
Minimalism isn’t just trendy – it’s survival strategy in camper bathrooms. I went full minimalist after realizing clutter in a 9-square-foot space creates instant chaos. Now my bathroom has exactly what I need and nothing more.
The less stuff you have, the bigger your camper bathroom feels. Revolutionary concept, I know. But seriously, I cut my bathroom items by 60%, and suddenly I could actually move in there.
Embracing Minimalist Principles
Keep only daily essentials. I have one shampoo, one soap, one toothbrush. Everything else stays in storage under the bed. This might seem obvious, but you’d be shocked how many bottles I used to cram in there “just in case.”
White and gray create clean minimalist vibes. My entire bathroom uses these two colors with black accents. It feels intentional and calm instead of chaotic and overwhelming.
Hidden storage maintains clean lines. Everything lives behind cabinet doors or in drawers. My countertop stays completely clear, and the visual calm makes the tiny space feel manageable.
Minimalist Fixtures and Features
Wall-mounted everything saves floor space. My toilet brush, trash can, and even my small shelf all mount to walls. The clear floor makes the bathroom feel less cramped.
Frameless shower doors beat curtains for minimalist look. I installed a simple glass panel, and it keeps water contained while maintaining those clean sight lines minimalists love.
Also Read: 10 Charming Mobile Home Bathroom Remodel Ideas for Quick Upgrades
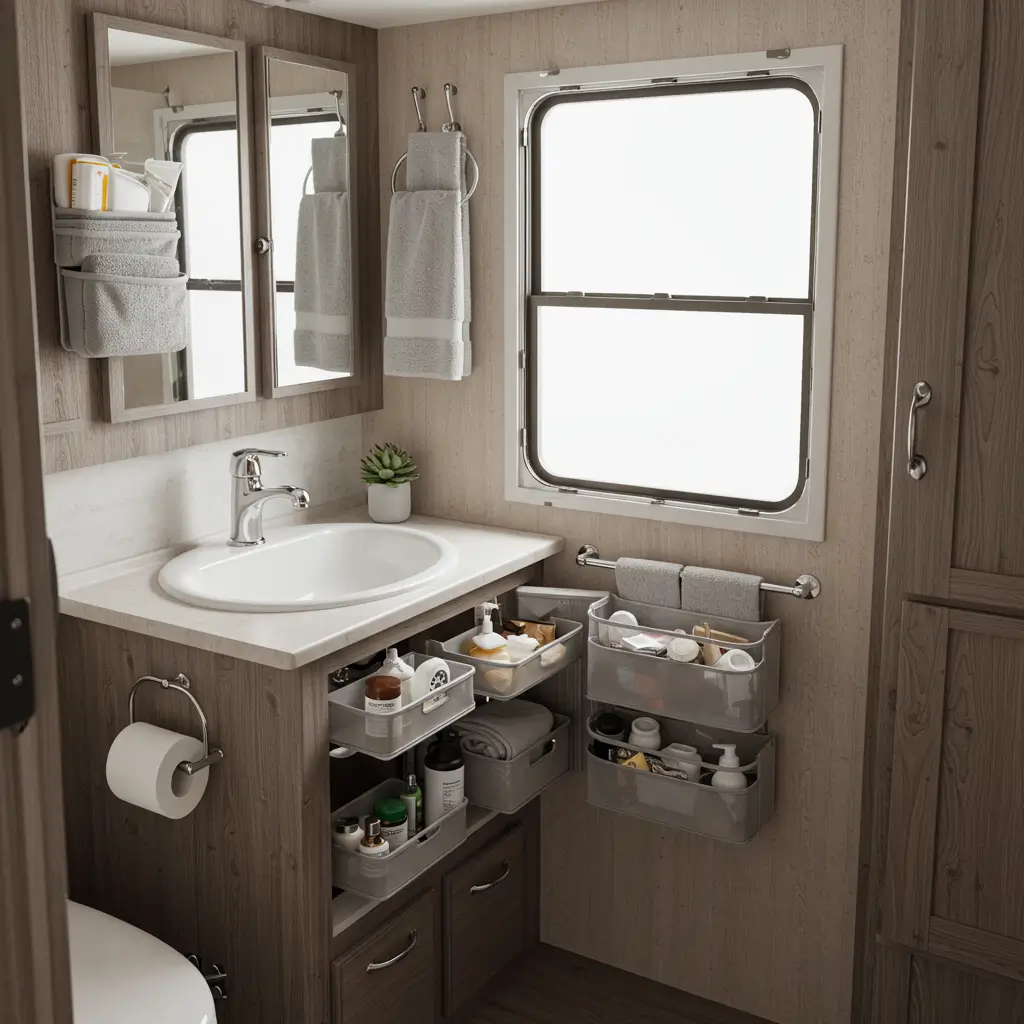
4. Space-Saving Camper Bathroom Storage Solutions
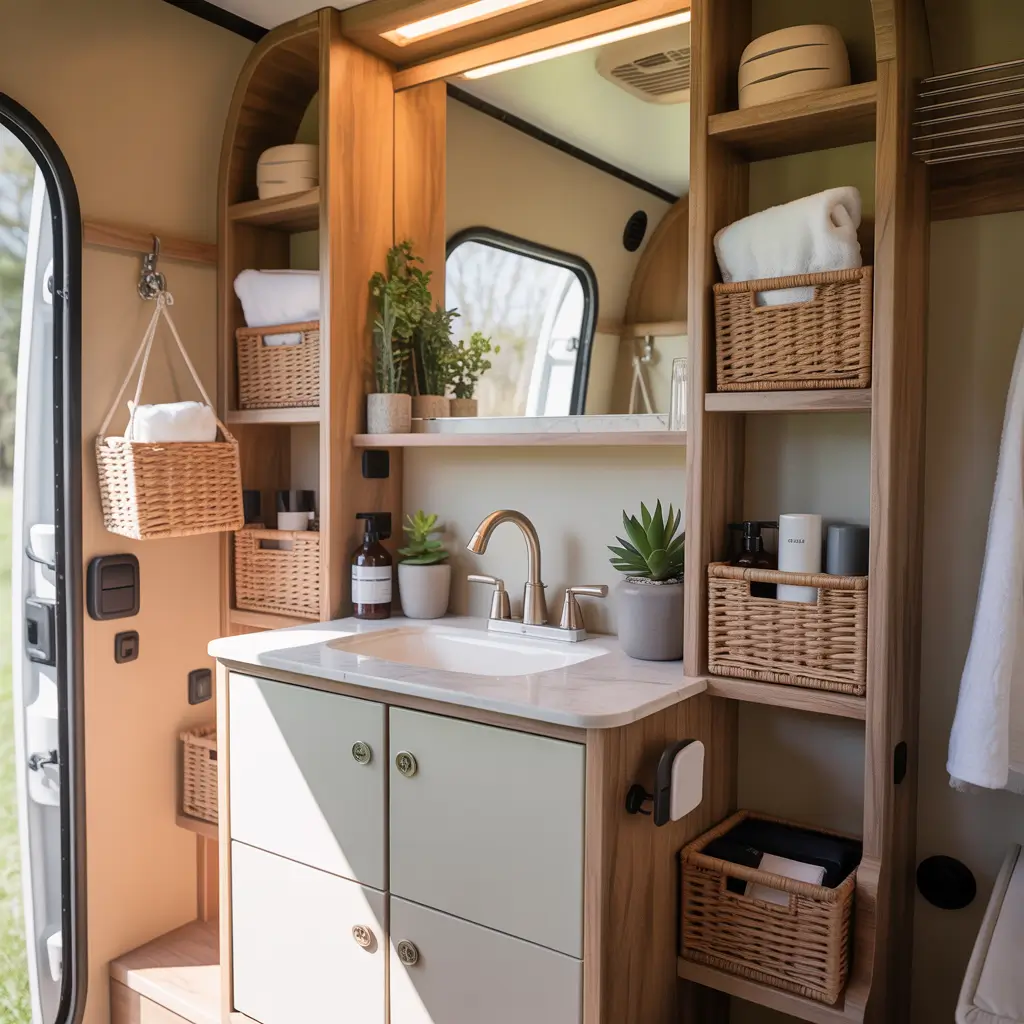
Storage in camper bathrooms requires next-level creativity. You need somewhere to put stuff, but there’s literally nowhere to put things. I’ve spent three years perfecting storage solutions that actually work instead of just looking cute on Pinterest.
Every cubic inch counts in camper bathrooms. I learned to see storage potential in spaces I previously ignored – behind doors, above toilets, inside cabinet doors. It’s all fair game.
Vertical Storage Maximization
Tension rods create instant shelving. I have three tension rods in my shower holding baskets at different heights. They install in seconds, require zero drilling, and stay put while driving.
Over-the-door organizers aren’t just for shoes. Mine has 12 pockets holding everything from cleaning supplies to makeup. It takes up zero bathroom space while providing tons of storage.
Magnetic strips solve small item chaos. I mounted one inside my medicine cabinet for tweezers, nail clippers, and bobby pins. Never losing small metal items is basically a superpower.
Creative Storage Hacks
Suction cup organizers work on fiberglass walls. I have three suction shelves in my shower, and they’ve held strong through two years of rough roads and countless showers.
Drawer dividers prevent the “everything slides around while driving” disaster. I learned this after finding my toothbrush in the shower and my razor under the sink. Now everything stays put.
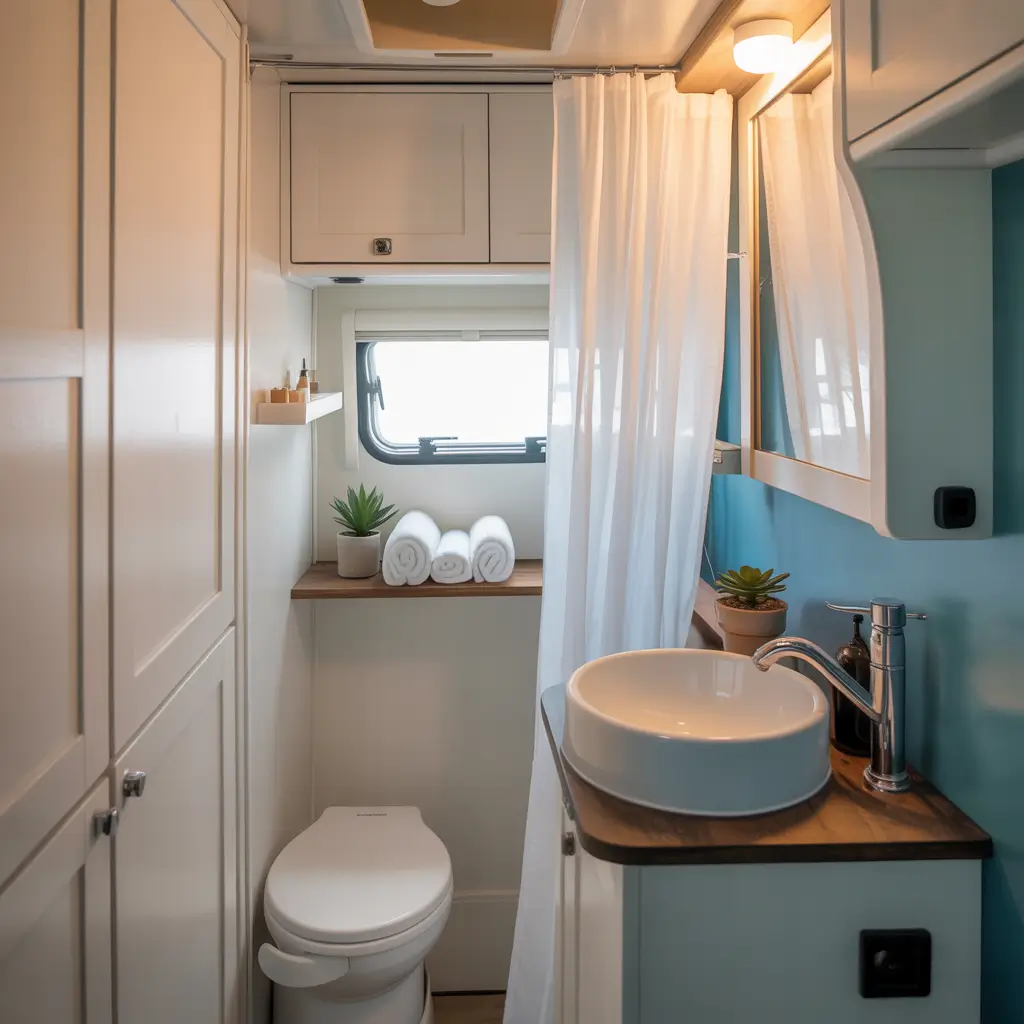
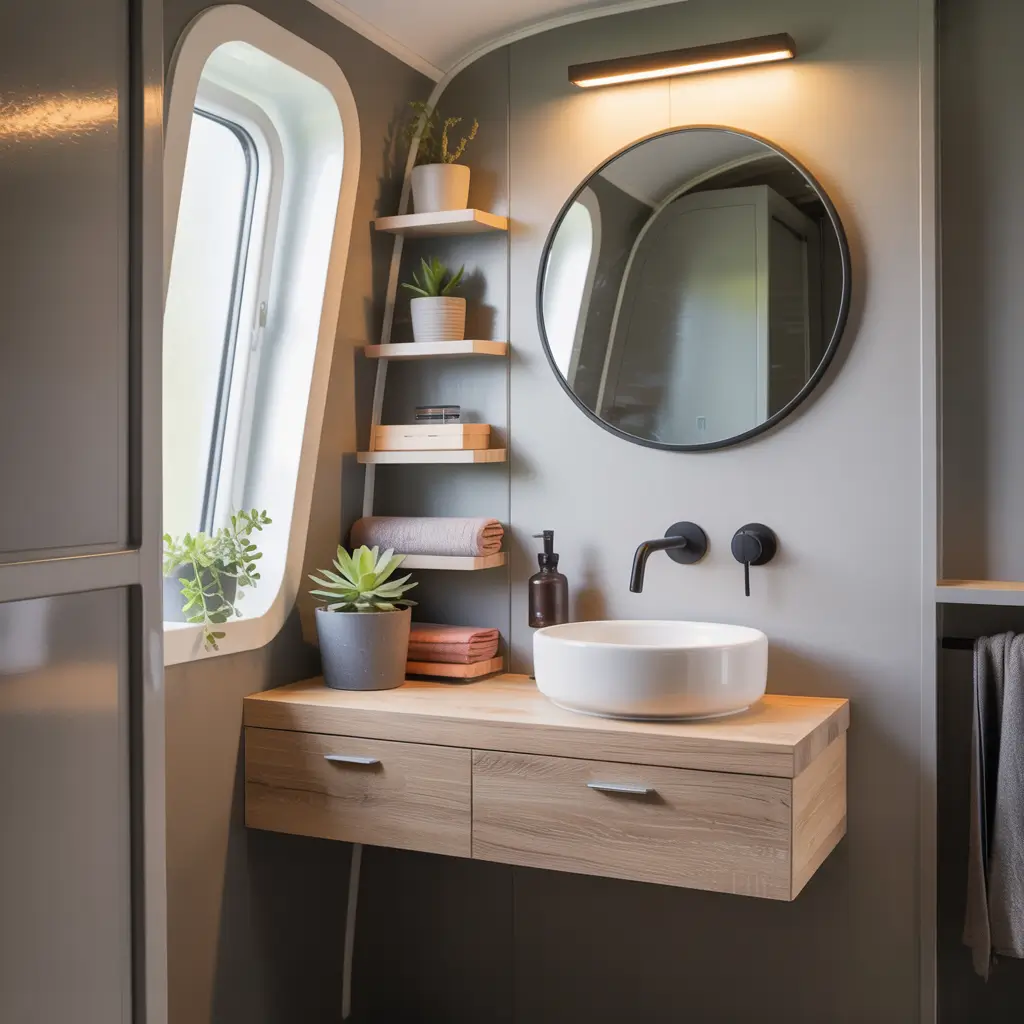
5. Modern Camper Bathroom Remodel Tips
Modern design actually works perfectly in campers because clean lines and simplicity complement small spaces. I modernized my vintage camper bathroom, and people always comment on how “new” it looks despite being 30 years old.
The key to modern camper bathrooms is keeping things simple and streamlined. Fussy traditional details feel overwhelming in tiny spaces, but modern minimalism feels right.
Modern Fixtures and Finishes
Matte black fixtures instantly modernize any camper. I replaced all my dated chrome with matte black, and my bathroom aged backward about 20 years. Plus, matte black hides water spots better than chrome ever did.
Floating vanities create modern vibes and space. Mine attaches to the wall studs and hovers about 4 inches off the floor. The gap makes the bathroom feel less cluttered and more contemporary.
Contemporary Color Schemes
Monochromatic schemes work wonders. My bathroom uses four shades of gray plus white and black. It’s cohesive, modern, and makes the small space feel pulled together instead of random.
One accent color prevents boring. Everything in my bathroom is neutral except for my navy blue towels and bath mat. That pop of color keeps it interesting without overwhelming the tiny space.
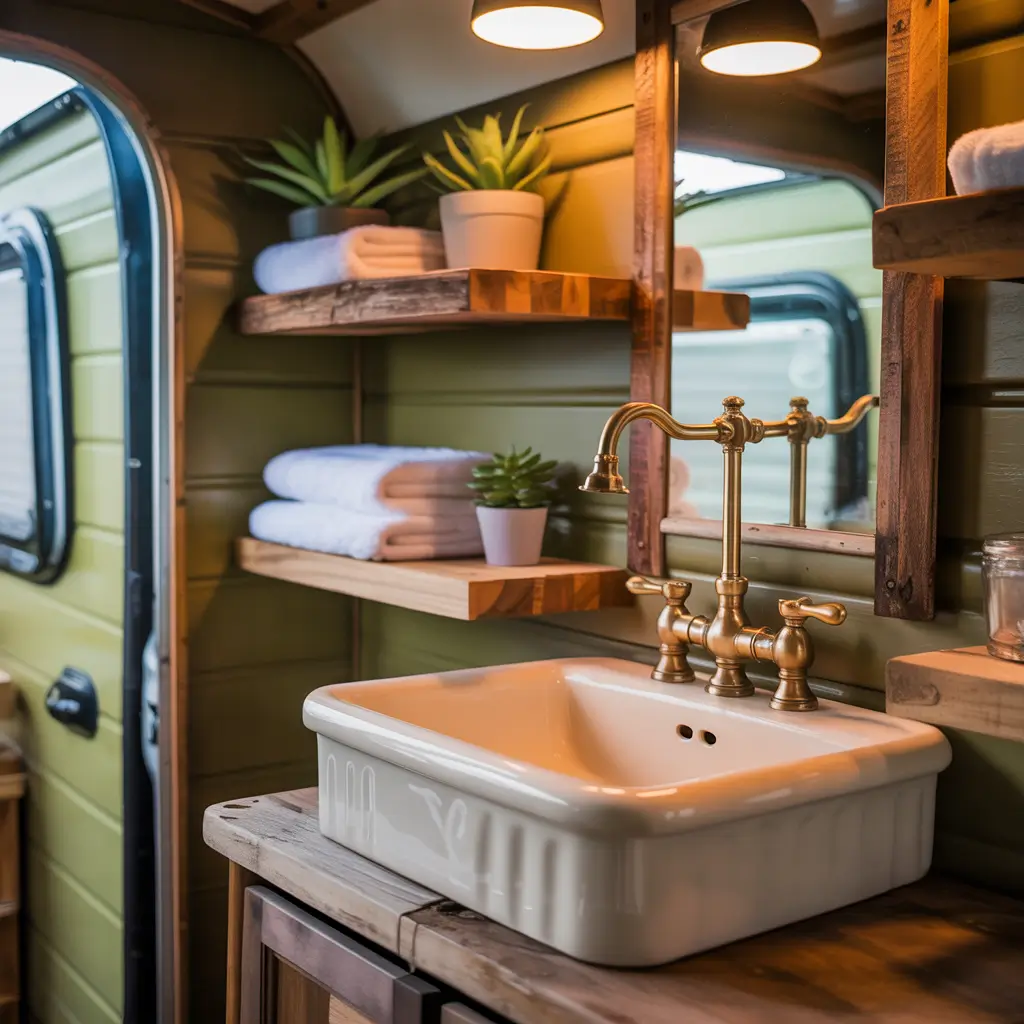
6. Rustic Camper Bathroom Renovation Ideas
Rustic style feels natural in campers and works beautifully in small bathrooms. I added rustic touches to my friend’s vintage trailer bathroom, and now it looks like it belongs in a design magazine instead of a 1970s parking lot.
The beauty of rustic design is that imperfections add character. That slightly uneven shelf? Rustic charm. The mismatched hardware? Curated vintage collection.
Rustic Materials and Finishes
Reclaimed wood adds instant rustic appeal. I used weathered fence boards to create a backsplash behind the sink, and it cost $0 because my neighbor was throwing them away. One man’s trash became my bathroom’s focal point.
Oil-rubbed bronze fixtures bring warmth. I replaced my shiny chrome with bronze, and the warmth transformed the cold bathroom into something cozy.
Creating Rustic Atmosphere
Shiplap or beadboard walls work perfectly in campers. I installed thin beadboard panels over my ugly fiberglass walls, and the transformation was instant. They’re lightweight, which matters in campers, and they add tons of character.
Mason jar accessories embrace the rustic vibe. My soap dispenser is a mason jar with a bronze pump. It’s functional, on-theme, and cost me $6.
Also Read: 12 Creative Guest Bathroom Remodel Ideas and Budget Hacks
7. DIY Camper Bathroom Upgrade Projects
DIY in campers is often easier than in houses because everything is smaller and more accessible. I’ve tackled numerous camper bathroom projects with basic tools and YouTube University credentials.
The best part about camper DIY? Projects finish quickly because the spaces are tiny. You can paint an entire camper bathroom in two hours instead of spending all day on a house bathroom.
Beginner-Friendly Projects
Painting transforms everything. I’ve painted walls, cabinets, fixtures, and even my toilet seat. Okay, the toilet seat was a weird experiment, but it worked! Paint is cheap, forgiving, and makes massive impacts.
Installing peel-and-stick products requires zero skills. I’ve done backsplashes, floors, and shower surrounds with peel-and-stick materials. If you can use scissors and follow lines, you can do this.
Replacing faucets is surprisingly simple. My first time took 45 minutes including three YouTube tutorial breaks. Now I can swap faucets in 15 minutes and feel like a plumbing genius.
Intermediate DIY Challenges
Building custom storage requires basic carpentry. I built a three-tier shelf unit specifically sized for my weird camper bathroom corner. It fits perfectly because I made it myself, and I feel unreasonably proud every time I look at it.
Installing new flooring takes patience but isn’t hard. I did vinyl plank flooring in my bathroom over a weekend. The small space made it manageable even for my limited DIY skills.
8. Luxury-Look Camper Bathroom Remodel on a Budget
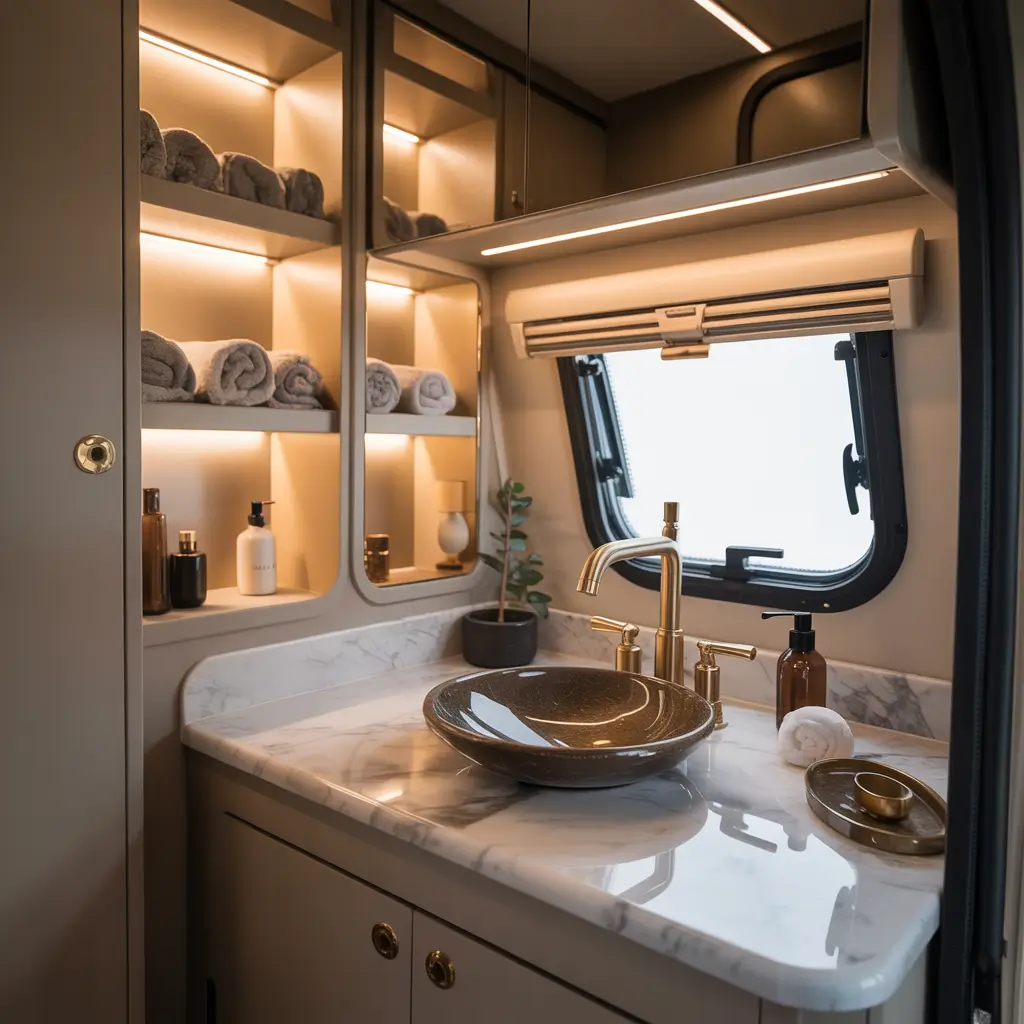
You can absolutely create luxury vibes in a camper bathroom without luxury prices. I made my bathroom look expensive on a Walmart budget, and guests think I spent way more than I actually did.
The trick is choosing a few quality items that look expensive and surrounding them with budget finds. Strategic spending creates luxury impressions without luxury costs.
High-Impact Luxury Elements
A really nice faucet elevates everything. I splurged $80 on a waterfall faucet (found on sale for half price), and everyone comments on it. That one nice fixture makes the whole bathroom feel more expensive.
Quality towels make a difference. I bought two really nice white towels specifically for the camper. They cost $40 for the set but look and feel luxurious. The cheap scratchy towels went to the garage.
Budget Luxury Tricks
Brass or gold accents read as expensive. I added gold drawer pulls and a gold-framed mirror. The warm metallic catches light and tricks people into thinking I spent money.
Good lighting creates ambiance. I installed LED strip lighting under my floating vanity, and the soft glow screams luxury spa. The strips cost $15 and plug into a regular outlet.
Marble-look materials fool everyone. My countertop looks like real marble but it’s actually contact paper. My shower wall looks like marble tile but it’s peel-and-stick. Nobody knows unless I tell them.
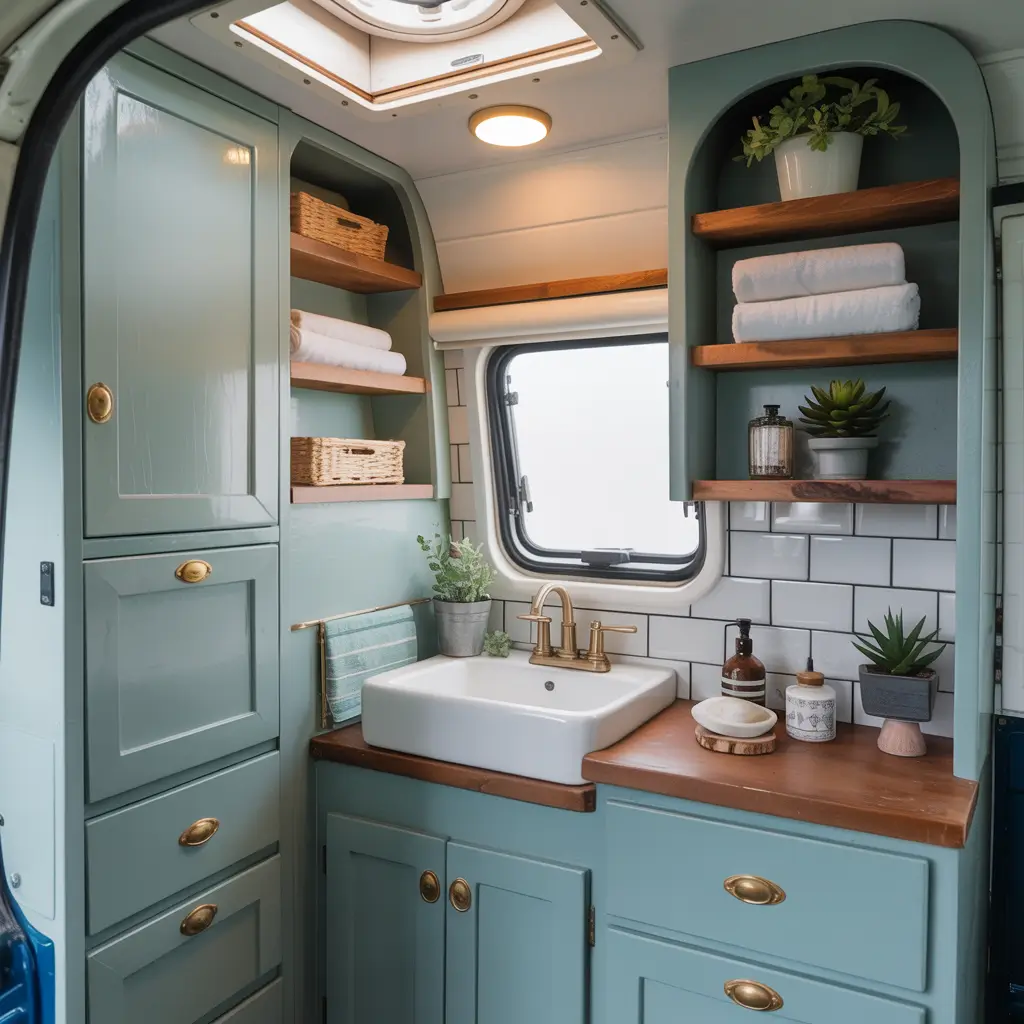
9. Small Camper Bathroom Color & Tile Ideas
Color choices make or break tiny camper bathrooms. I learned this after painting one bathroom dark brown and immediately hating how cave-like it felt. Light colors are your friends in small spaces.
Tile in campers needs special consideration because weight matters. Real ceramic tile is heavy and can stress camper structures. But tile-look alternatives have gotten incredibly realistic.
Color Strategies for Small Spaces
All white opens up tight spaces. My bathroom went from claustrophobic to manageable just by painting everything white. Yes, it shows dirt faster, but the spaciousness is worth extra cleaning.
Light gray adds sophistication without darkness. I use it for accents against my white walls, and it keeps the bathroom from feeling sterile while maintaining brightness.
Tile Alternatives That Work
Peel-and-stick tiles look shockingly real now. I used subway tile stickers in my shower, and visiting friends genuinely thought I’d installed real tile until I let them touch it.
Vinyl plank flooring works great in camper bathrooms. It’s waterproof, lightweight, and installs easily over existing floors. Mine has survived two years of full-time camping with zero issues.
Also Read: 10 Creative RV Bathroom Remodel Ideas and DIY Renovation Tricks
10. Functional Camper Bathroom Layout Inspirations
Layout matters enormously in camper bathrooms because every inch counts. I’ve helped rearrange two camper bathrooms just by moving fixtures a few inches, and the functionality improvements were dramatic.
Sometimes you can’t change much about your layout, but even small adjustments can make big differences in how the space works.
Optimizing What You Have
Swap shower and toilet positions if possible. My buddy did this in his camper, and it created enough space to actually dry off without hitting the toilet. Sometimes just switching two fixtures opens up the whole space.
Corner toilets save surprising space. They utilize that awkward corner that’s usually wasted, freeing up more useful space in the middle of the bathroom.
Smart Layout Choices
Pocket doors eliminate door swing space. I installed one in my camper bathroom, and suddenly I had an extra two feet of usable space that used to be reserved for door clearance.
Curved shower rods add elbow room. This simple $15 upgrade gave me six extra inches in my shower. Six inches doesn’t sound like much until you’re trying to shave your legs in a camper shower.
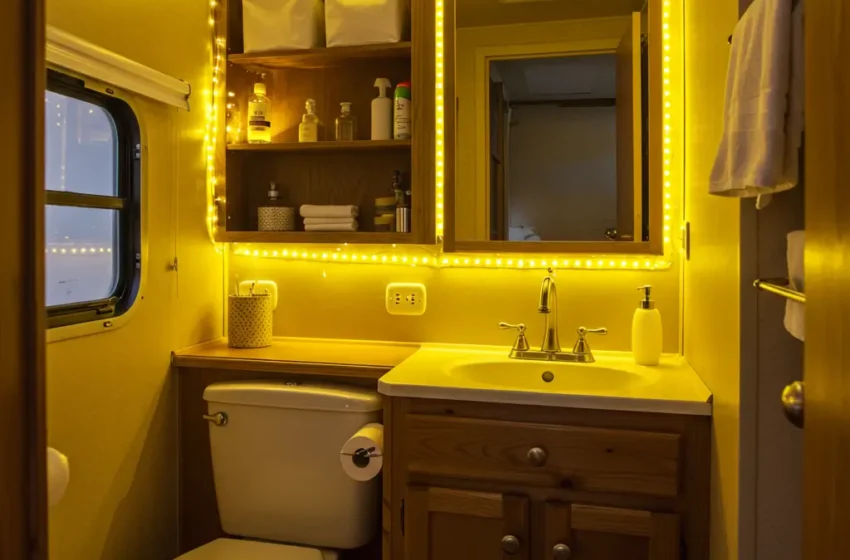
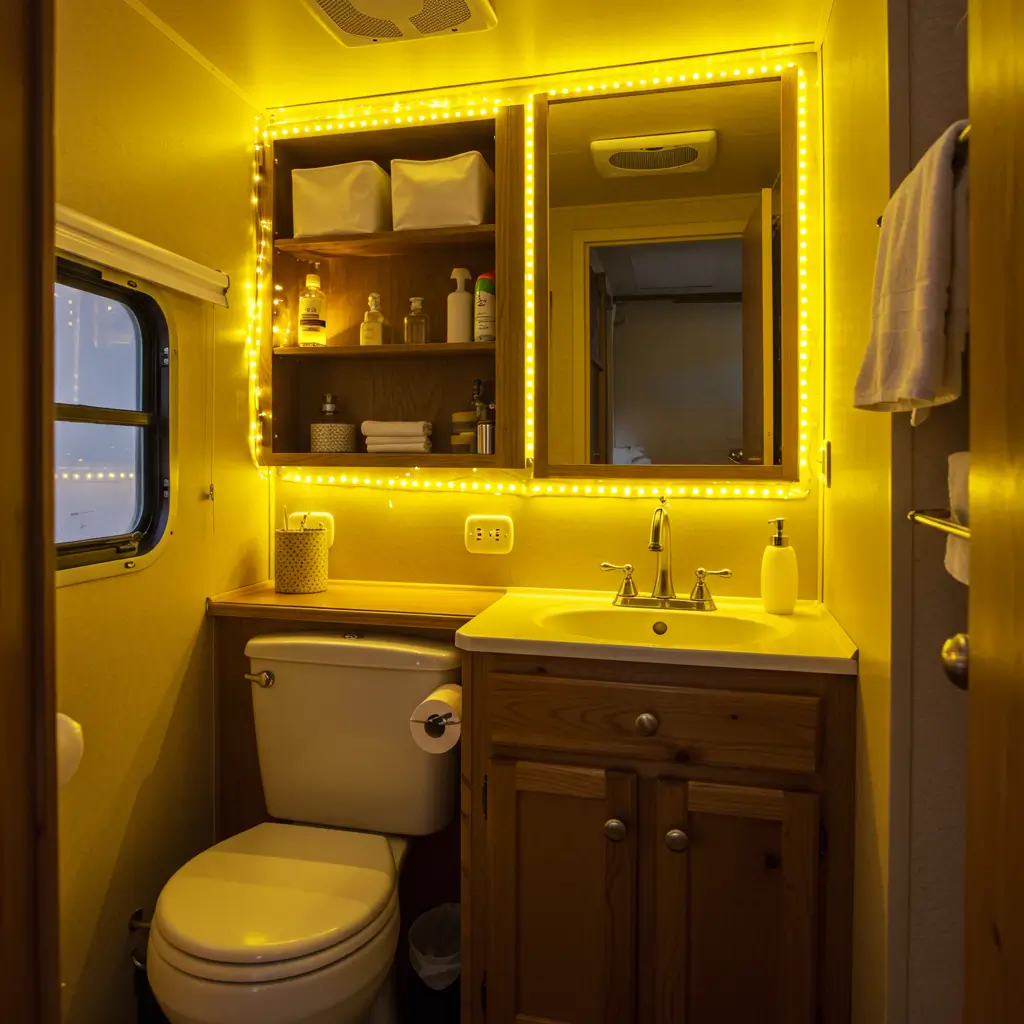
11. Cozy Camper Bathroom Lighting & Decor Ideas
Lighting transforms camper bathrooms from depressing caves to actually pleasant spaces. My original camper bathroom had one dingy dome light that made everyone look like extras in a horror movie. Now it has layered lighting that actually works.
Decor in camper bathrooms needs to be minimal but impactful. You don’t have space for a lot of stuff, so the few pieces you include need to count.
Lighting Layers That Work
Vanity lights prevent the cave effect. I installed two sconces flanking my mirror, and suddenly I could actually see what I was doing. No more applying makeup in shadows and looking like a clown in daylight.
LED strips add ambiance without taking space. Mine run under my floating vanity and behind my mirror. They create a soft glow that makes the bathroom feel larger and more welcoming.
Battery-operated lights solve electrical issues. I added a battery puck light inside my shower because running electrical there was too complicated. It sticks to the ceiling and provides perfect shower lighting.
Minimal Decor Maximum Impact
One piece of art makes it feel finished. I have a small framed print that’s secured with velcro so it doesn’t fly off while driving. It’s the only decorative item in my bathroom, but it makes it feel intentional.
Plants that tolerate bathroom conditions add life. My small pothos thrives in the humidity and adds a pop of green without taking up precious counter space.
12. Compact Camper Bathroom Organization Tricks
Organization in camper bathrooms determines whether you can actually find your toothbrush or spend 10 minutes searching through chaos. I’ve tested dozens of organization systems, and these actually work long-term.
The key is making organization so easy that you’ll actually maintain it. Complicated systems fail the first time you’re tired after a long drive and just want to crash.
Organizing for Real Life
Everything needs a designated spot. I labeled my storage areas with my label maker, and it keeps me honest about putting things back where they belong.
Stackable containers maximize vertical space. My under-sink area has four stackable bins, each holding specific categories. I can grab what I need without excavating everything.
Securing Items for Travel
Velcro everything that might move. I have velcro strips securing my soap dispenser, toothbrush holder, and decorative items. Nothing flies around during bumpy roads.
Drawer locks prevent the “everything dumps out while driving” disaster. I installed simple child-safety locks on my drawers, and they’ve saved me from cleaning up bathroom chaos countless times.
BTW, bungee cords secure larger items. I have one across my shower caddy keeping bottles in place during travel. It’s not pretty, but it works perfectly.
Making Your Camper Bathroom Actually Work
After multiple camper bathroom remodels, here’s my honest take: perfection isn’t the goal – function is. Your camper bathroom will never be your dream bathroom, and that’s okay. The goal is making it work for your camping lifestyle without driving you crazy.
Start with the biggest pain point. For me, it was terrible lighting. For my sister, it was nonexistent storage. Fix what bothers you most first, and you’ll build momentum for other improvements.
Don’t try to do everything at once unless you enjoy camping without a working bathroom. I made this mistake and lived with a torn-apart bathroom for a week. Learn from my poor planning.
FYI, test everything before your next trip. I’ve discovered problems with new installations while parked at campsites 100 miles from home. It’s not fun. Do a shakedown weekend to identify issues.
Remember that camper bathrooms serve different purposes than house bathrooms. Quick showers, fast tooth-brushing, and efficient routines work better than leisurely spa experiences. Embrace the efficiency.
The best camper bathroom is one you don’t hate using. Whether you go modern minimalist or rustic cozy, make it work for you. Life’s too short for camping bathrooms that make you want to use the campground facilities instead 🙂
Your camper bathroom can actually be decent with smart choices and realistic expectations. It’ll never be huge, but it can be functional, clean, and maybe even kind of nice. Now grab some peel-and-stick tile and make that tiny bathroom less terrible!


