10 Stylish DIY Room Decor Ideas for Trendy Interiorsc
- Bedroom Design
 Ben
Ben- 0
- 35 minutes read

Let me guess—you’re scrolling through Pinterest at 2 AM, saving your 487th room decor idea that you’ll “definitely” make this weekend, while your actual room looks like a tornado hit a thrift store.
Been there, done that, got the hot glue gun burns to prove it.
Here’s the thing about DIY room decor: everyone makes it look so easy online, but then you try to recreate that “simple” geometric wall art and end up with something that looks like your toddler cousin made it during art class.
I spent years failing at DIY projects before I finally figured out which ones actually work for normal humans with normal crafting skills and, more importantly, normal budgets.
Whether you’re trying to transform your bedroom from “sad college dorm” to “Instagram-worthy sanctuary” or just want to add some personality without dropping your entire paycheck at West Elm, these ten DIY room decor ideas will actually work.
And yes, I’ve tried them all, so I can tell you exactly where things might go sideways and how to avoid the disasters I created along the way.
Floating Shelves with Hidden Storage
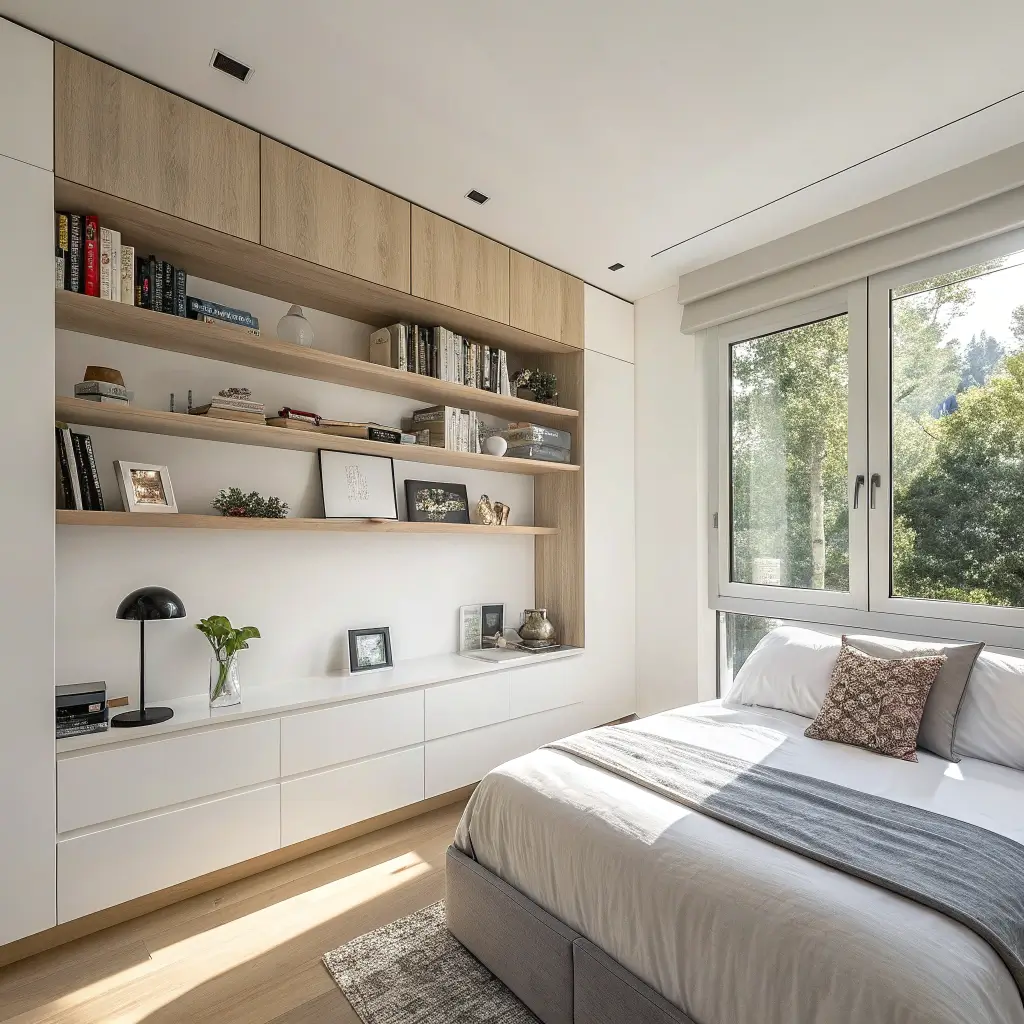
Floating shelves are basically the Swiss Army knives of room decor—they look minimalist and sophisticated while secretly solving all your storage problems. These beauties give you display space AND hiding spots for all that random stuff you don’t know what to do with.
The Secret Compartment Trick
The genius of DIY floating shelves with hidden storage lies in their deceptive simplicity. From the outside, they look like regular floating shelves, but inside? Secret compartments for hiding everything from spare cash to embarrassing diary entries from middle school.
I built my first hidden storage shelf after realizing my “decorative” books were actually just hiding my collection of random chargers, old birthday cards, and that emergency chocolate stash. Now I have three of these shelves, and visitors always compliment my “minimalist aesthetic” while having no idea I’m basically hiding a small pharmacy behind those succulents.
Materials You’ll Actually Need
Here’s what you’ll need without the fancy tools nobody owns:
- Hollow wooden boxes or drawers: Hit up thrift stores for old drawers
- L-brackets: The invisible kind that mount inside
- Wood stain or paint: To match your room
- Magnetic catches: For the secret compartments
- Basic tools: Drill, level, screwdriver (borrow if needed)
Installation Tips That Actually Work
Mount these shelves at eye level or slightly below—trust me, you don’t want to be reaching up into secret compartments like you’re searching for Narnia. Mark your studs (the wall kind, not the other kind), and use wall anchors if you’re mounting on drywall.
The trick that nobody mentions? Install the magnetic catches slightly recessed so the compartment door sits flush. I learned this after my first attempt looked like a shelf having an identity crisis.
Handmade Macrame Wall Hangings

Macrame is having a moment, and honestly, it deserves it. These knotted beauties add texture and warmth to any room while making you look like you have your life together way more than you actually do.
Why Macrame Works for Everyone
Macrame is forgiving in the best way—imperfections actually add character. Unlike painting or other crafts where mistakes are obvious, slightly uneven knots in macrame just add to the “handmade charm.” Plus, once you learn like three basic knots, you can make literally anything.
I started making macrame after a wine-and-craft night where I discovered I’m terrible at painting but surprisingly good at tying knots (thanks, Boy Scouts). Now my bedroom wall looks like a boho dream, and people think I’m way more artistic than I actually am.
The Only Knots You Need to Know
Forget those tutorials showing 47 different knots. You need exactly three:
- Square knot: Your bread and butter
- Half hitch: For those diagonal patterns
- Gathering knot: To finish things off
That’s it. Seriously. I’ve made twelve different wall hangings with just these three knots.
Materials That Won’t Break the Bank
Skip the expensive “macrame cord” and head to the hardware store:
- Cotton rope (way cheaper in bulk)
- A wooden dowel or branch from your yard
- Scissors (sharp ones, not your kitchen scissors)
- A comb for fringing
- Tape measure if you’re feeling fancy
Pro tip: Natural, unbleached cotton rope photographs better than the bright white stuff. Your Instagram will thank me later.
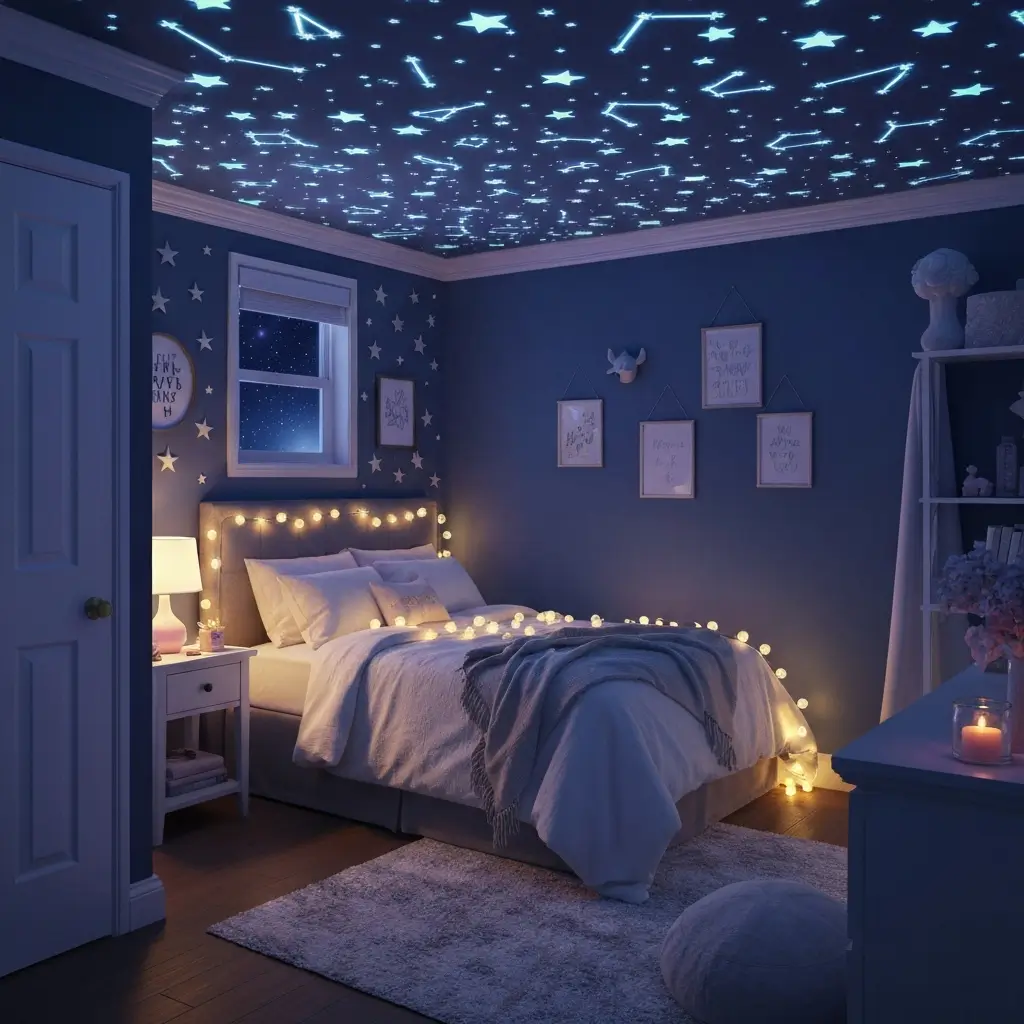
Glow-in-the-Dark Star Ceiling Decor
Remember lying on your childhood bed, staring at those plastic glow stars that eventually fell and hit you in the face at 3 AM? Well, the adult version is way cooler and won’t give you a midnight concussion.
Creating Your Personal Galaxy
Modern glow-in-the-dark paint has come a long way from those sad greenish stickers. You can create actual constellations, galaxies, and nebulas that look stunning during the day and magical at night.
I went full nerd and mapped out actual constellations on my ceiling. Now I can find Orion’s Belt from my bed, which is either really cool or really sad, depending on who you ask. But honestly? Falling asleep under a glowing sky beats scrolling through your phone any night.
The Paint That Actually Glows
Not all glow paint is created equal. Here’s what works:
- Premium glow paint: Yes, spend the extra $10
- Multiple colors: Blue and green glow brightest
- UV flashlight: To “charge” your stars
- Fine brushes: For detailed work
- Sponges: For galaxy effects
Techniques for Realistic Night Skies
Start with larger stars and add smaller ones—vary the sizes dramatically. Use a sponge to dab diluted glow paint for the Milky Way effect. Add shooting stars with quick brush strokes.
The secret nobody tells you? Paint your stars during the day, then use the UV flashlight to check your work. Otherwise, you’ll be painting in the dark like I did the first time, wondering why your Big Dipper looks like a drunk spider.
Also Read: 10 Charming Unisex Kids Bathroom Ideas and Easy DIY Hacks
Personalized Photo Collage Frame
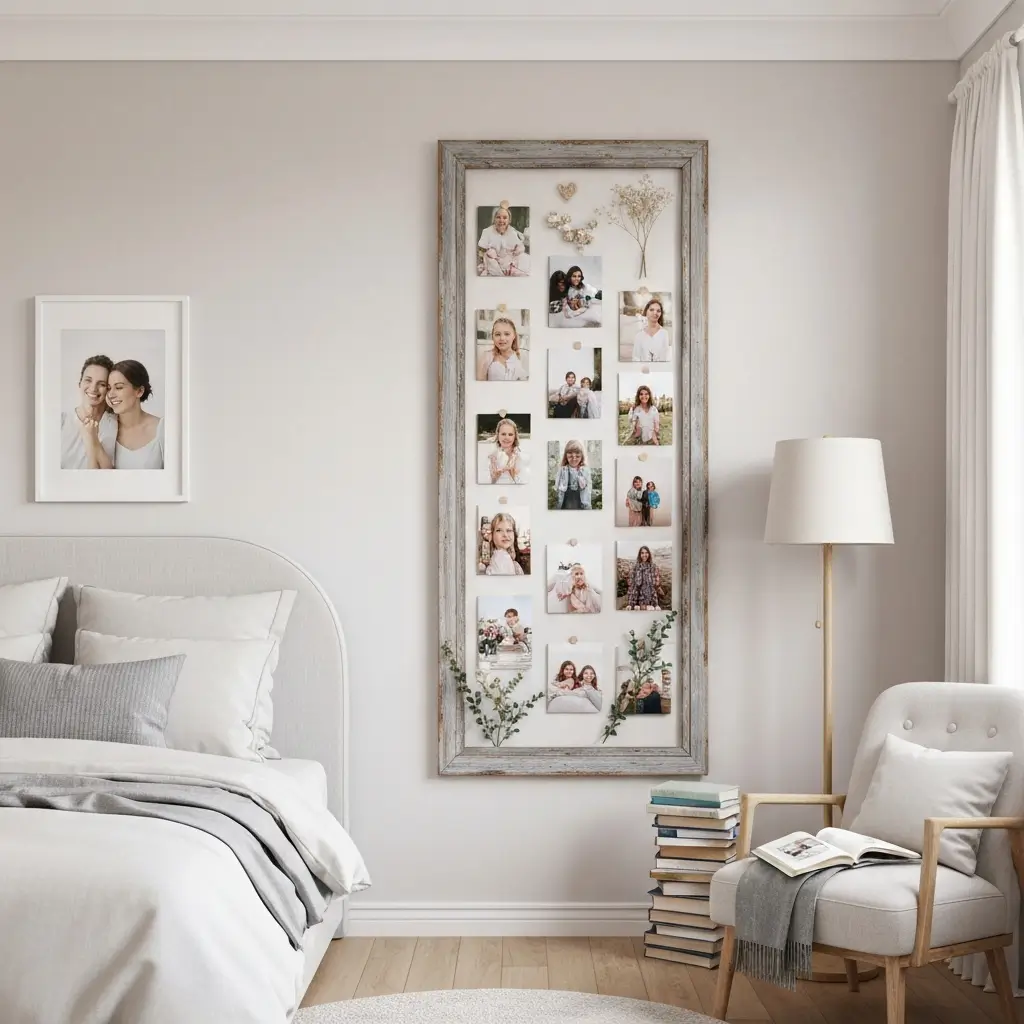
Photo collages are making a comeback, but not those cringey ones from 2003 with Comic Sans quotes. We’re talking sophisticated, Pinterest-worthy arrangements that tell your story without looking like a yearbook exploded on your wall.
The Grid System That Works
Forget random arrangements—they look messy unless you’re a design genius. Use a grid system with consistent spacing. Measure once, twice, three times, then measure again because crooked photos will haunt you forever.
I learned this after creating what I called an “organic arrangement” but what my roommate called “did you throw these at the wall?” Now I use painter’s tape to map out the entire arrangement before putting a single nail in the wall.
Mixing Photos and Other Elements
Don’t just use photos. Mix in:
- Concert tickets and postcards
- Pressed flowers or leaves
- Fabric swatches or wallpaper samples
- Handwritten quotes (but please, good handwriting)
- Small mirrors for dimension
The Frame Game
Mix frame styles but stick to a color scheme. All black, all white, all wood—pick one and commit. Different frame styles in the same color creates interest without chaos.
FYI, thrift stores are goldmines for frames. Just spray paint them all the same color and suddenly your $20 frame collection looks like a $200 designer set.
DIY Terrarium Centerpieces
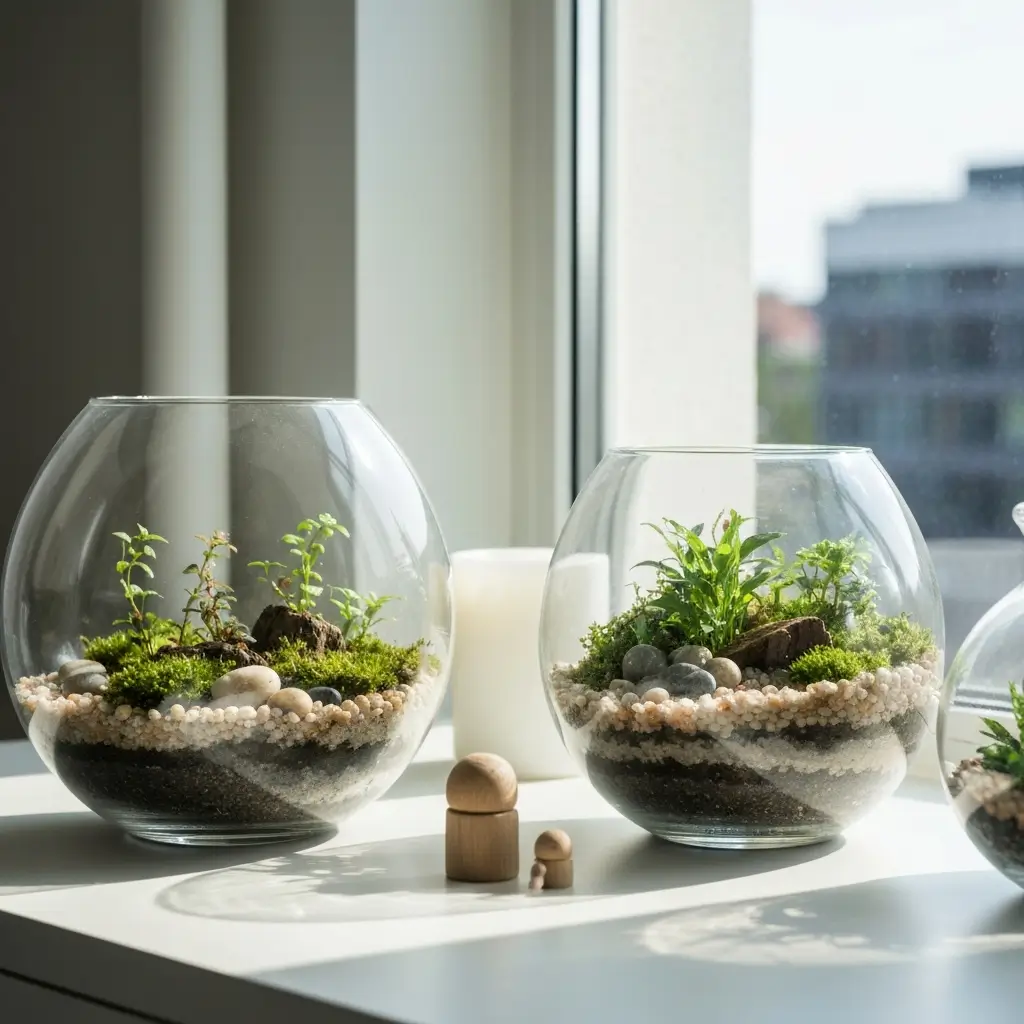
Terrariums are basically pet plants in glass houses, and they’re perfect for people who want nature in their room but have the plant-care skills of a cactus killer (guilty as charged).
Choosing the Right Container
Any clear glass container works—mason jars, old fish bowls, that weird vase from your aunt. The key is making sure it’s clean and clear. Cloudy glass makes your terrarium look like it needs glasses.
I’ve made terrariums in everything from light bulbs to cookie jars. My favorite? An old clock case that now houses succulents instead of telling time. It’s metaphorical or something.
The Layer System
Layers are crucial for both drainage and aesthetics:
- Pebbles or gravel: For drainage
- Activated charcoal: Keeps things fresh
- Mesh or moss: Prevents soil from falling through
- Potting soil: The good stuff
- Plants: The stars of the show
- Decorative elements: Tiny figurines, crystals, whatever
Plant Selection for Black Thumbs
Stick to succulents and air plants if you’re plant-challenged. They’re basically the golden retrievers of the plant world—happy with minimal attention and hard to kill.
Pro tip: Overwatering kills more terrariums than underwatering. When in doubt, don’t water. Your plants aren’t as thirsty as you think.
Upcycled Furniture Makeover
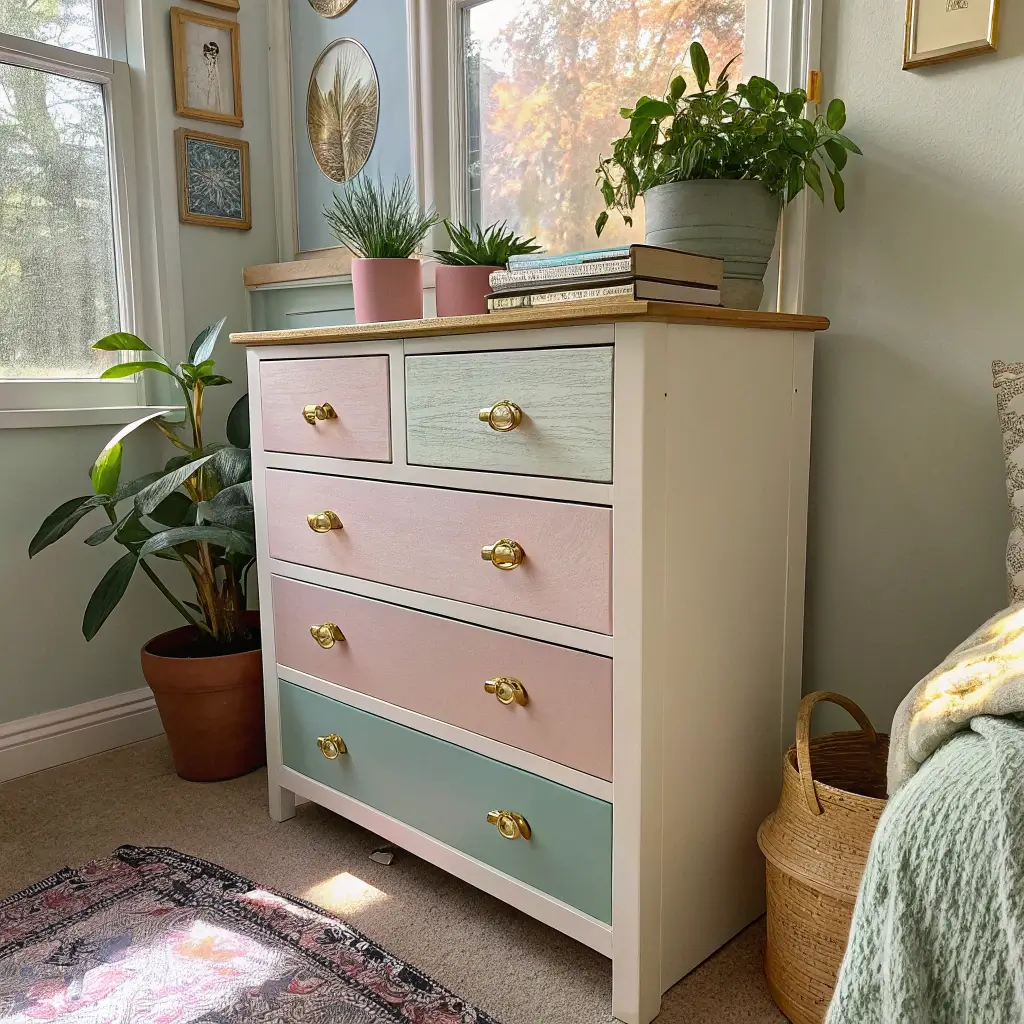
Upcycling furniture is like giving your room a makeover without the price tag that makes your bank account cry. That sad dresser from Craigslist? It’s about to become your room’s statement piece.
Finding Furniture Worth Saving
Not all furniture deserves salvation. Look for:
- Solid wood construction (not particle board)
- Good bones (stable structure)
- Interesting details (even if they’re currently ugly)
- The right size for your space
I once bought a hideous orange dresser for $20 because it was solid oak underneath. Three days and some chalk paint later, it looked like something from Restoration Hardware.
Paint Techniques That Hide Everything
Chalk paint is your best friend—it covers everything without priming or sanding. But here’s what they don’t tell you: you still need to seal it, or it’ll chip faster than nail polish on a typist.
Other techniques that work:
- Distressing (makes mistakes look intentional)
- Ombre effects (forgiving and trendy)
- Stenciling (adds detail without skill)
- Decoupage (covers damaged surfaces)
Hardware Swaps That Transform
Changing hardware is like giving furniture a facelift. Spend $30 on new knobs and pulls, and suddenly that thrift store find looks custom.
Skip the matchy-matchy hardware and mix metals for a collected-over-time look. Just keep the style consistent—all modern or all vintage, not both.
Also Read: 10 Modern DIY Bathroom Vanity Ideas and Sleek Designs
Boho Fabric Wall Panels
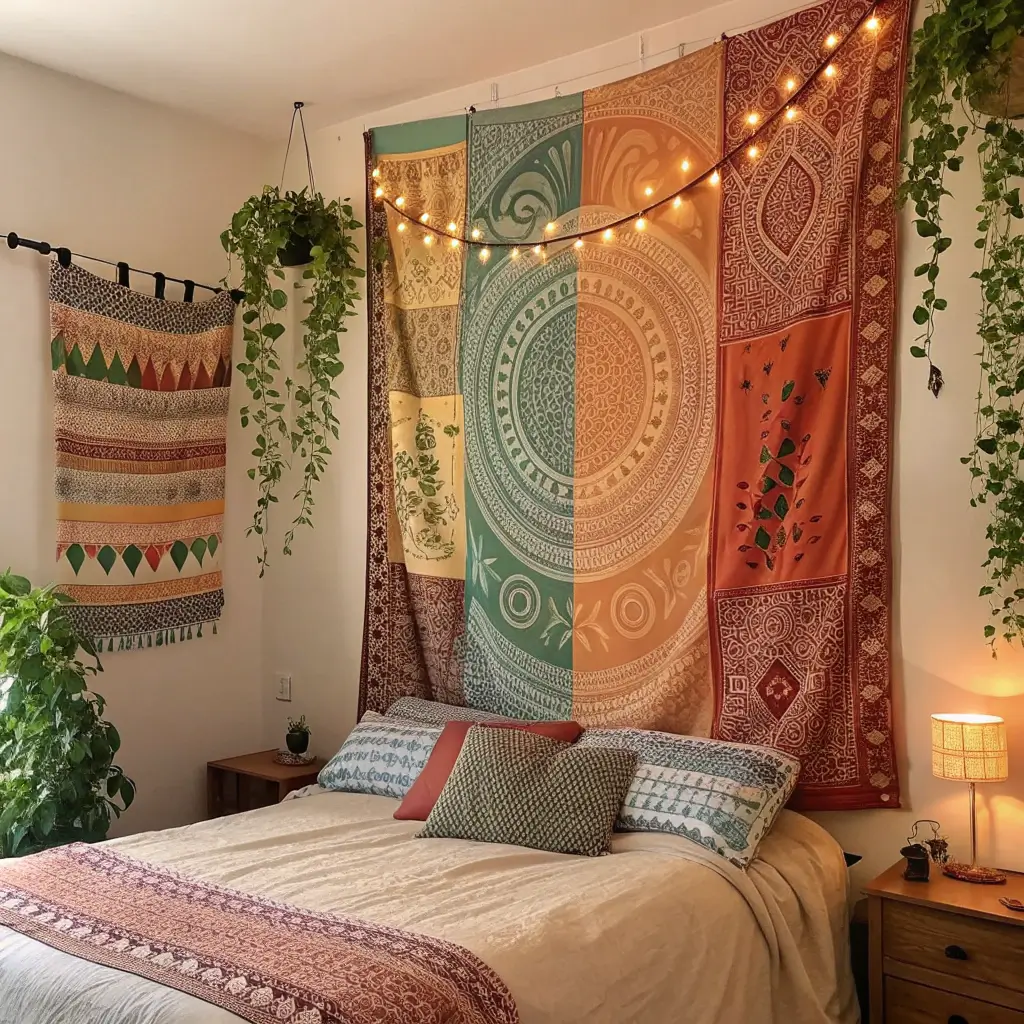
Fabric wall panels are basically removable wallpaper for commitment-phobes and renters. They add color, texture, and pattern without the permanence that makes landlords angry.
Choosing Fabrics That Work
Heavy fabrics work better than light ones—they hang better and hide wall imperfections. Tapestries, canvas drop cloths, and even shower curtains (yes, really) can work.
I made panels from vintage scarves I collected from thrift stores. Each one cost less than $5, and now my wall looks like an expensive textile gallery.
The Mounting System
Forget complicated hanging systems. Here’s what actually works:
- Wooden dowels or curtain rods at top and bottom
- Command strips for lighter fabrics
- Velcro strips for easy removal
- Tension rods for temporary installations
Creating Cohesion
If using multiple panels, stick to a color story. They don’t need to match, but they should conversation with each other. Think of it like outfit coordination—everything doesn’t match, but it all works together.
String Light Canopy Over Bed
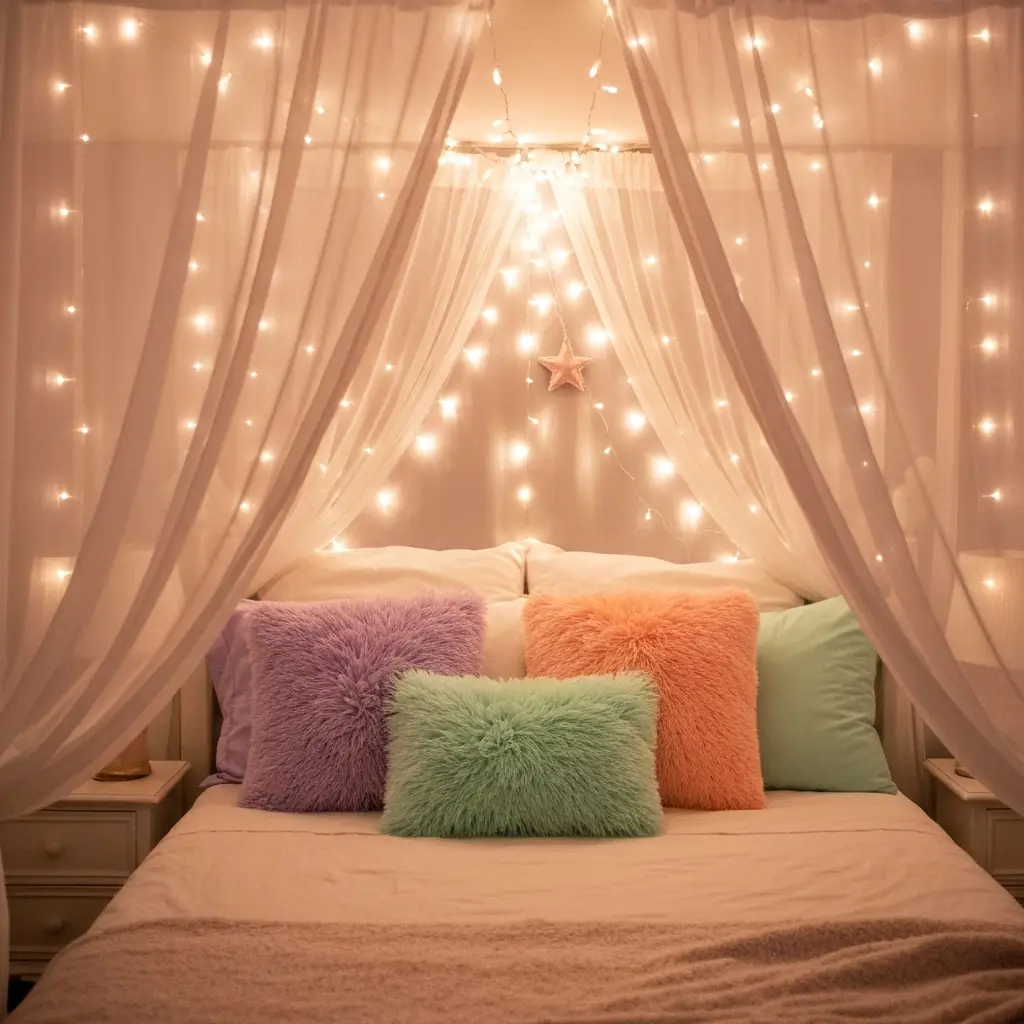
String lights over your bed create instant ambiance and make every night feel a little magical. Plus, they’re way cheaper than that fancy lighting fixture you’ve been eyeing.
The Hanging Strategy
The key is creating layers and depth, not just stringing lights in straight lines like you’re decorating for a used car lot. Create swags, layers, and varying heights for that dreamy canopy effect.
I hung mine using clear Command hooks in a grid pattern, then draped the lights in swooping patterns. It took three tries to get right, but now my bedroom looks like a fairy tale every night.
Light Selection Matters
Not all string lights are created equal:
- Warm white over cool white: Always cozier
- LED over incandescent: Won’t heat up your room
- Dimmable options: For mood control
- Battery vs. plug-in: Consider your outlet situation
Safety First
Keep lights away from fabric and use LED bulbs that don’t heat up. And please, don’t use those ancient Christmas lights from your parents’ attic. Fire hazards aren’t a vibe.
Painted Accent Wall with Stencils

Painted accent walls are having a renaissance, and stencils make it possible to create wallpaper-worthy designs without wallpaper prices or commitment.
Choosing Your Wall
Pick the wall that makes sense—usually the one behind your bed or the first one you see when entering. Don’t pick the wall with windows or doors unless you enjoy painting around obstacles.
Stencil Selection and Technique
Large-scale stencils work better than tiny, repetitive patterns unless you have the patience of a saint. Geometric patterns are more forgiving than organic ones.
The trick? Use a foam roller, not a brush, and remove excess paint first. I learned this after my first attempt looked like I’d thrown paint balloons at stenciled walls.
Color Combinations
Stay within two or three shades of the same color for sophistication. High contrast can work but requires perfect execution. When in doubt, go tone-on-tone.
Also Read: 15 Brilliant DIY Bathroom Storage Ideas for Small Spaces
Mason Jar Organization Wall
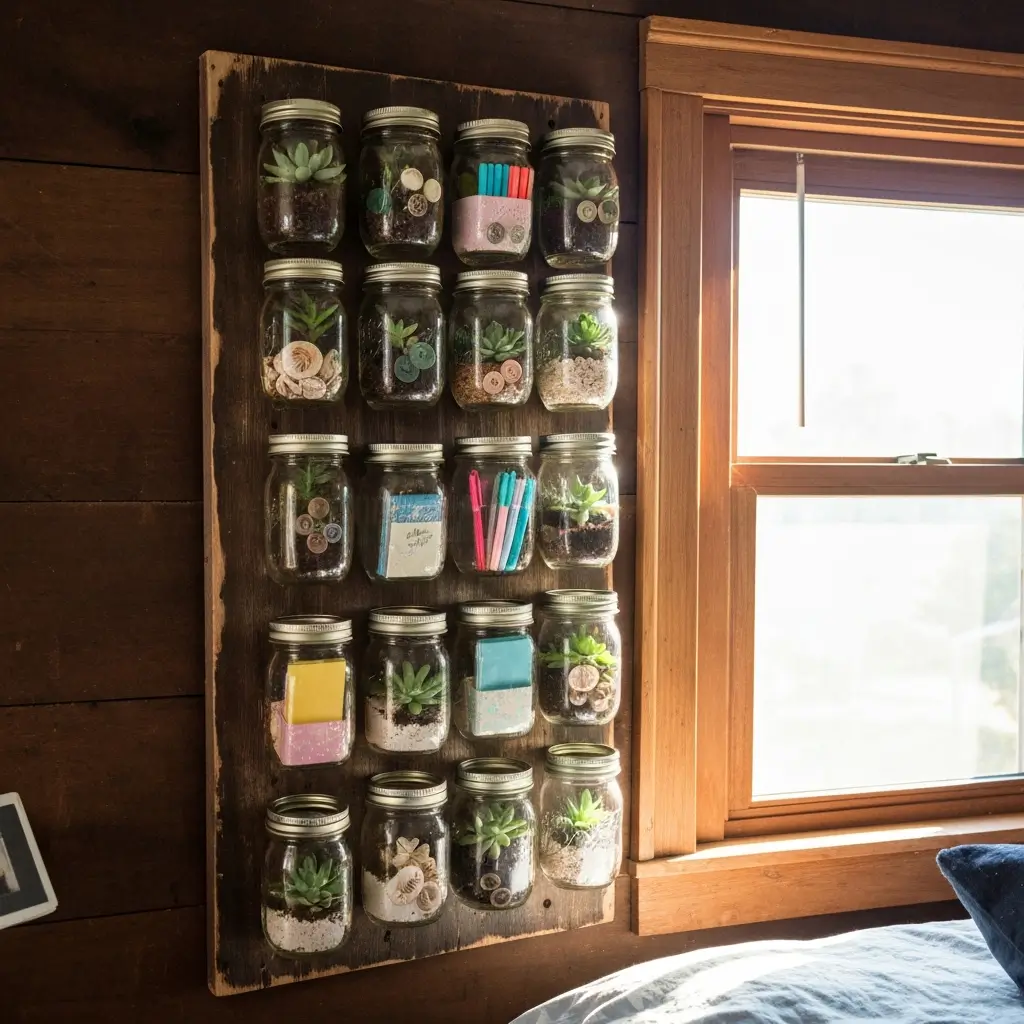
Mason jars aren’t just for Pinterest-perfect salads anymore. They’re about to become your room’s organization heroes while looking impossibly cute doing it.
The Mounting Method
Hose clamps are your secret weapon—they’re cheap, adjustable, and way sturdier than those fancy mason jar hangers. Mount them on a wooden board first, then mount the board to your wall.
I created a whole organization station using different sized jars for everything from pens to hair ties. It’s functional art, and I never lose my scissors anymore.
Customization Options
Paint the lids, add labels, use different sized jars for visual interest. You can even add fairy lights inside some jars for ambient lighting.
What to Store
- Desk supplies
- Makeup brushes
- Plant propagations
- Craft supplies
- Snacks (yes, really)
- Anything small that usually creates clutter
Making It All Work Together
The secret to great DIY room decor isn’t perfection—it’s personality. Your room should look like you live there, not like a catalog page.
Mix these projects, adapt them to your style, and don’t stress if things aren’t Pinterest-perfect.
Start with one project that excites you most. Success builds confidence, and suddenly you’ll find yourself voluntarily visiting hardware stores on weekends.
Before you know it, you’ll be that friend everyone texts for DIY advice.
Remember, the best room decor tells your story. These projects are just starting points—make them yours, mess up a few times, and enjoy the process.
Because honestly, the disasters make the best stories later 🙂
So grab that hot glue gun, put on your crafting playlist, and transform your space from “meh” to “mine.” Your room is waiting for its glow-up, and now you’ve got ten ways to make it happen.


