15 Trendy DIY Wall Decor Ideas for Beautiful Interiors
- Wall Decor
 Ben
Ben- 0
- 35 minutes read
Blank walls are basically crying out for attention, aren’t they? I mean, there’s nothing sadder than a perfectly good wall just sitting there, doing absolutely nothing but holding up your roof.
Well, today we’re fixing that problem together with some killer DIY wall decor ideas that won’t have you eating ramen for a month just to afford them.
I’ve tried pretty much every wall decor trick in the book (and invented a few disasters along the way). Some turned out Instagram-worthy, others…
let’s just say my friends still bring up the “glitter incident of 2019.” But through all that trial and error, I’ve discovered 15 solid DIY projects that actually work and look amazing.
Ready to transform those boring walls into conversation starters? Let’s get our hands dirty!
Macrame Wall Hanging
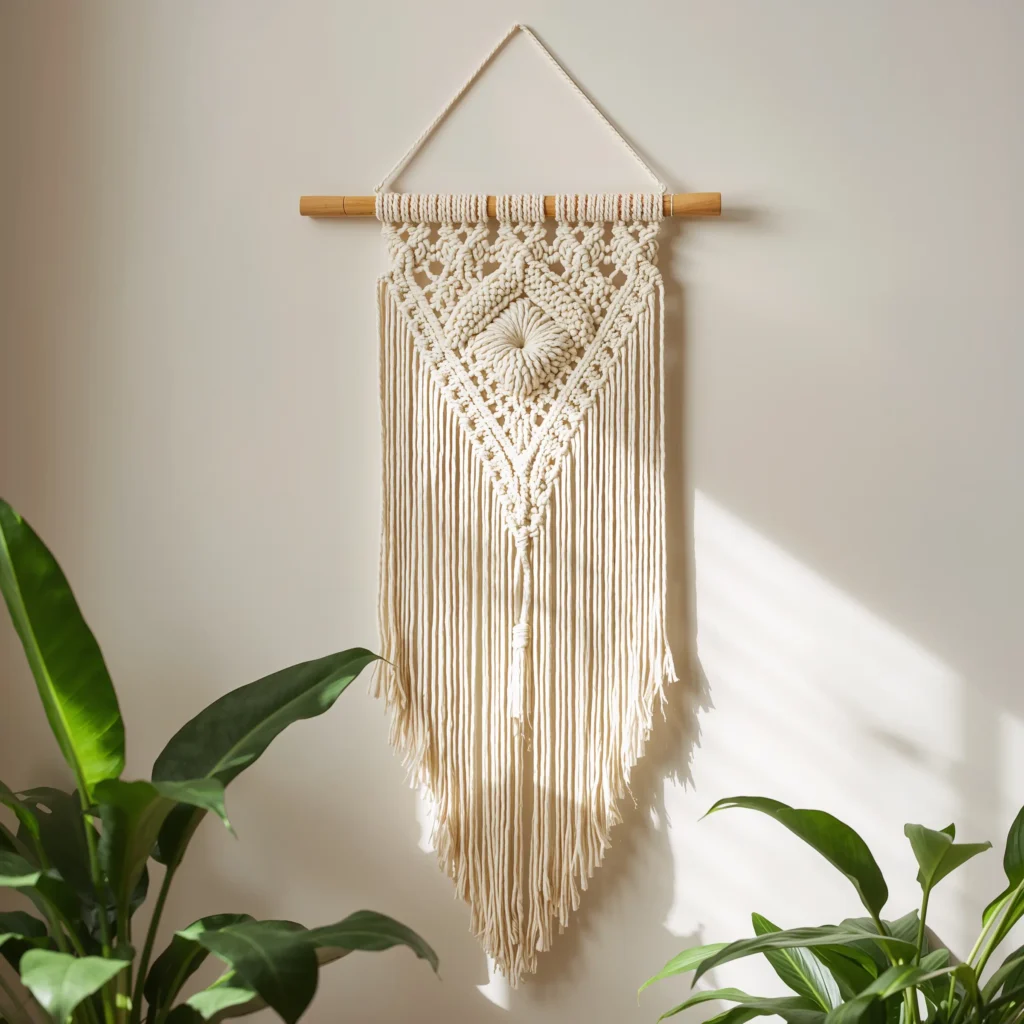
Remember when your grandma’s macrame plant holders were considered outdated? Well, macrame is back with a vengeance, and honestly, I’m here for it. Creating your own macrame wall hanging is surprisingly therapeutic – once you get past the initial “why won’t this knot cooperate” phase.
You’ll need some cotton cord (I prefer 5mm thickness), a wooden dowel, and patience. Start with basic knots like the square knot and larks head knot. YouTube tutorials are your best friend here – I probably watched about 20 before my first piece didn’t look like a tangled mess.
Materials You’ll Need:
- Cotton macrame cord (100-200 feet depending on size)
- Wooden dowel or branch
- Scissors
- Measuring tape
- Optional: beads, feathers, or driftwood for decoration
The beauty of macrame? You can’t really mess it up. Even wonky knots add character. My first attempt looked more “drunk spider web” than “boho chic,” but guests still compliment it. Pro tip: work on a flat surface and keep your cords organized – trust me, untangling 50 feet of cord isn’t fun.
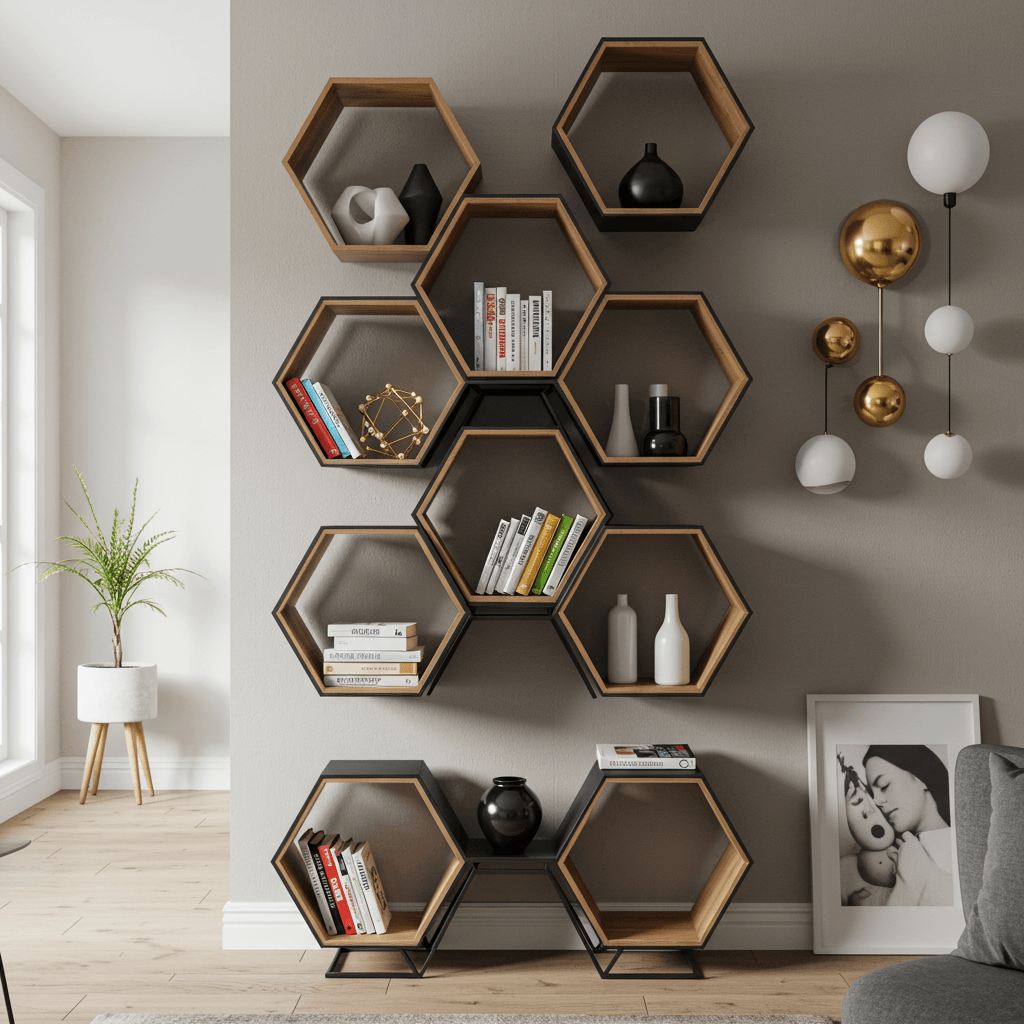
Painted Geometric Canvas Art
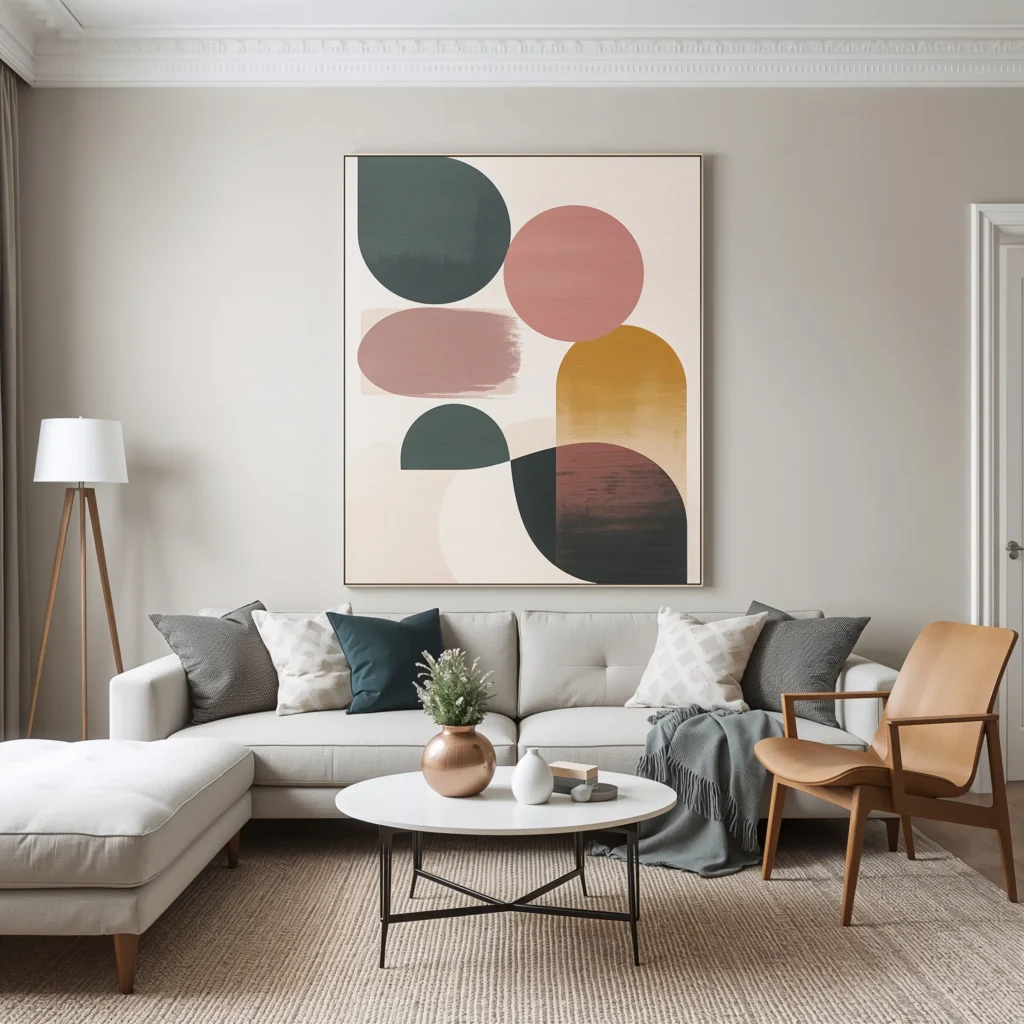
Who says you need to be Picasso to create canvas art? Geometric designs are basically foolproof – grab some painter’s tape and you’re halfway to being an artist. I discovered this after attempting freehand painting and creating what my partner lovingly called “abstract chaos.”
Pick a color scheme that matches your room (or doesn’t – who am I to judge?). I’m partial to bold contrasts like navy and gold or blush pink and emerald green. The trick is using quality painter’s tape and pressing down the edges properly. Nobody wants paint bleeding under the tape ruining those crisp lines.
Creating Your Masterpiece:
Start with a blank canvas and sketch your design lightly in pencil. Apply painter’s tape to create your geometric pattern – triangles, hexagons, or random shapes all work great. Paint each section carefully, remove the tape while the paint’s still slightly wet, and boom – instant art gallery vibes.
Wait time between coats is crucial. I learned this the hard way when my impatience resulted in muddy colors. Give each coat at least 2-3 hours to dry properly.
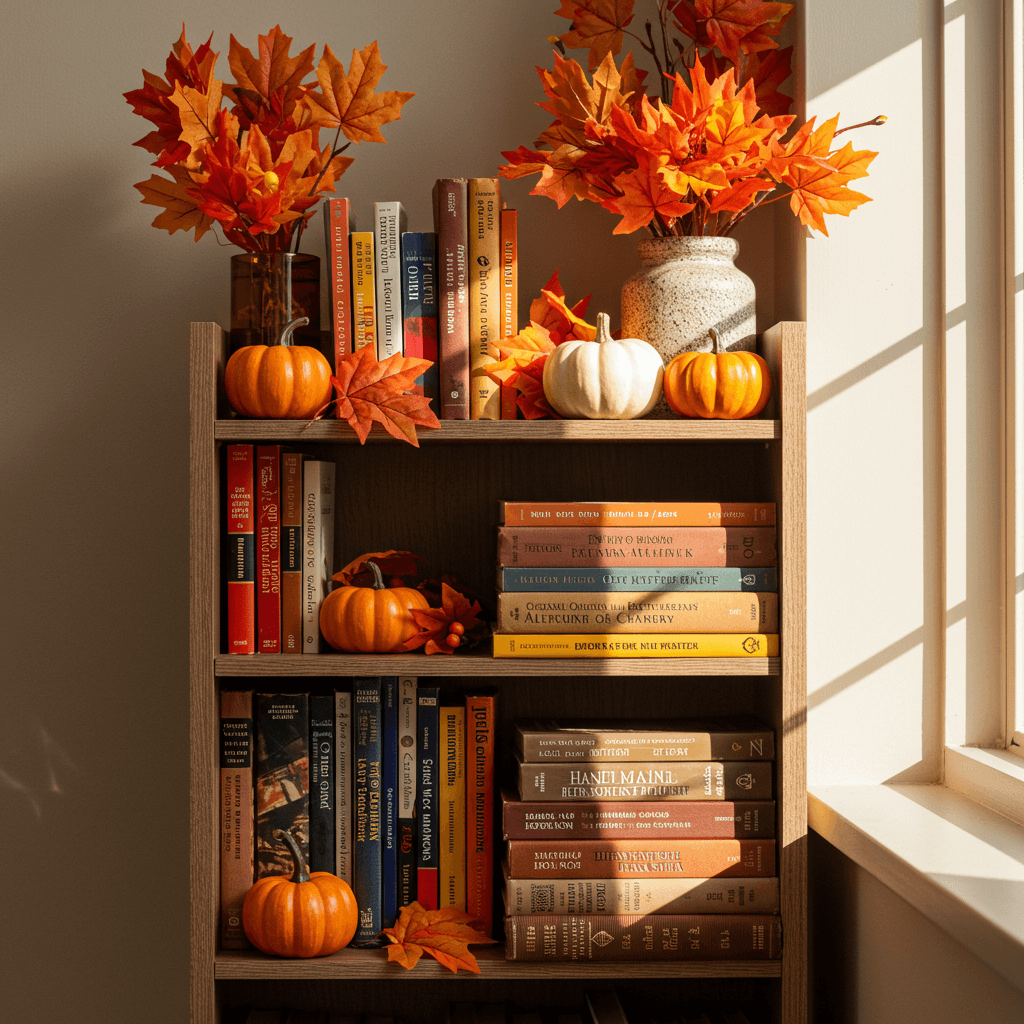
DIY Floating Shelves
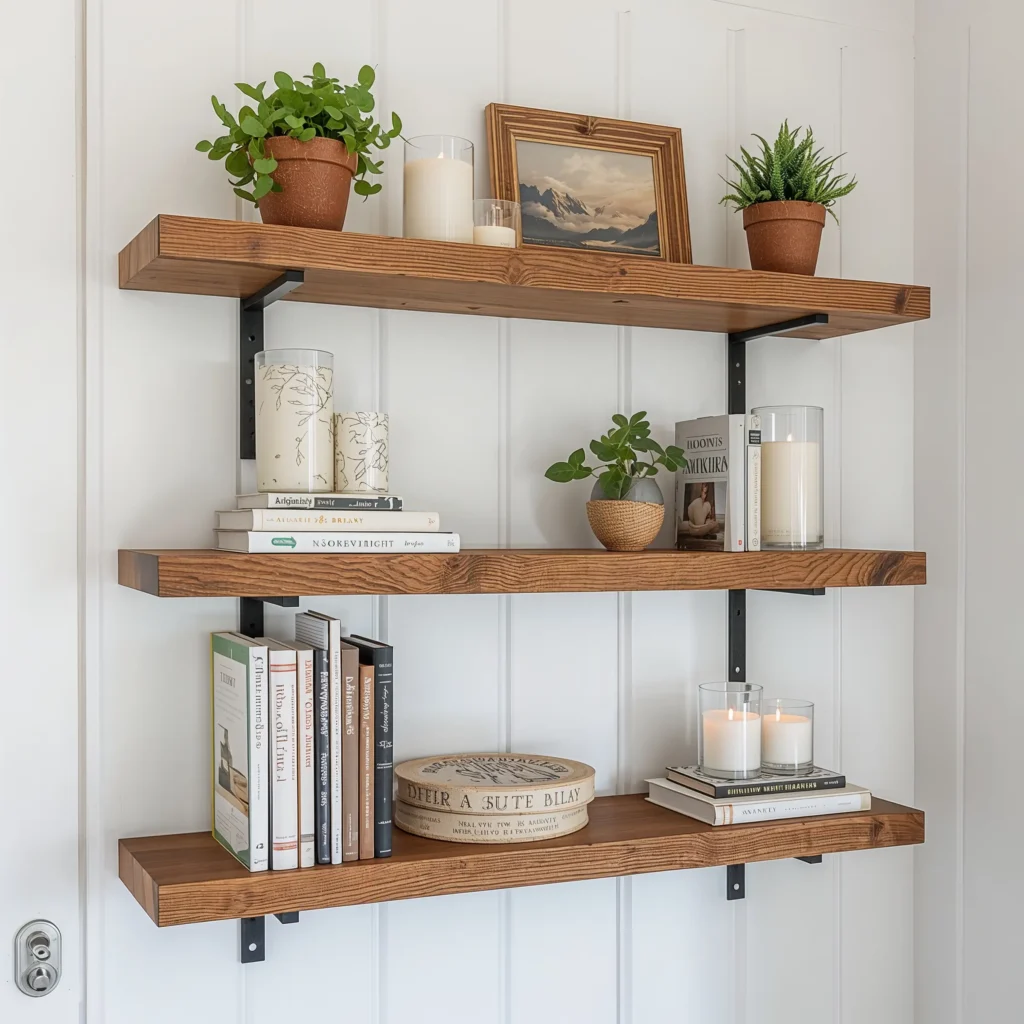
Floating shelves are like the Swiss Army knife of wall decor – functional AND gorgeous. Plus, they make you look way handier than you actually are. My first set took me three tries because I kept forgetting to check if the wall was actually straight (spoiler: it wasn’t).
You can go simple with basic wood planks or get fancy with live-edge slabs. The secret sauce? Heavy-duty floating shelf brackets that actually disappear into the shelf. None of those visible L-brackets that scream “amateur hour.”
Installation Tips:
- Always use a stud finder (hitting drywall alone is asking for disaster)
- Level, level, level – crooked shelves will haunt you forever
- Consider weight capacity before loading them with your vintage book collection
- Space shelves at least 12 inches apart for visual balance
Style them with plants, books, and small decorative objects. But please, for the love of all that’s holy, don’t overcrowd them. Less is more, people!
Also Read: 15 Fresh Mirror Wall Decor Ideas for Modern Living
Fabric Wall Panels
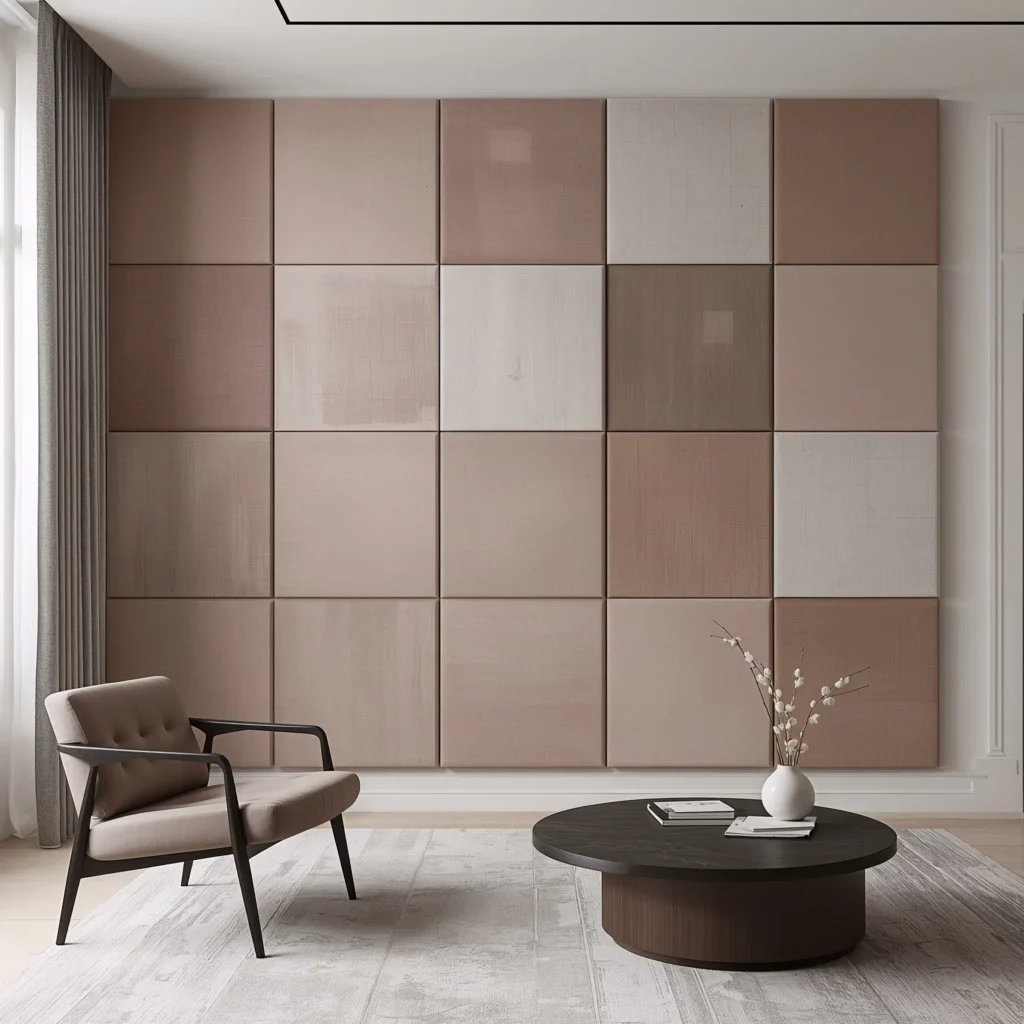
Ever wanted to change your wall color without the commitment of paint? Fabric panels are your answer. I stumbled upon this idea when I had leftover fabric from reupholstering a chair and thought, “Why not?”
Choose fabric that complements your existing decor – bold patterns make statements while subtle textures add depth. The best part? You can switch them out seasonally without your landlord having a meltdown.
How to Create Fabric Panels:
You’ll need canvas frames or foam boards, fabric (obviously), a staple gun, and scissors. Stretch the fabric taut over your frame and staple it on the back. Create a gallery wall with multiple panels or one large statement piece.
Mixing patterns can be tricky. Stick to a cohesive color palette and vary the scale of patterns. Think large florals with small geometrics, not competing busy prints.
Upcycled Window Frame Decor
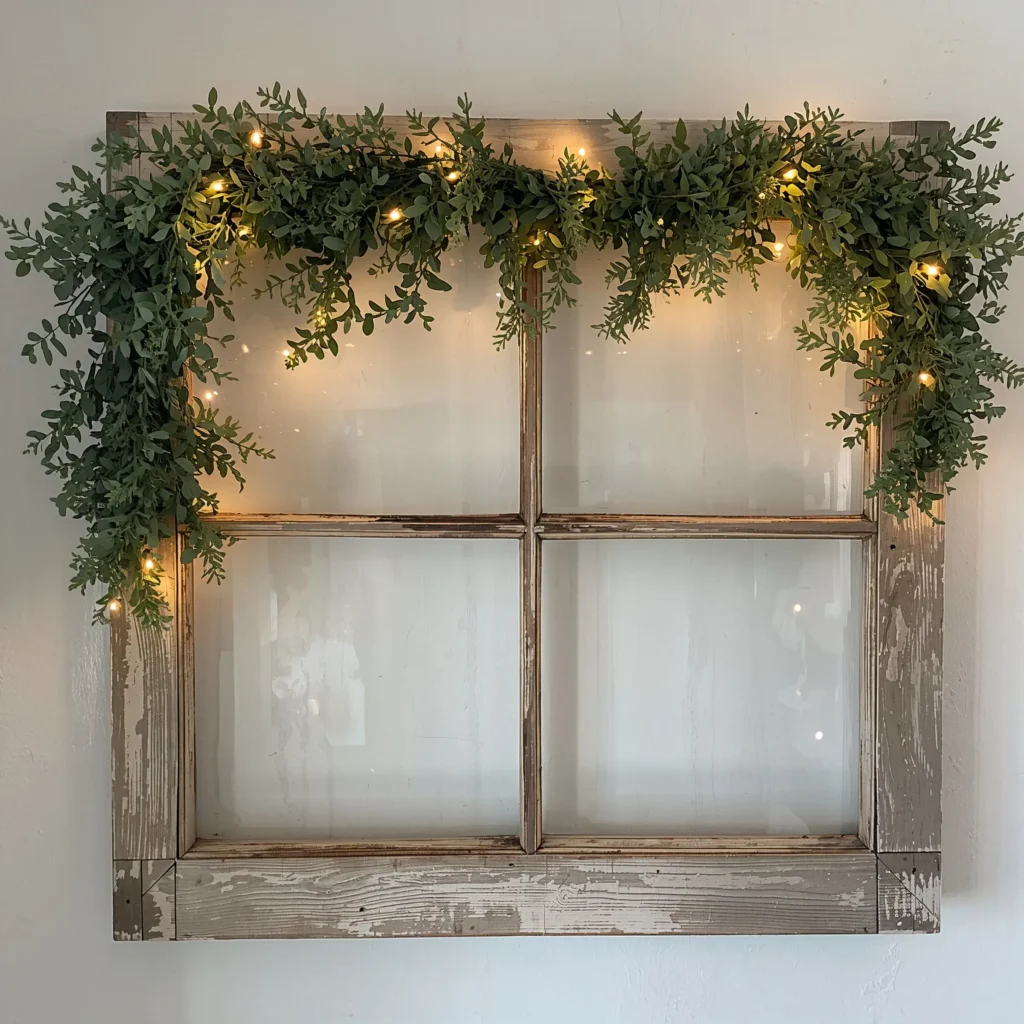
Old windows are basically treasure waiting to happen. Hit up your local thrift store or salvage yard – I found mine for $5 and it’s now my favorite wall piece. The character and patina of old frames can’t be replicated.
Leave the glass in for a mirror effect or remove it for a more rustic vibe. I’ve seen people add chicken wire, hang photos with clothespins, or even create miniature herb gardens in each pane. The possibilities are endless!
Transformation Ideas:
- Photo display with vintage family pictures
- Memo board with painted glass panes
- Mirror installation for added light
- Seasonal wreath holder
- String art backdrop
Sand lightly if needed, but keep some of that original character. The chipped paint and weathered wood are what make it special. Just maybe check for lead paint first – safety first, folks!
Woven Basket Wall Display
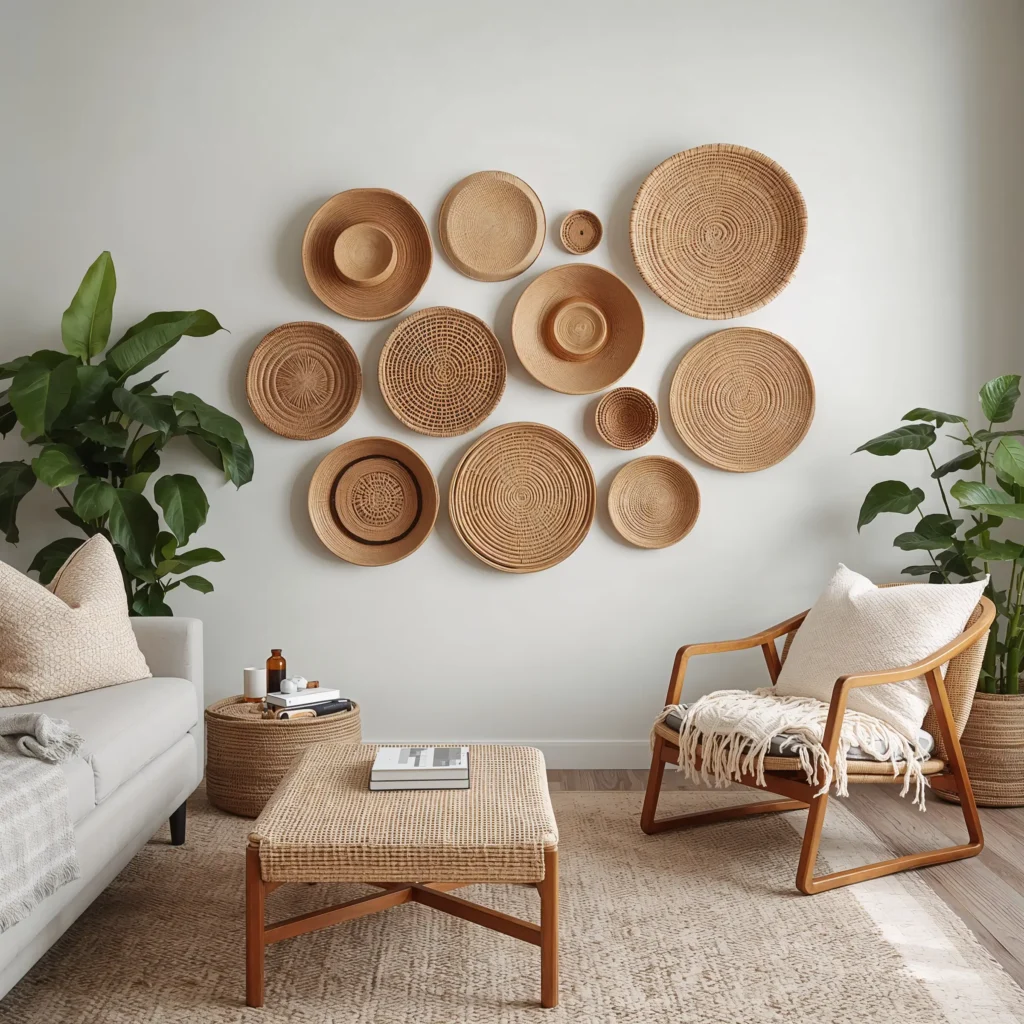
Baskets on walls? Absolutely! This trend started popping up everywhere, and honestly, it’s genius. Woven baskets add texture and warmth that flat art just can’t match. Plus, they’re usually way cheaper than traditional artwork.
I started with three mismatched baskets from various thrift stores. The key is varying sizes and maybe throwing in different weaving patterns or colors. Arrange them asymmetrically for a more organic, collected-over-time look.
Styling Your Basket Wall:
- Mix shallow and deep baskets for dimension
- Incorporate different materials (rattan, seagrass, wire)
- Add one statement piece among smaller baskets
- Consider painting some baskets for a pop of color
- Use plate hangers or picture hooks for secure mounting
The best part about basket walls? They work in literally any room. Kitchen, bedroom, bathroom – baskets don’t discriminate.
Also Read: 15 Stunning TV Wall Decor Ideas for Stylish Living Rooms
Hanging Plant Wall Grid
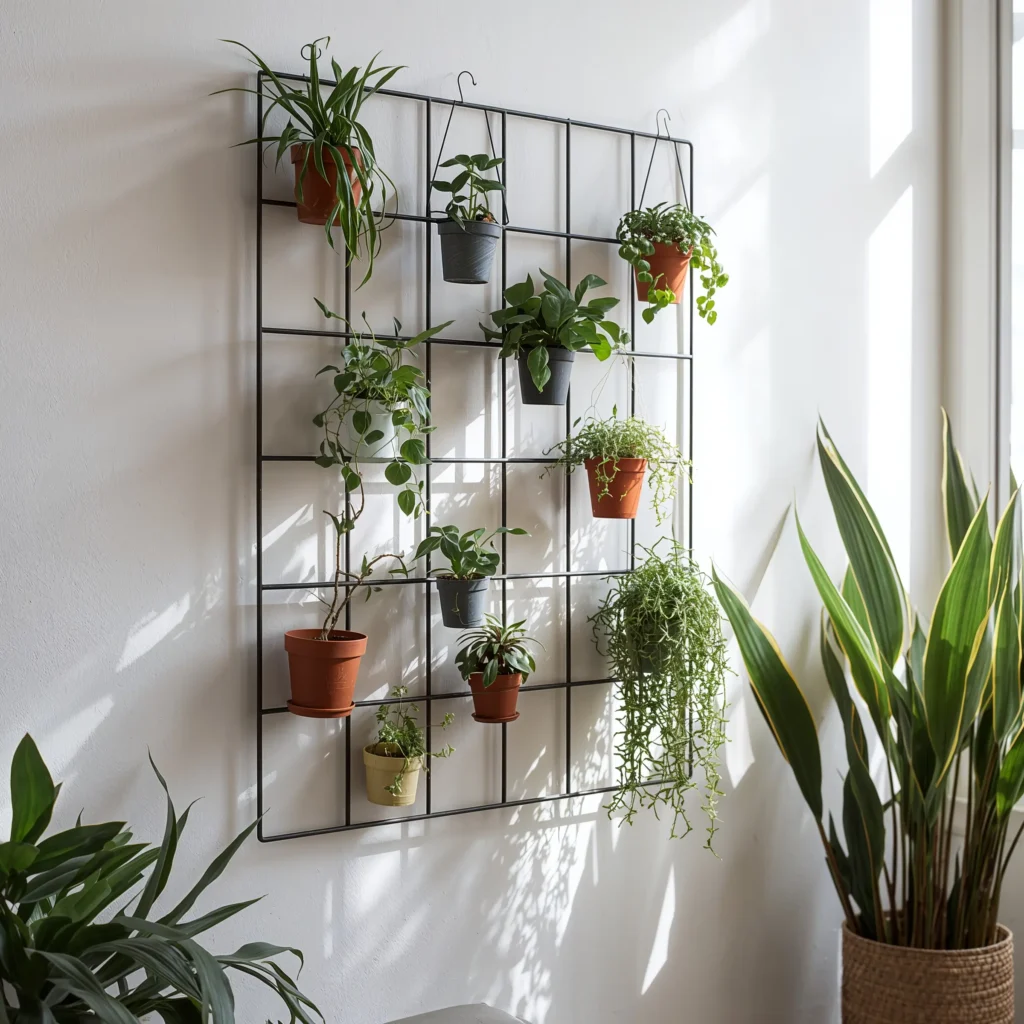
Plants make everything better – that’s just science. Creating a hanging plant grid combines wall decor with your plant addiction in the best way possible. I use a metal grid panel (like those cube organizers) mounted to the wall with sturdy hooks.
Choose plants that match your light situation. Don’t be that person who puts succulents in a dark bathroom and wonders why they’re dying. Been there, killed that.
Plant Selection Tips:
- Pothos for low-light areas
- String of pearls for dramatic cascading effect
- Air plants for zero-soil options
- Small succulents for sunny spots
- Philodendrons for fast-growing coverage
Add S-hooks to hang planters at different heights. Mix pot styles – macrame hangers, ceramic pots, even repurposed tin cans work great. Water carefully though – nobody wants water stains on their walls!
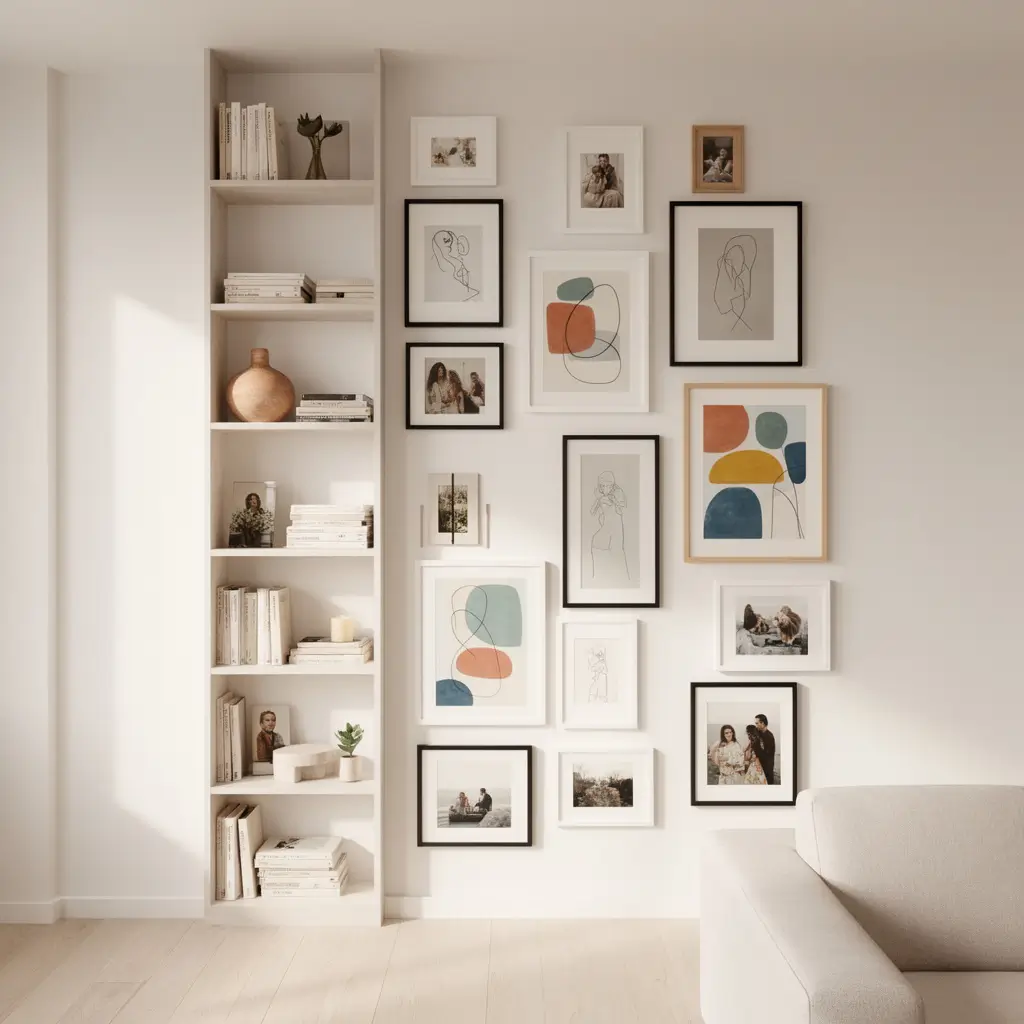
DIY Photo Collage String Lights

Why hide your favorite photos in albums when you can display them with twinkling lights? This project combines nostalgia with ambiance, and it’s ridiculously easy. I made one for my bedroom and now I fall asleep looking at happy memories – way better than scrolling through my phone.
Get some battery-operated LED string lights (plug-in works too if you’re near an outlet) and mini clothespins. Print your photos in various sizes – mixing it up looks more interesting than uniform 4x6s.
Assembly Guide:
String your lights in a pattern – zigzag, swag, or geometric shapes all work. Clip photos along the string, leaving some lights visible between pictures. Mix in other lightweight items like postcards, ticket stubs, or pressed flowers for variety.
Pro tip: Use photo editing apps to create a cohesive look. I convert some photos to black and white or add similar filters so they look intentional together.
Wooden Pallet Wall Art
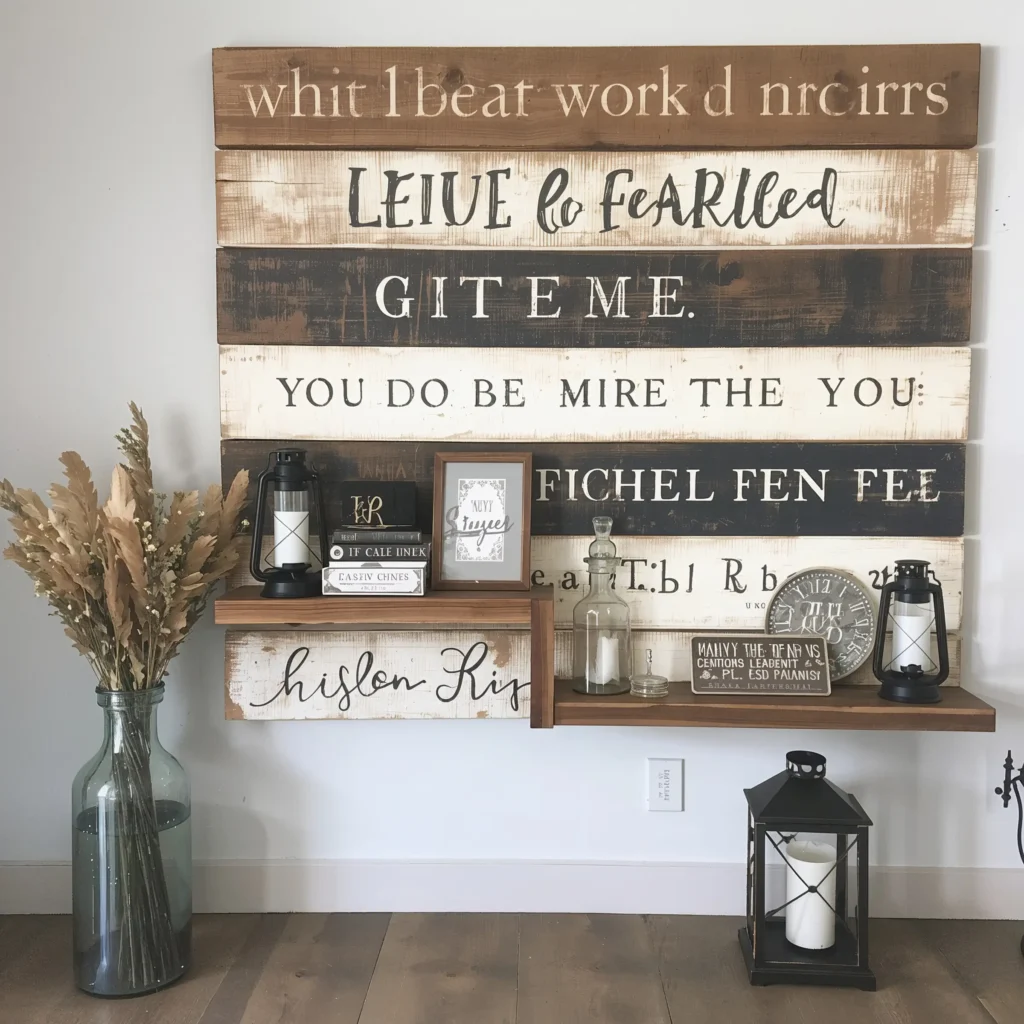
Pallets are basically free art supplies if you know where to look. Check with local businesses – many are happy to give them away. Just make sure they’re heat-treated, not chemically treated (look for the HT stamp).
Sand that baby down thoroughly – splinters aren’t cute. You can leave it natural, stain it, paint it, or go wild with a combination. I made one with an ombre effect that gets compliments every time someone visits.
Pallet Project Ideas:
- Inspirational quote displays
- Geometric paint patterns
- Mounted succulent garden
- Photo display board
- Coat or jewelry rack
The rustic texture adds instant character. Mount it horizontally for a modern look or vertically for something more traditional. Either way, you’re basically an upcycling hero.
Also Read: 15 Trendy Wall Decor Ideas for Modern Chic Interiors
Pressed Flower Frames
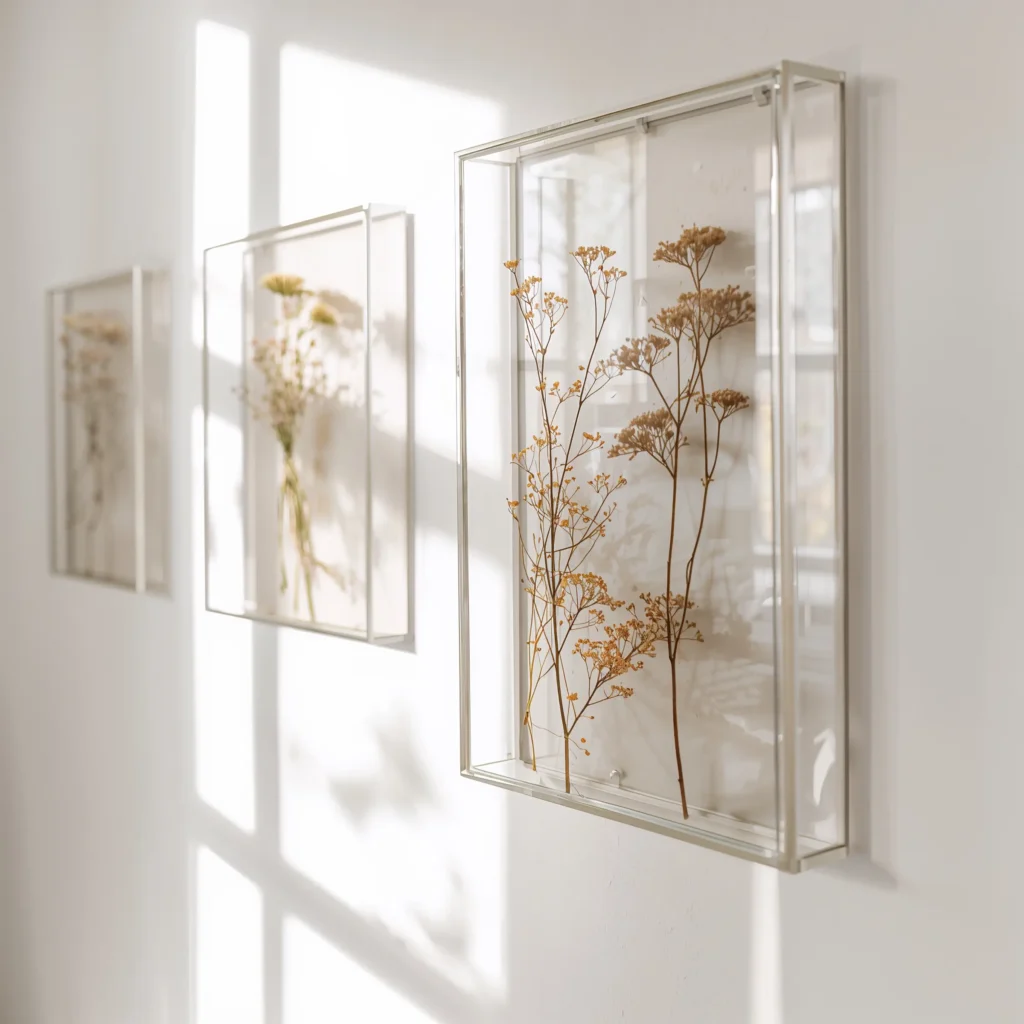
Channel your inner Victorian with pressed flower art. It’s surprisingly easy and way more satisfying than you’d think. Pick flowers from your garden (or your neighbor’s – kidding!) and press them between heavy books for about two weeks.
Choose flowers that press well – pansies, daisies, and ferns are foolproof. Avoid thick, moisture-heavy blooms unless you want moldy disappointments. I learned this after trying to press a rose. RIP, rose.
Pressing and Display Process:
- Pick flowers in the morning after dew dries
- Arrange between parchment paper
- Press in heavy books for 2-3 weeks
- Mount on quality paper using tiny dots of glue
- Frame with UV-protective glass to prevent fading
Create collections by theme – all white flowers, seasonal blooms, or flowers from special occasions. My wedding bouquet lives on in pressed form, which is way better than the dusty dried version IMO 🙂
Boho Yarn Tapestry
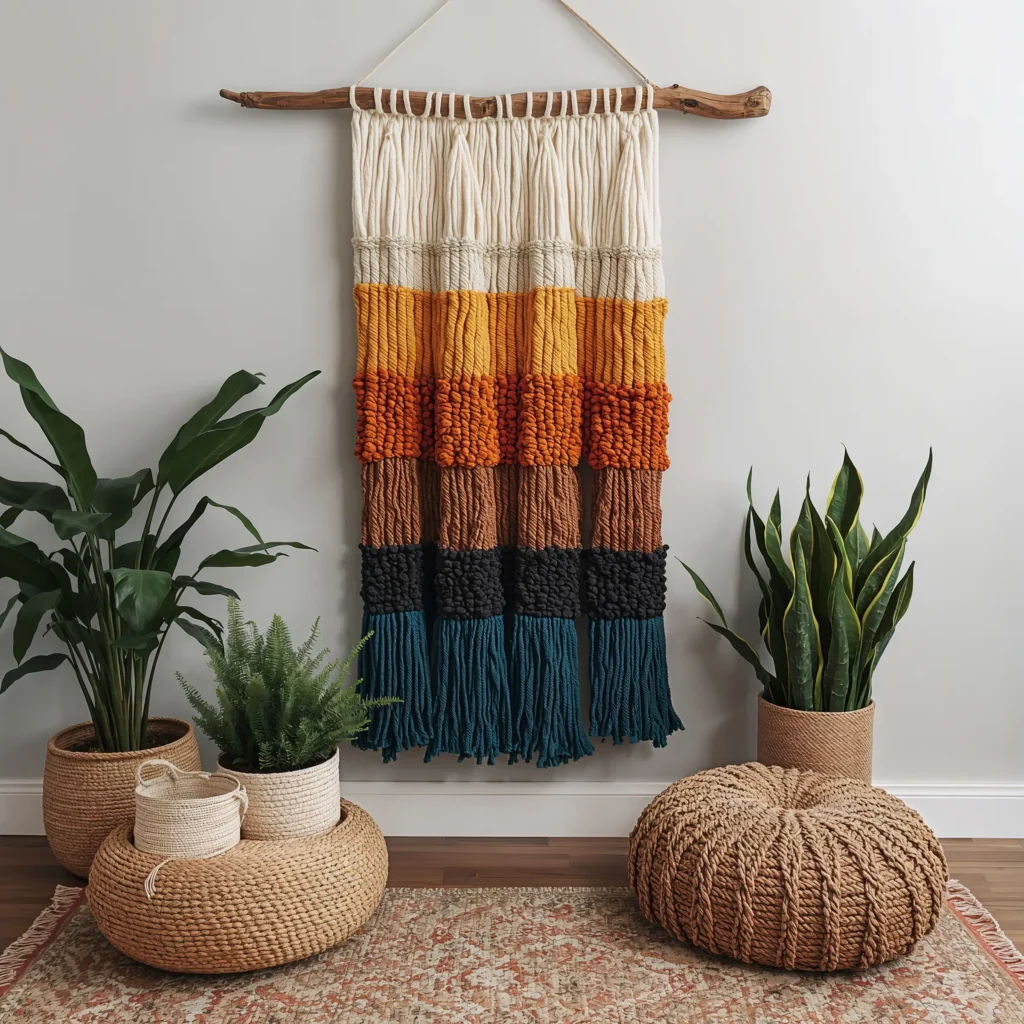
If macrame seems too complicated, yarn tapestries are your laid-back cousin. All you need is a wooden dowel, various yarns, and scissors. No knots required – just wrap and go.
Mix textures for interest – chunky wool, cotton rope, maybe some metallic thread for sparkle. I like to incorporate natural elements like feathers or dried grasses. The result? Instant boho vibes without the price tag.
Creating Your Tapestry:
Cut yarn pieces about twice the length you want them to hang. Fold each piece in half, loop over your dowel, and pull the ends through. Vary lengths for a dynamic look. Layer different textures and colors from back to front.
Trim the bottom into shapes – straight across, V-shape, or asymmetrical all work. Just commit to your cuts because there’s no going back!
Chalkboard Accent Wall
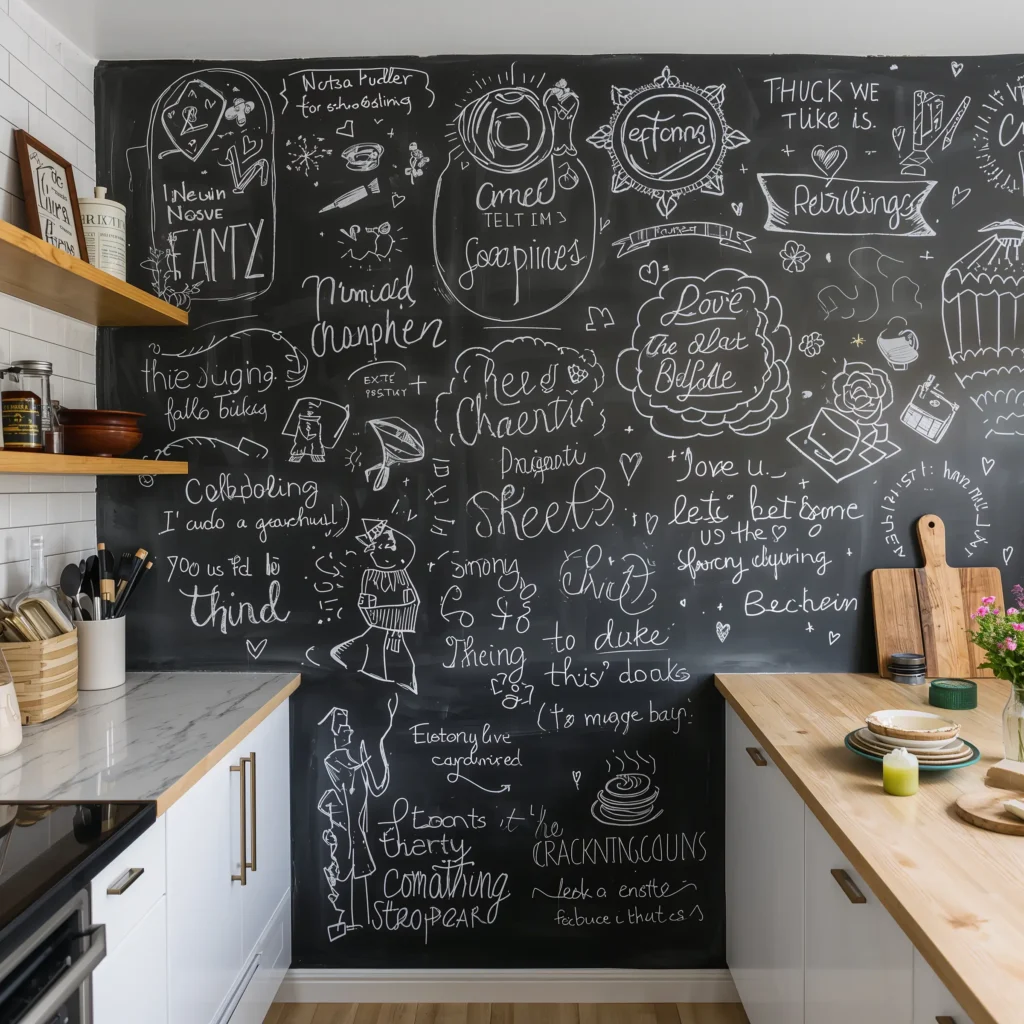
Want a wall that changes with your mood? Chalkboard paint is basically magic in a can. One wall in my kitchen is now a giant menu board, grocery list, and doodle canvas all in one.
Prep work is crucial here. Sand, prime, and apply at least three thin coats rather than one thick one. Yes, it’s tedious. Yes, it’s worth it. Nobody wants a patchy chalkboard.
Application Tips:
- Use a foam roller for smooth finish
- Allow proper drying time between coats (usually 4 hours)
- Season the board before first use (rub chalk all over, then erase)
- Invest in quality chalk or liquid chalk markers
- Frame with molding for a finished look
Maintenance is minimal – just wipe with a damp cloth. Avoid harsh cleaners that might damage the surface. And please, practice your handwriting before attempting that Pinterest-worthy menu board :/
DIY Clay Wall Plates
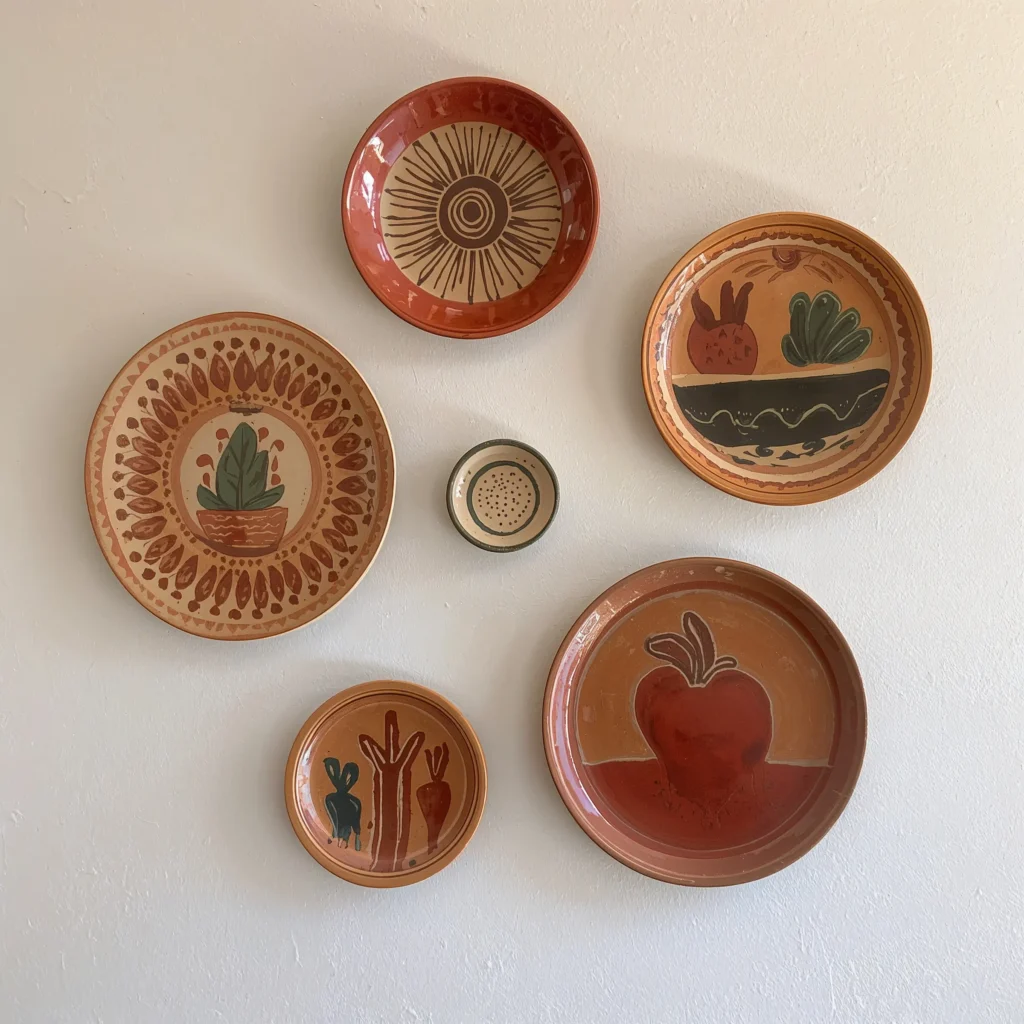
Who knew air-dry clay could look so sophisticated? These decorative plates add dimension and can be customized to match any decor. Plus, playing with clay is basically stress relief disguised as home decor.
Roll clay to about 1/4 inch thickness and use bowls as molds. Add texture with stamps, lace, or natural objects. I use leaves for botanical impressions that look way fancier than the effort required.
Crafting Process:
- Work on parchment paper for easy cleanup
- Create hanging holes before drying
- Let dry completely (24-48 hours)
- Sand rough edges smooth
- Paint with acrylics or leave natural
- Seal with matte varnish
Display in groups of odd numbers – design rule 101. Mix sizes and hang at varying heights for visual interest. These make great gifts too, FYI.
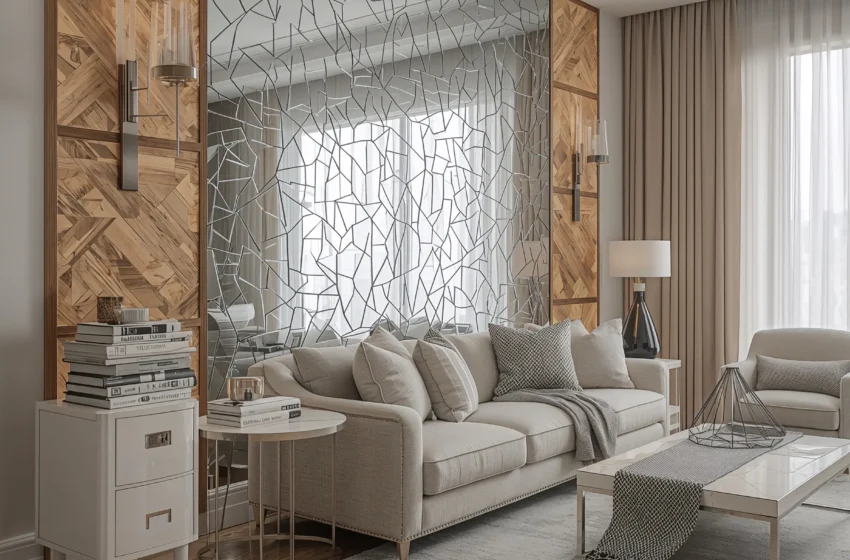
Mirror Mosaic Artwork
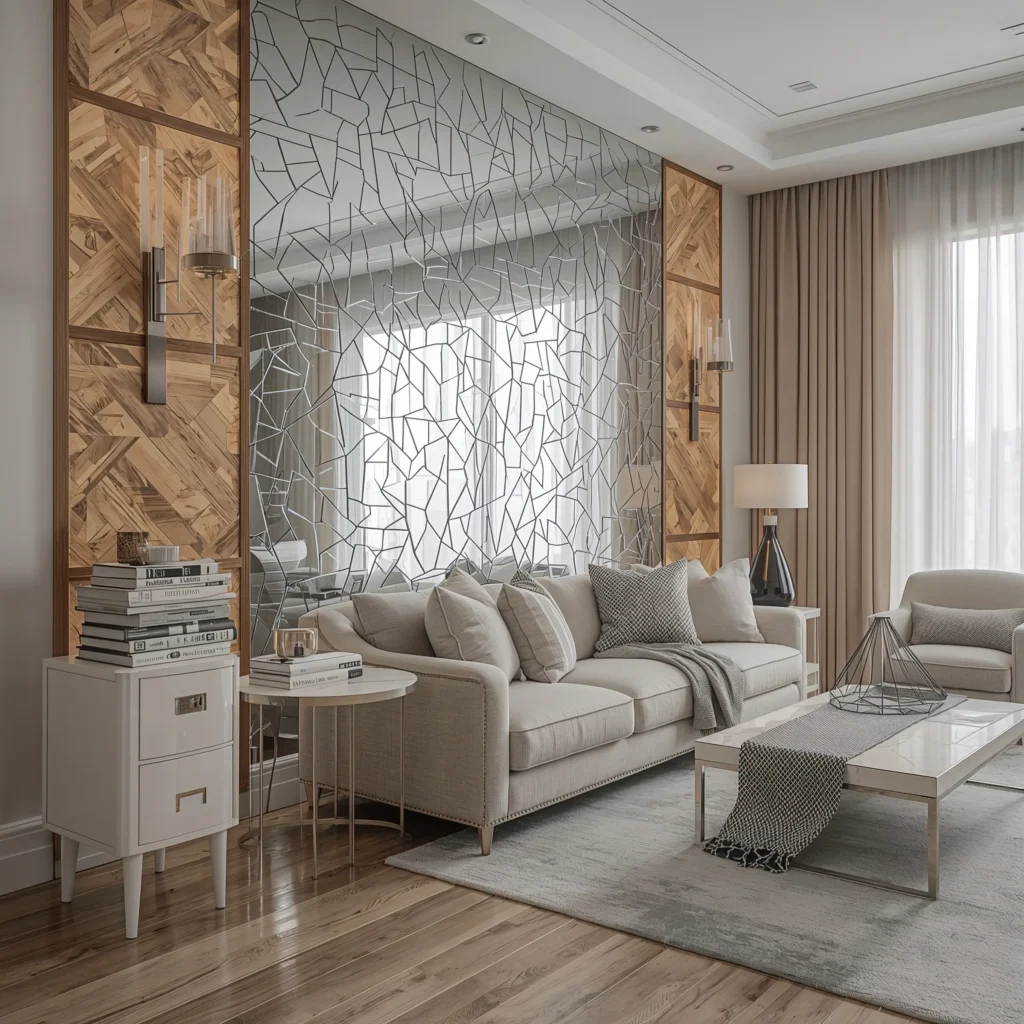
Transform a plain mirror into art with mosaic techniques. You can use broken mirror pieces (carefully!), tiles, or even sea glass. The result catches light beautifully and makes rooms feel larger.
Start with a basic mirror and strong adhesive. Plan your design – geometric patterns are easier for beginners than trying to recreate the Mona Lisa. Work in sections so the adhesive doesn’t dry before you place pieces.
Safety First:
- Wear gloves when handling broken mirror
- Use proper eye protection
- Work in well-ventilated area
- Keep adhesive away from mirror center if you want it functional
- Grout carefully to avoid scratching
The irregular light reflection creates amazing ambiance. Position it where it’ll catch natural light or opposite a window for maximum sparkle effect.
Vintage Map Wall Decor
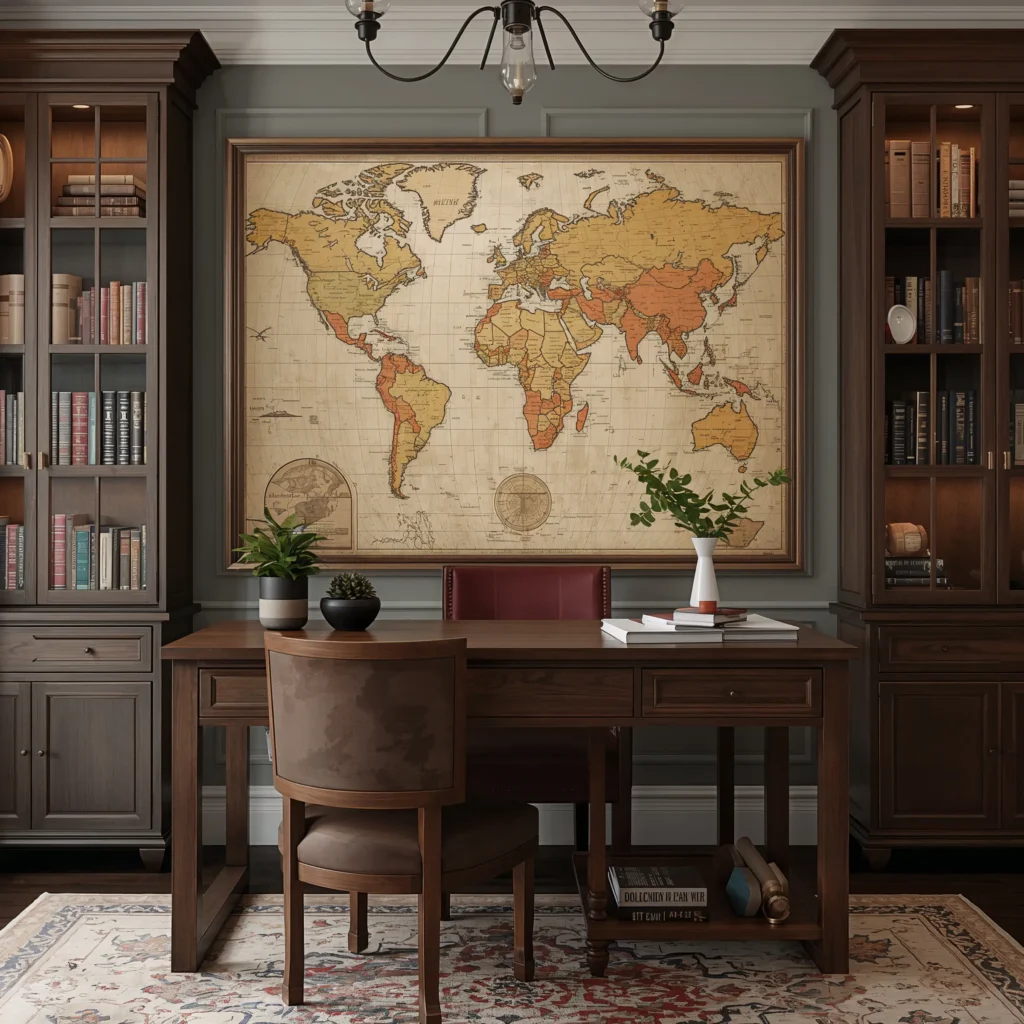
Maps tell stories, and vintage maps tell the best ones. Whether it’s places you’ve been, want to go, or just think look cool, map walls add instant sophistication. I have a collection of old National Geographic maps that cost me practically nothing at estate sales.
Frame them traditionally or get creative – decoupage on canvas, mod podge onto wood, or create a full wall mural. Mark special locations with pins or small flags for a personal touch.
Display Ideas:
- Create a gallery wall of different locations
- Use one large map as a statement piece
- Layer maps at different scales
- Add string and pins to mark travel routes
- Frame map sections of meaningful places
Color coordinate by choosing maps with similar color palettes. Sepia-toned vintage maps work great in traditional spaces, while colorful modern maps pop in contemporary rooms.
Wrapping It Up
There you have it – 15 ways to turn those blank wall into something worth looking at. The best part about DIY wall decor? It’s totally personal.
Your macrame might be wonkier than mine, your pressed flowers might include dandelions instead of roses, and your chalkboard wall might mostly feature grocery lists instead of inspirational quotes.
That’s what makes it yours.
Start with one project that speaks to you. Don’t try to tackle all 15 in a weekend unless you want to end up crying in a pile of yarn and paint supplies (again, been there).
Take your time, enjoy the process, and remember – if all else fails, that’s what floating shelves are for. Just pile some books on them and call it intentional!
Now stop reading and start creating. Those walls aren’t going to decorate themselves, and your friends are probably tired of looking at that blank space during video calls. Happy decorating! 🙂