How to Paint a Brick Fireplace: Guide for a Stunning Transformation

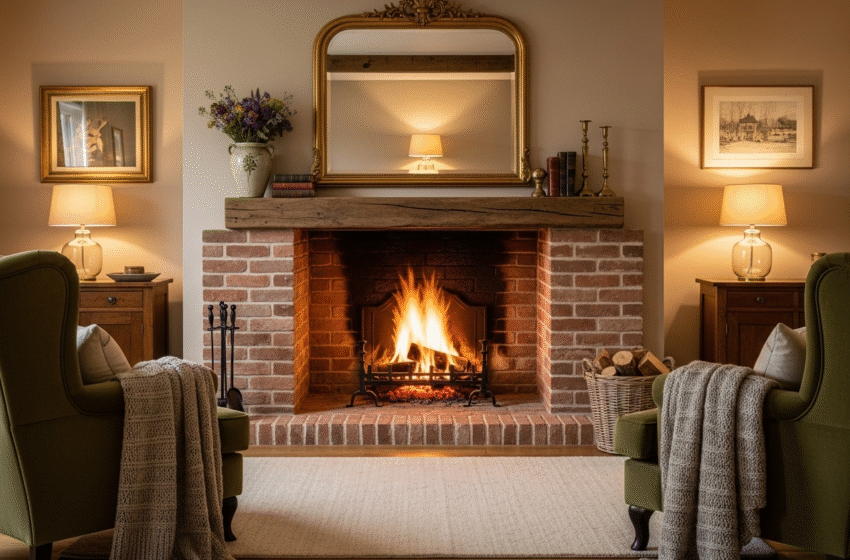
A brick fireplace is a classic architectural feature, but its traditional red or dark brown hue can sometimes feel dated or clash with a modern interior design scheme. Learning how to paint a brick fireplace is one of the most impactful and cost-effective DIY projects you can undertake to revitalize your living space. A fresh coat of paint can brighten a room, conceal years of soot and wear, and transform your fireplace into a sophisticated focal point that reflects your personal style .
However, achieving a professional, long-lasting result requires more than just a brush and a can of paint. Proper preparation is the non-negotiable foundation of a successful project. This comprehensive guide will walk you through every critical step, from initial assessment and thorough cleaning to the final brushstroke, ensuring your painted brick fireplace looks beautiful for years to come .
Section 1: Assessment and Planning – The Blueprint for Success
Before you open a single can of paint, careful planning is essential. This phase determines the entire direction and success of your project.
Inspecting Your Brick Fireplace
First, conduct a thorough inspection of the fireplace structure. Check the brick and mortar for any signs of damage. Look for cracks in the bricks, crumbling or missing mortar (a process known as repointing), and any evidence of moisture issues, such as efflorescence—a white, powdery residue . It is crucial to address these structural repairs before any paint is applied. Painting over damaged areas will only hide problems that could worsen over time.
Choosing Your Style and Paint
Once you’ve confirmed the fireplace is structurally sound, decide on the aesthetic you want to achieve.
- Classic White: Colors like Benjamin Moore’s Chantilly Lace or Simply White offer a timeless, bright, and airy feel that suits almost any decor .
- Bold Black: For a dramatic, modern statement, consider a deep black like Onyx or Wrought Iron to anchor the room .
- Earthy Tones: Soft grays, beiges, and taupes (e.g., Revere Pewter, Balboa Mist) provide a warm, neutral backdrop that creates a cozy atmosphere .
- Vibrant Hues: For the adventurous, a bold color like Hale Navy or a deep green can turn the fireplace into a powerful accent piece .
When selecting paint, acrylic latex paint is highly recommended for interior brick surfaces due to its durability and ease of cleaning . For the sheen, matte, eggshell, or satin finishes are ideal as they help hide the natural texture of the brick, while semi-gloss offers easier cleanability .
Gathering Your Tools and Materials
Having all your supplies ready will make the process seamless. You will need:
- Cleaning Supplies: Stiff wire brush, trisodium phosphate (TSP) cleaner or a degreaser, sponges, bucket .
- Safety Gear: Safety glasses, rubber gloves, and a respirator or dust mask .
- Prep Materials: Drop cloths, painter’s tape, a vacuum with a brush attachment .
- Repair Materials: Heat-resistant caulk or mortar patch for repairs .
- Painting Tools: A high-quality masonry primer , acrylic latex paint, 2-inch angled paintbrush for mortar lines, paint rollers with a 3/8-inch to 3/4-inch nap cover for textured surfaces, paint trays, and a ladder if needed .
Section 2: The Preparation Process – The Key to Longevity
This is the most critical phase of the project. Proper preparation ensures the paint adheres correctly and lasts for years without peeling or chipping.
Step 1: Deep Cleaning the Brick
Brick is porous and often accumulates soot, dust, and grease. Start by using a stiff wire brush to scrub the entire surface, paying close attention to the mortar lines to loosen all debris . Follow this by vacuuming thoroughly. Next, wash the brick with a TSP solution or a strong degreaser to remove any lingering soot or residue . Rinse thoroughly with clean water and allow the brick to dry completely for at least 24 hours . Moisture trapped in the brick will prevent proper paint adhesion.
Step 2: Making Necessary Repairs
Inspect the mortar joints again after cleaning. Fill any small cracks or gaps with a heat-resistant caulk or mortar patch, smoothing it with a damp sponge or putty knife . Allow the repairs to cure fully according to the product instructions.
Step 3: Protecting the Surrounding Area
Use painter’s tape to protect the mantel, adjacent walls, and the firebox opening. Lay down drop cloths to protect your flooring from drips and spills . If your fireplace is functional, remember that you should never paint the interior of the firebox unless you are using a specialized high-heat paint rated for extremely high temperatures .
Section 3: The Priming and Painting Process – Applying the Finish
With a perfectly clean and dry surface, you are ready to apply the paint.
Step 4: Applying Primer
Priming is essential for sealing the porous brick, ensuring even paint absorption, and providing a solid base for your topcoat. Use a brush to carefully cut in and prime all the mortar lines and hard-to-reach crevices . Then, use a roller to apply a masonry or bonding primer to the broader brick faces. A second coat of primer may be necessary, especially if you are covering dark brick with a light-colored paint. Allow the primer to dry completely, ideally overnight .
Step 5: Applying the Paint
Once the primer is dry, begin applying your chosen paint color. Use the same technique as with the primer: start with a brush to carefully paint the mortar lines and then use a roller for the brick faces . Work in small sections from the top down to easily manage any drips . Apply the first coat evenly, and don’t be alarmed if the coverage seems thin; brick is very absorbent. Allow the first coat to dry completely as per the paint manufacturer’s directions before evaluating the need for a second coat. Most projects will require at least two coats for solid, uniform coverage .
Table: Overview of Paint Sheen Options for Brick Fireplaces
Section 4: Curing and Maintenance – Protecting Your Investment
Your job isn’t quite finished once the final coat is applied. Proper curing and maintenance are key to longevity.
Allowing Proper Curing Time
While the paint may feel dry to the touch within a few hours, it needs time to fully cure and harden. Avoid touching the surface and keep the area well-ventilated. Most importantly, do not use the fireplace for at least 5-7 days after painting to prevent heat from blistering the new paint .
Long-Term Maintenance
A painted fireplace is relatively low-maintenance. Dust it regularly with a soft cloth. For cleaning, use a mild soap and water solution with a soft sponge, avoiding abrasive pads or harsh chemicals that could scratch the finish . Keep some leftover paint for occasional touch-ups to address any minor chips or scratches that may occur over time. With proper care, a professionally executed paint job can last for many years before needing a refresh .
Conclusion: Enjoy Your Transformed Space
Learning how to paint a brick fireplace is a rewarding DIY project that can dramatically alter the ambiance of your home. By meticulously following these steps—assessing and repairing, thoroughly cleaning, carefully priming, and applying quality paint—you can achieve a beautiful, durable finish that turns an outdated feature into a modern centerpiece. The effort you invest in preparation will pay dividends in the quality and longevity of your results. Embrace the process, and you will be able to enjoy your revitalized fireplace for years to come.
Key Takeaways
- Preparation is Paramount: The single most important factor for a successful outcome is a perfectly clean, dry, and sound surface.
- Never Skip the Primer: A high-quality masonry or bonding primer is essential for paint adhesion and durability on porous brick.
- Choose the Right Products: Acrylic latex paint in an eggshell or satin sheen is ideal for most interior brick fireplace projects.
- Patience with Drying and Curing: Allow ample drying time between coats and, most critically, before using the fireplace again to prevent damage.
- Safety First: Always wear appropriate safety gear during preparation and ensure the room is well-ventilated during painting.


