15 Creative Kitchen Wall Decor Ideas to Inspire Your Home
- Wall Decor
 Ben
Ben- 0
- 46 minutes read
Your kitchen walls are staring at you. Blank. Boring. Begging for some personality.
I get it – I spent three years cooking in a kitchen that looked like a hospital cafeteria until I finally snapped and decided those walls needed some serious love.
Here’s the thing: kitchen wall decor doesn’t have to break the bank or require a design degree.
Trust me, I’ve tried everything from DIY disasters to designer pieces, and I’ve learned what actually works in a real, lived-in kitchen.
Ready to turn those sad walls into something you’ll actually want to look at while you’re waiting for your coffee to brew?
Floating Wooden Shelves with Plants
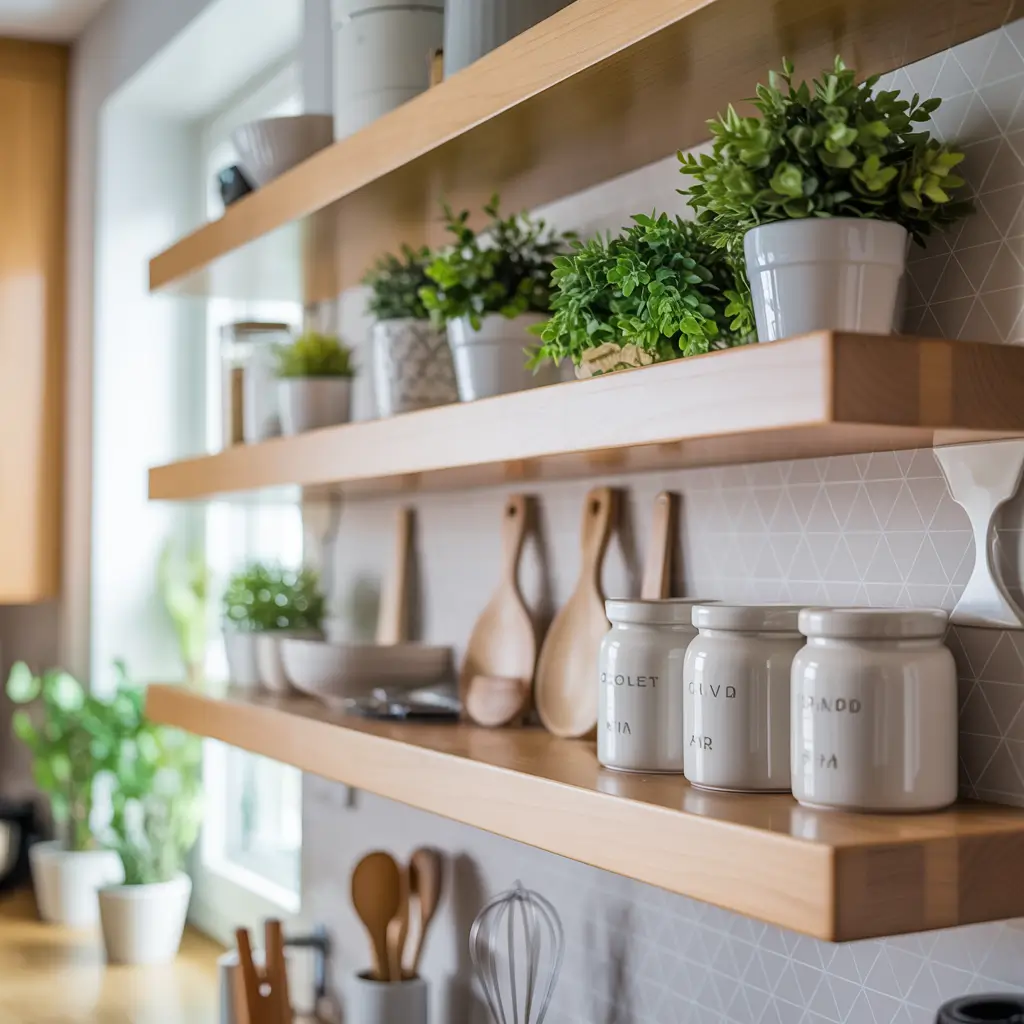
Let’s start with my personal favorite – floating wooden shelves decked out with plants. I installed three of these bad boys last year, and honestly? Game changer. The combination of natural wood and greenery brings life to any kitchen, especially if yours lacks natural light.
Here’s what makes this combo work so well:
- Practical storage meets aesthetic appeal
- Plants purify your kitchen air (goodbye, cooking odors!)
- Wood adds warmth to sterile-looking spaces
- You control the vibe with your plant choices
I’ve got pothos trailing down from my top shelf, some herbs on the middle one, and cute succulents on the bottom. The key? Pick plants that actually thrive in kitchen conditions. Spider plants, philodendrons, and herbs like basil and mint love the humidity from cooking. Skip the finicky orchids – trust me on this one.
Installation Tips That Actually Matter
When mounting these shelves, don’t cheap out on the brackets. I learned this the hard way when my first attempt came crashing down at 2 AM (RIP, favorite planter). Use heavy-duty floating shelf brackets rated for at least double the weight you plan to put on them. And please, find those wall studs – drywall anchors alone won’t cut it for plant-laden shelves.
Vintage Kitchen Wall Clocks

Remember when people actually used wall clocks to tell time? Wild, right? But vintage kitchen clocks aren’t just about functionality anymore – they’re statement pieces that add instant character.
I scored a 1950s diner-style clock at an estate sale, and it’s become such a conversation starter. Every time someone new visits, they comment on it. The oversized numbers, the retro colors, that satisfying tick-tock sound – it all adds to the kitchen’s personality.
Where to Find the Good Stuff
- Estate sales and flea markets (best prices, unique finds)
- Antique shops (pricier but curated selection)
- Online marketplaces (convenient but watch for shipping damage)
- Reproduction pieces from home decor stores (new condition, vintage look)
The trick with vintage clocks? Make sure they actually work, or at least be prepared to replace the mechanism. I’ve bought three “just for decoration” clocks that I ended up fixing because a stopped clock in the kitchen feels somehow wrong. FYI, clock mechanisms cost about $10-15 online and take maybe 20 minutes to install.
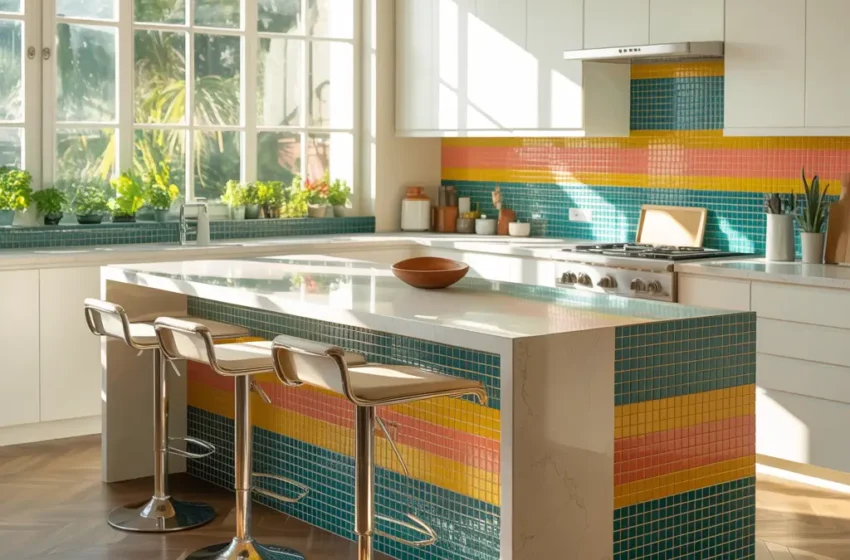
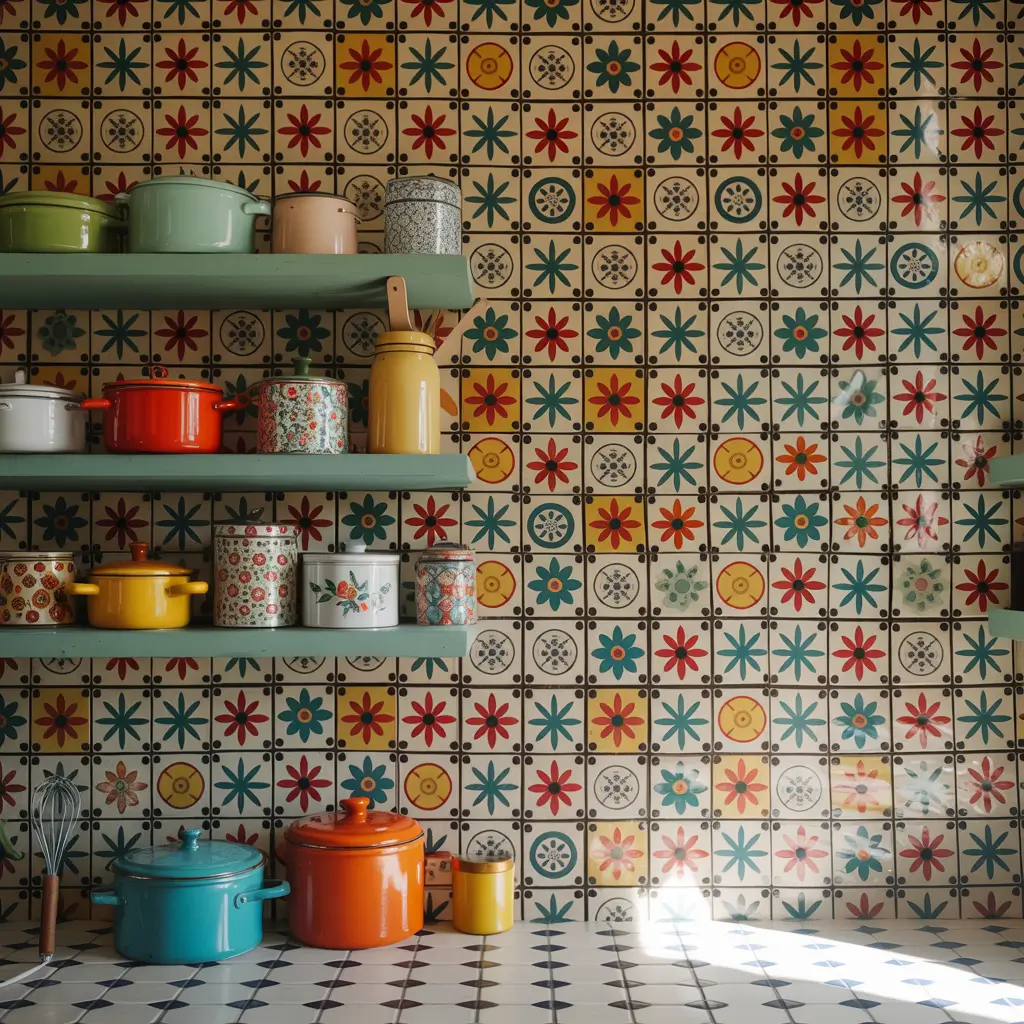
Colorful Tile Accent Wall
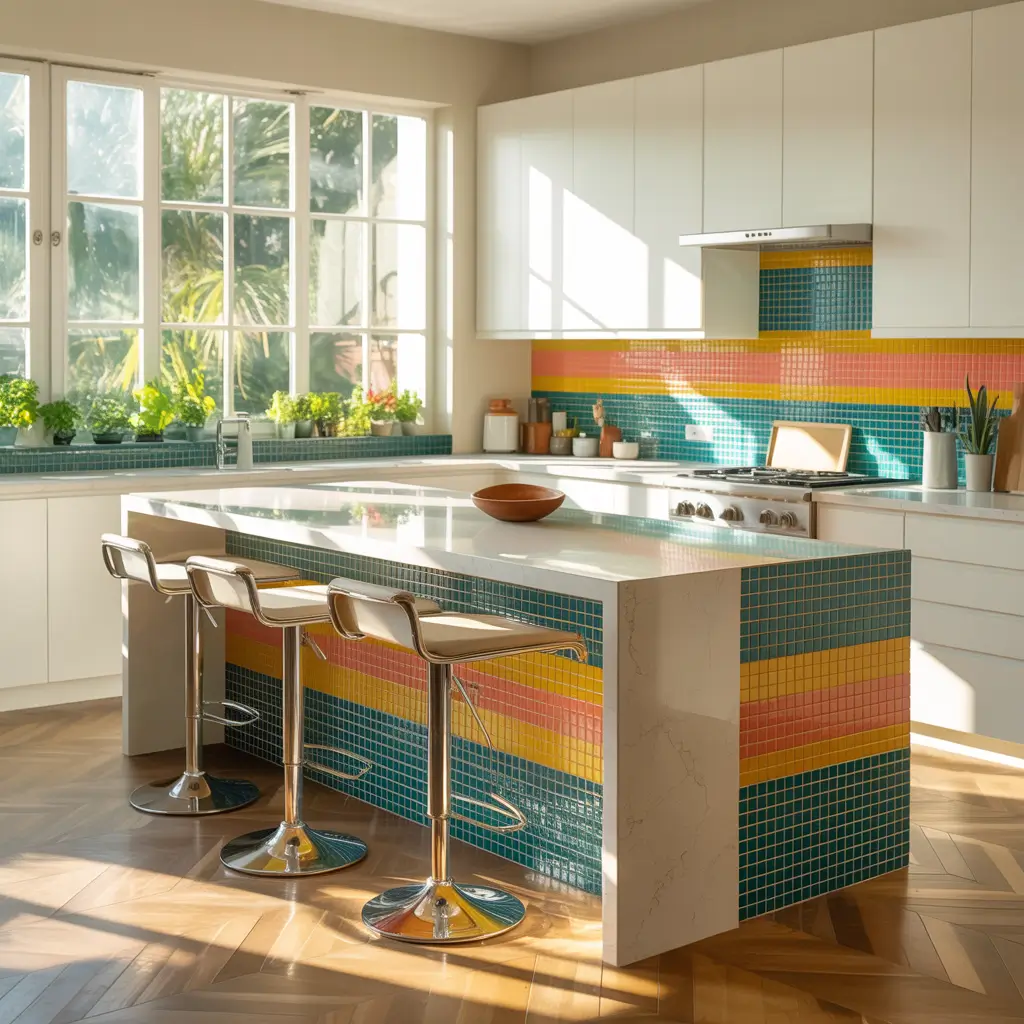
Now we’re talking about making a real splash! A colorful tile accent wall transforms your kitchen from basic to magazine-worthy. I helped my sister install subway tiles in a herringbone pattern with pops of turquoise, and her kitchen went from “meh” to “wow” in a weekend.
Design Considerations
The beauty of tile? You control the drama level:
- Subtle approach: Neutral tiles with colored grout
- Medium impact: Classic pattern with occasional accent tiles
- Full drama: Bold colors, patterns, or both
Cost-wise, you’re looking at anywhere from $5 to $50 per square foot, depending on your tile choice. But here’s a money-saving secret: focus on just one wall or even a backsplash area. You get maximum impact without tiling the entire kitchen.
DIY or Hire a Pro?
Look, I’m all for DIY, but tiling requires precision. If your walls aren’t perfectly straight (spoiler: they probably aren’t), you’ll need to know how to handle that. I’ve done three tile projects myself, and the learning curve is real. Budget an extra 10-15% for tiles you’ll inevitably break or miscut.
Also Read: 15 Amazing Wall Decor Living Room Ideas That Wow Guests
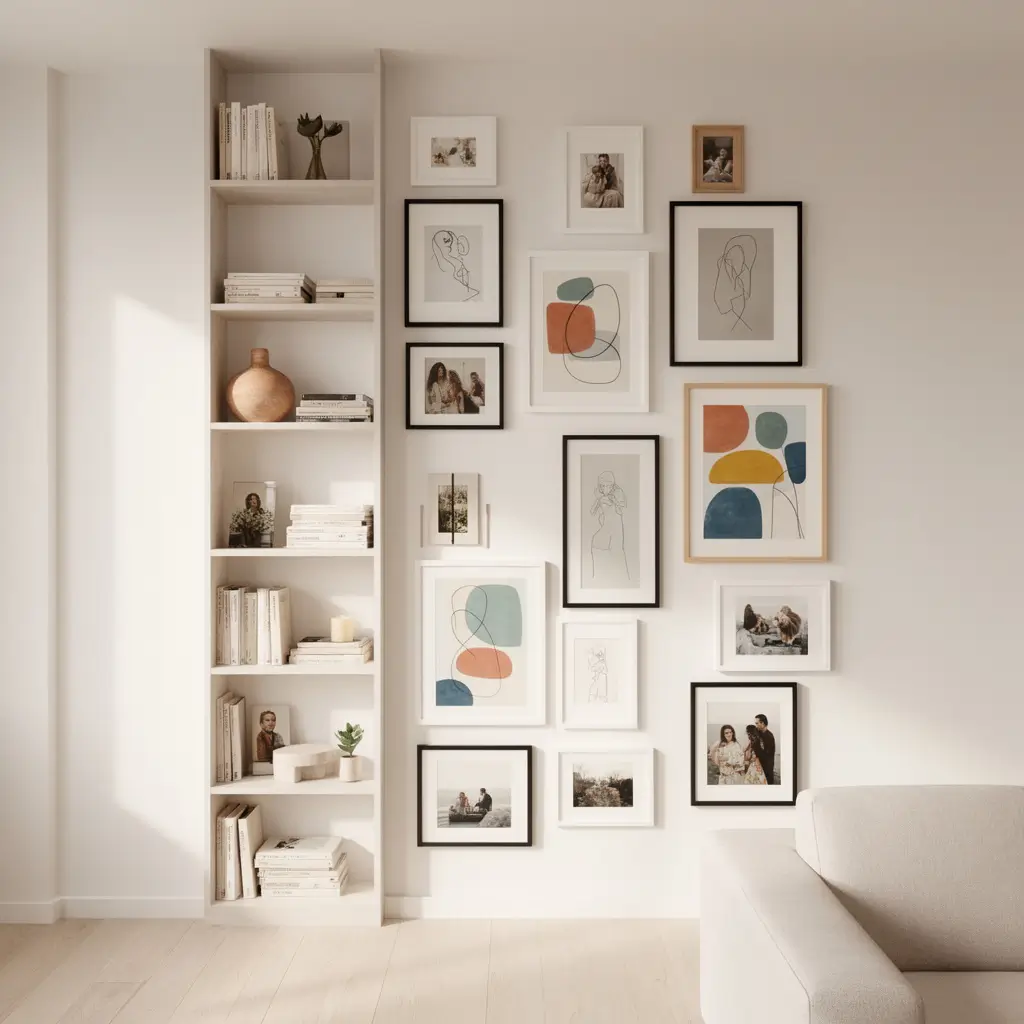
Framed Herb Prints
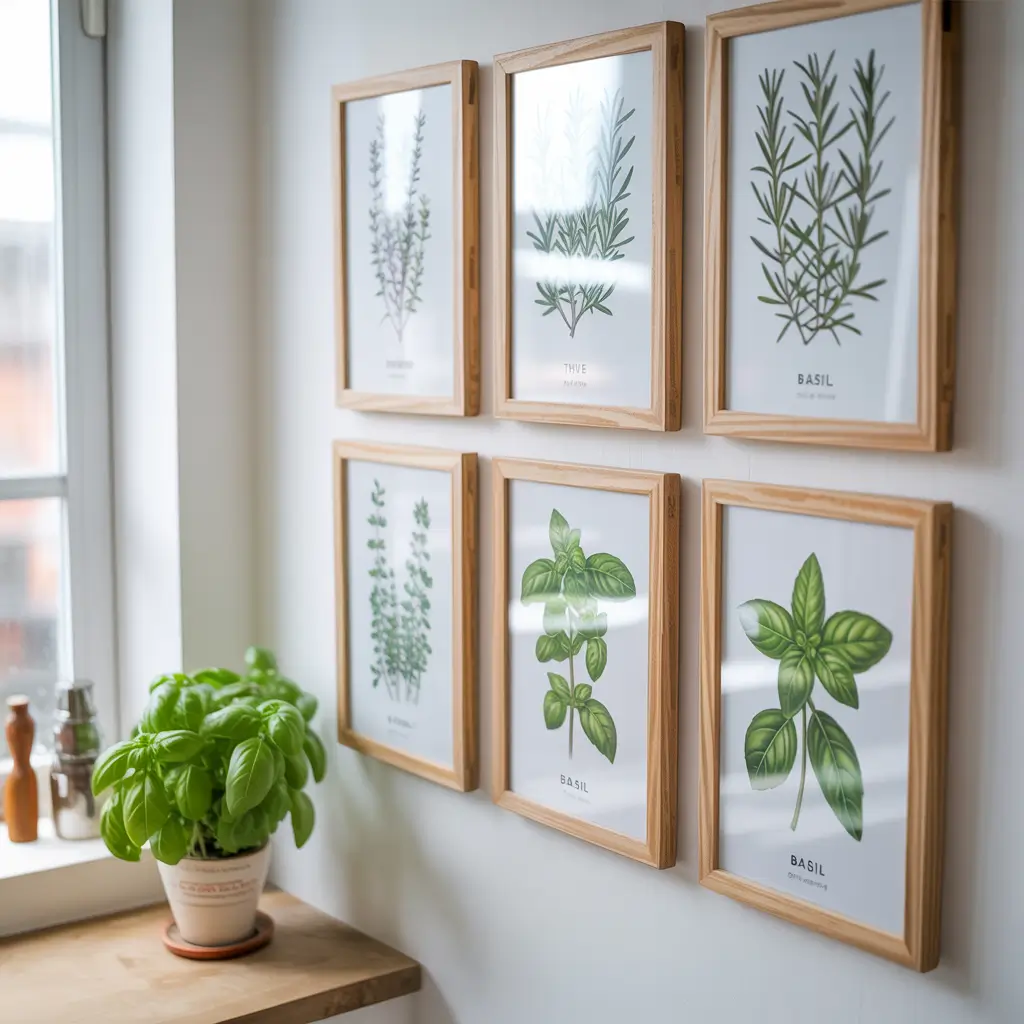
Want kitchen decor that’s both beautiful and educational? Framed herb prints check both boxes. I started with vintage botanical prints of herbs I actually cook with – basil, rosemary, thyme – and now I’ve got a whole gallery wall that looks intentional rather than random.
These prints work because they’re:
- Thematically appropriate (it’s herb art in a cooking space!)
- Available in any style (vintage, modern, watercolor, sketched)
- Easy to change seasonally
- Budget-friendly when you DIY
Creating Your Herb Gallery
Here’s my formula for a cohesive look:
- Stick to one art style (all vintage or all modern, not mixed)
- Use matching frames or at least the same color family
- Plan your layout on the floor first
- Mix sizes for visual interest
Pro tip: Download free vintage herb prints from museum websites. I found gorgeous 18th-century botanical illustrations that cost nothing but printing. Frame them in thrift store frames spray-painted to match, and you’ve got high-end looking art for under $50.
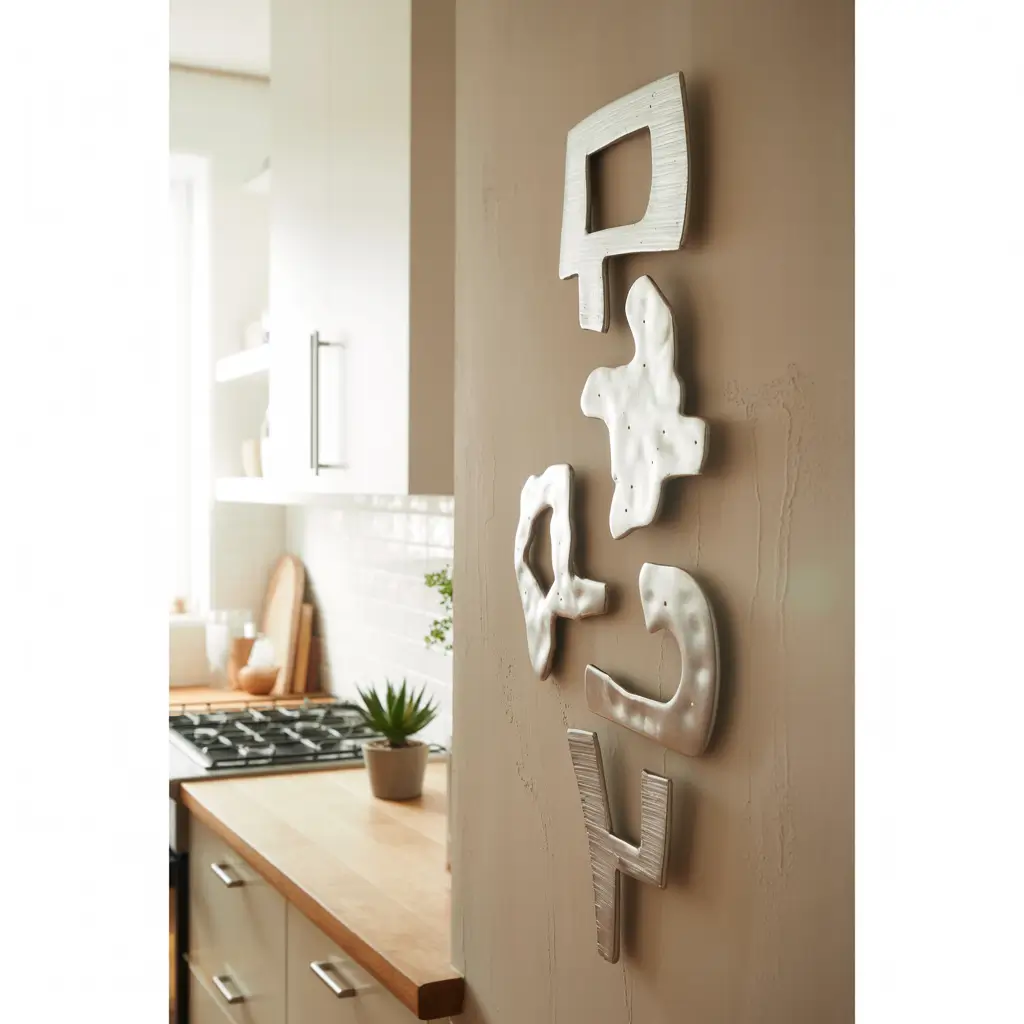
Rustic Farmhouse Wall Signs
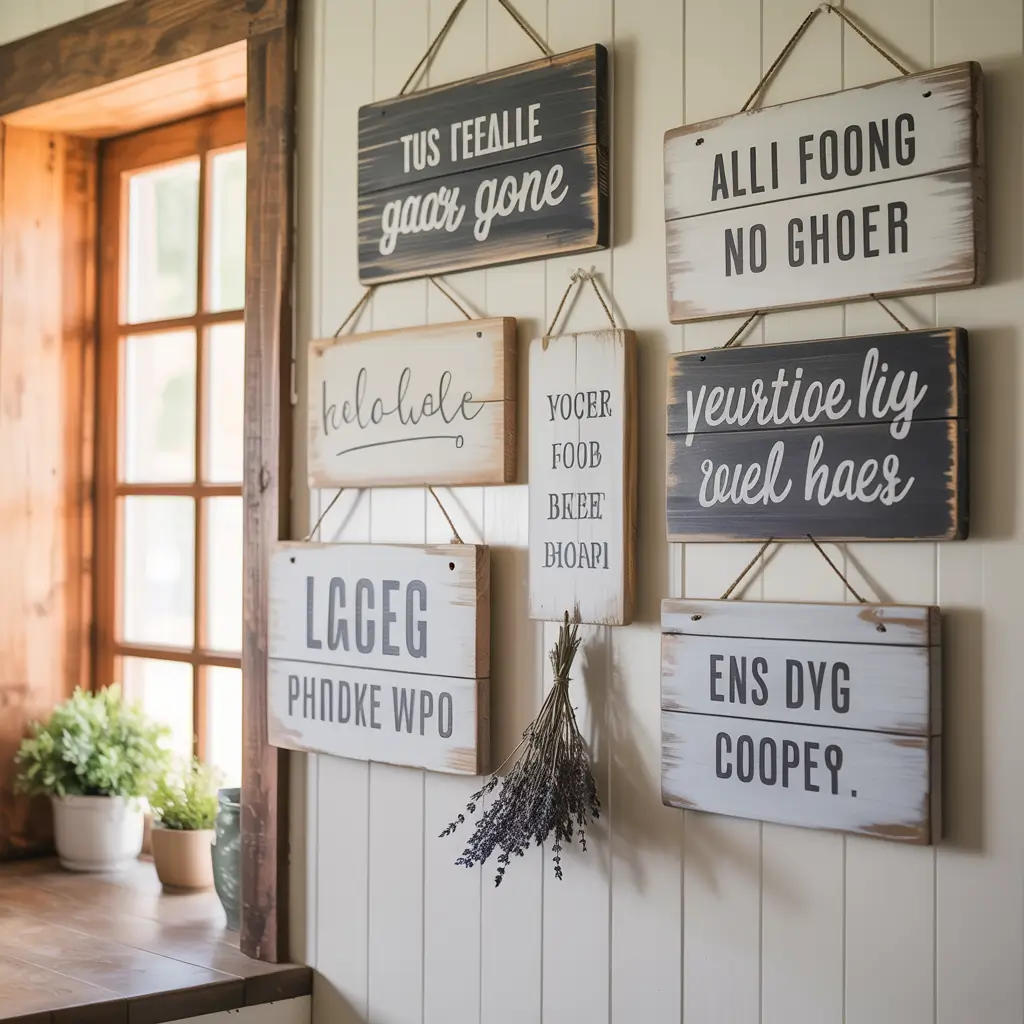
Okay, I know what you’re thinking – “Live, Laugh, Love” signs are so overdone. But hear me out: rustic farmhouse signs can actually be cool when you avoid the clichés.
I’ve got a reclaimed wood sign that says “Burnt food builds character” hanging above my stove. It’s funny, it’s true, and it’s way more personality than generic inspiration. The rustic wood adds texture and warmth that plain walls lack.
What Makes Good Farmhouse Signage
- Authentic materials (real wood, not plastic made to look like wood)
- Clever sayings that reflect your actual personality
- Quality construction that won’t warp in kitchen humidity
- Appropriate scale for your wall space
Skip the mass-produced stuff from big box stores. Instead, check out local makers on Etsy or at craft fairs. Or better yet, make your own! I made one using an old fence board and vinyl letter stickers – total cost was maybe $15, and it looks like I paid ten times that.
Minimalist Floating Cabinets
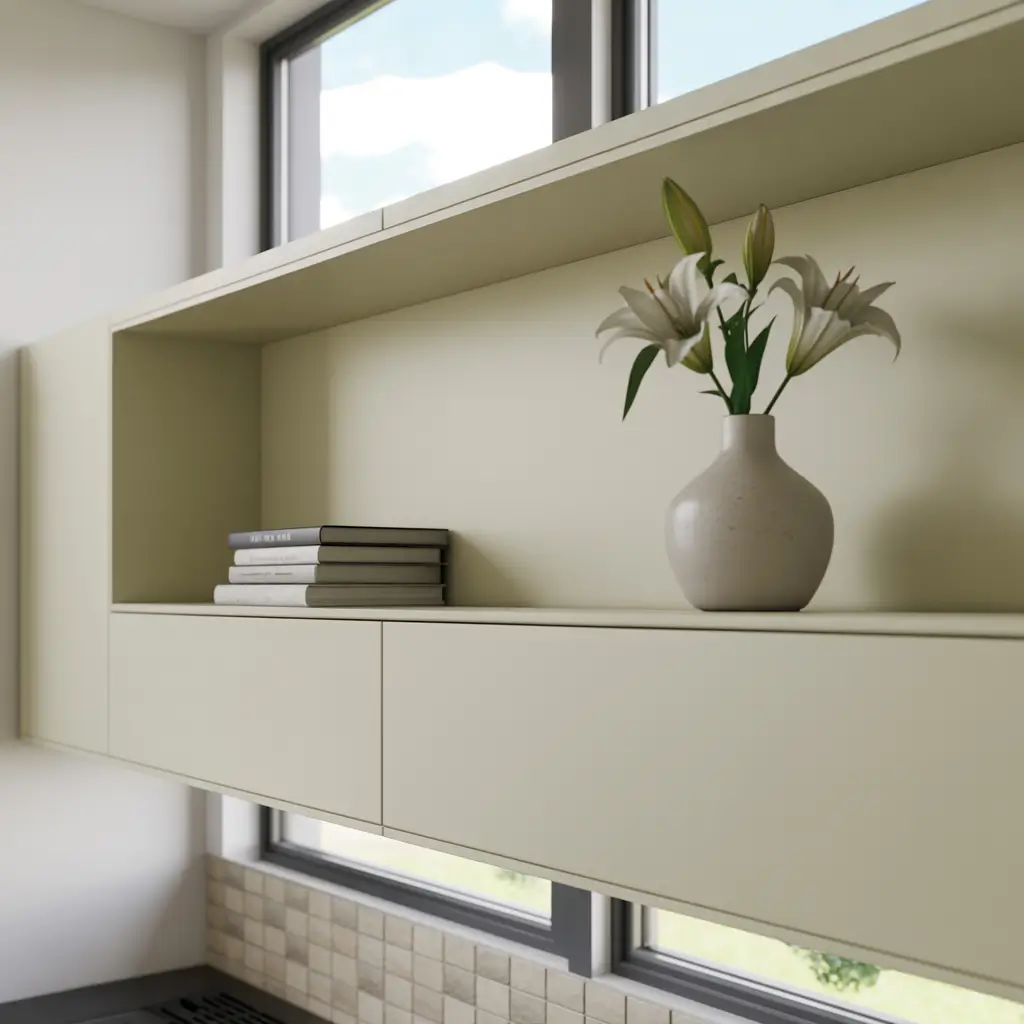
For my modern kitchen lovers, minimalist floating cabinets offer storage without the visual weight of traditional upper cabinets. I replaced half my upper cabinets with these sleek floaters, and my kitchen instantly felt twice as big.
Why Floating Cabinets Work
The magic happens because:
- They create negative space that tricks your eye
- Open bottoms make cleaning underneath easy
- You can install LED strips underneath for task lighting
- They work in any kitchen size
The installation requires more planning than regular cabinets since you can’t hide imperfect mounting. Everything needs to be level and properly anchored. I hired a handyman for this job after attempting it myself and realizing I was in over my head. Sometimes knowing your limits saves money in the long run!
Styling Your Floating Cabinets
Keep these babies clutter-free for maximum impact. I use mine for:
- Matching dishware (all white for that clean look)
- Clear glass containers with pantry staples
- A few decorative pieces mixed with functional items
The key? Edit ruthlessly. These aren’t junk drawers – they’re display cases.
Also Read: 15 Elegant Wall Decor Bedroom Ideas with Timeless Charm
Chalkboard Menu Wall
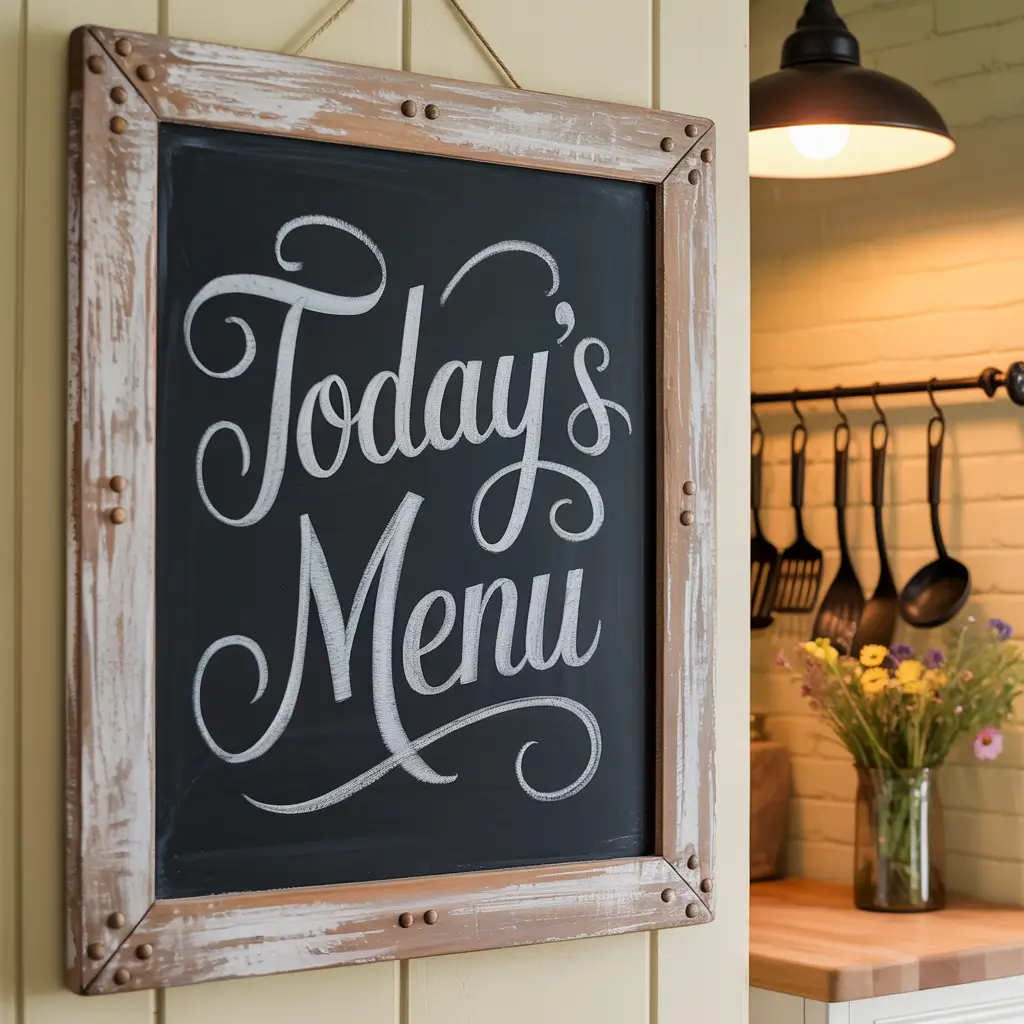
Ever stand in front of your fridge wondering what’s for dinner? A chalkboard menu wall solves that problem while adding serious style points. I painted an entire wall with chalkboard paint two years ago, and it’s been the MVP of my kitchen decor.
Beyond Basic Black
Chalkboard paint comes in colors now! I went with a deep navy that looks sophisticated but still functions as a chalkboard. You can find:
- Classic black
- Navy blue
- Forest green
- Even pink or purple for the bold
The application process matters more than you’d think. I learned (the hard way) that you need:
- Super smooth walls – any texture shows through
- Multiple thin coats rather than one thick one
- Proper curing time – wait 3 days before first use
- Season the board by rubbing chalk all over and erasing
Making It Functional AND Pretty
My chalkboard serves triple duty:
- Weekly menu planning (goodbye, “what’s for dinner?” texts)
- Grocery lists that everyone can add to
- Doodle space for when I’m on boring phone calls
IMO, the best part? You can change your “art” whenever you want. Feeling festive? Draw some holly. Minimalist mood? Simple typography. It’s like having an ever-changing art piece.
Open Shelf Display with Cookware
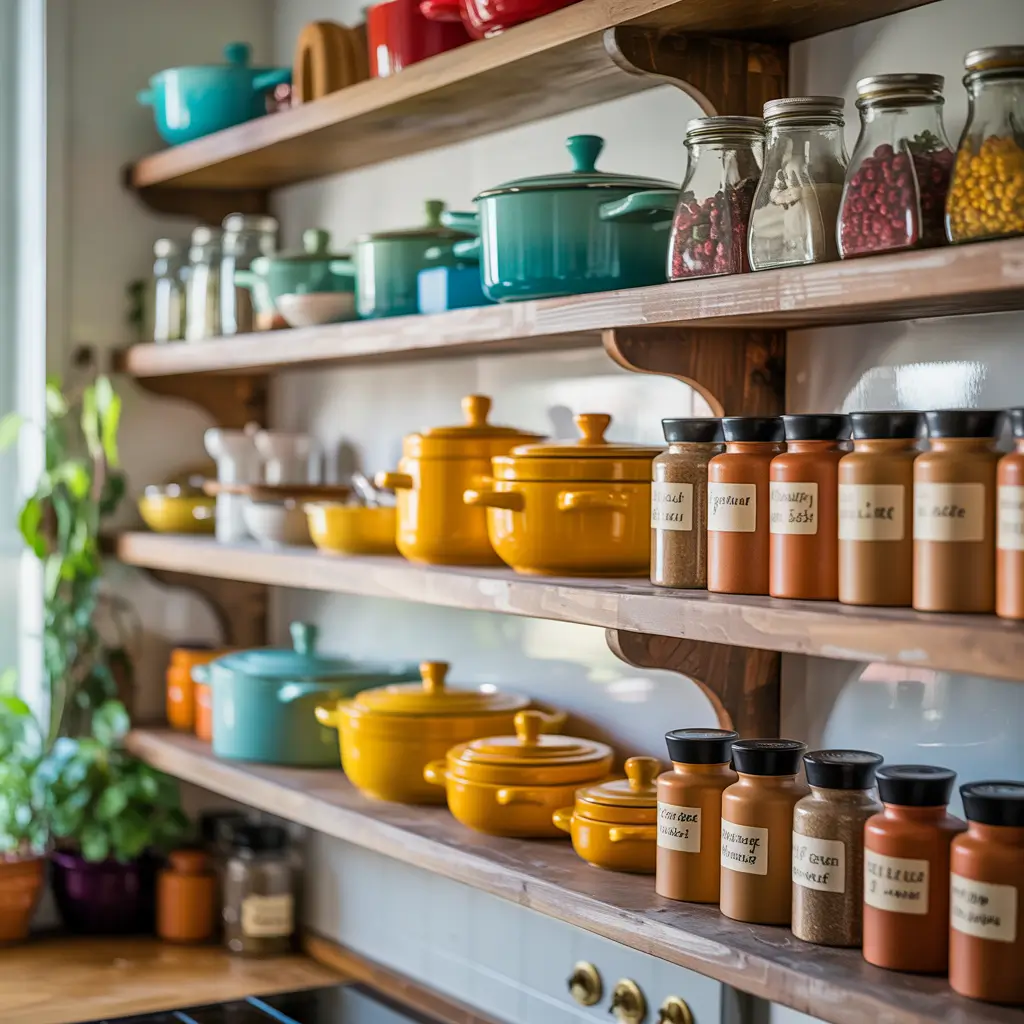
Who says cookware belongs hidden in cabinets? An open shelf display featuring your prettiest pots and pans turns functional items into decor. I installed industrial pipe shelving last spring and arranged my copper cookware collection on it – instant kitchen jewelry!
What to Display vs. What to Hide
Be selective about what goes on display:
Display-worthy items:
- Copper or cast iron pieces
- Colorful Dutch ovens
- Matching pot sets
- Vintage cookware
- Beautiful cutting boards
Keep these hidden:
- Mismatched lids
- Scratched nonstick pans
- Plastic storage containers
- That burnt pot you keep meaning to replace
The arrangement matters too. I group items by material (all copper together) and vary heights for visual interest. A few cookbooks mixed in breaks up the metal and adds color.
Hanging Mug Rack

Coffee lovers, this one’s for you! A hanging mug rack frees up cabinet space while creating an Instagram-worthy coffee corner. I made mine from a piece of reclaimed wood and some vintage hooks, and now my mug collection is part of the decor.
DIY Mug Rack Ideas
You can create a mug rack from:
- Wooden boards with hooks (classic and customizable)
- Metal grids with S-hooks (industrial vibe)
- Vintage items like old ladders or window frames
- Copper pipes for that trendy industrial look
Position your rack near your coffee station for maximum convenience. Mine hangs right above my coffee maker, so my favorite mug is always within reach. Just make sure it’s high enough that you won’t bonk your head – learned that one the hard way :/
Curating Your Mug Collection
Once your mugs are on display, you’ll notice mismatched randomness more. I slowly replaced my hodgepodge collection with:
- A core set in complementary colors
- A few statement mugs for personality
- Seasonal options I rotate
- Travel souvenirs that spark joy
Also Read: 15 Trendy DIY Wall Decor Ideas for Beautiful Interiors
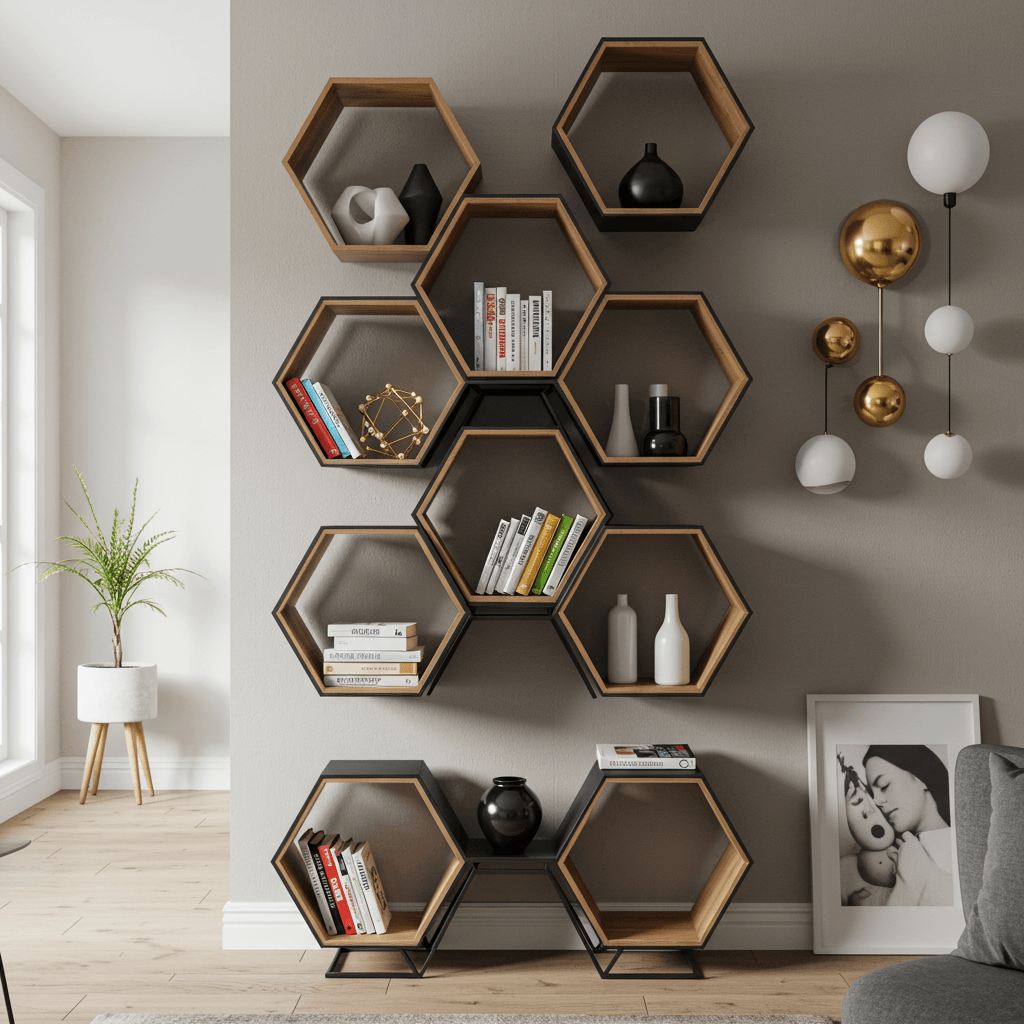
Geometric Wall Art Panels
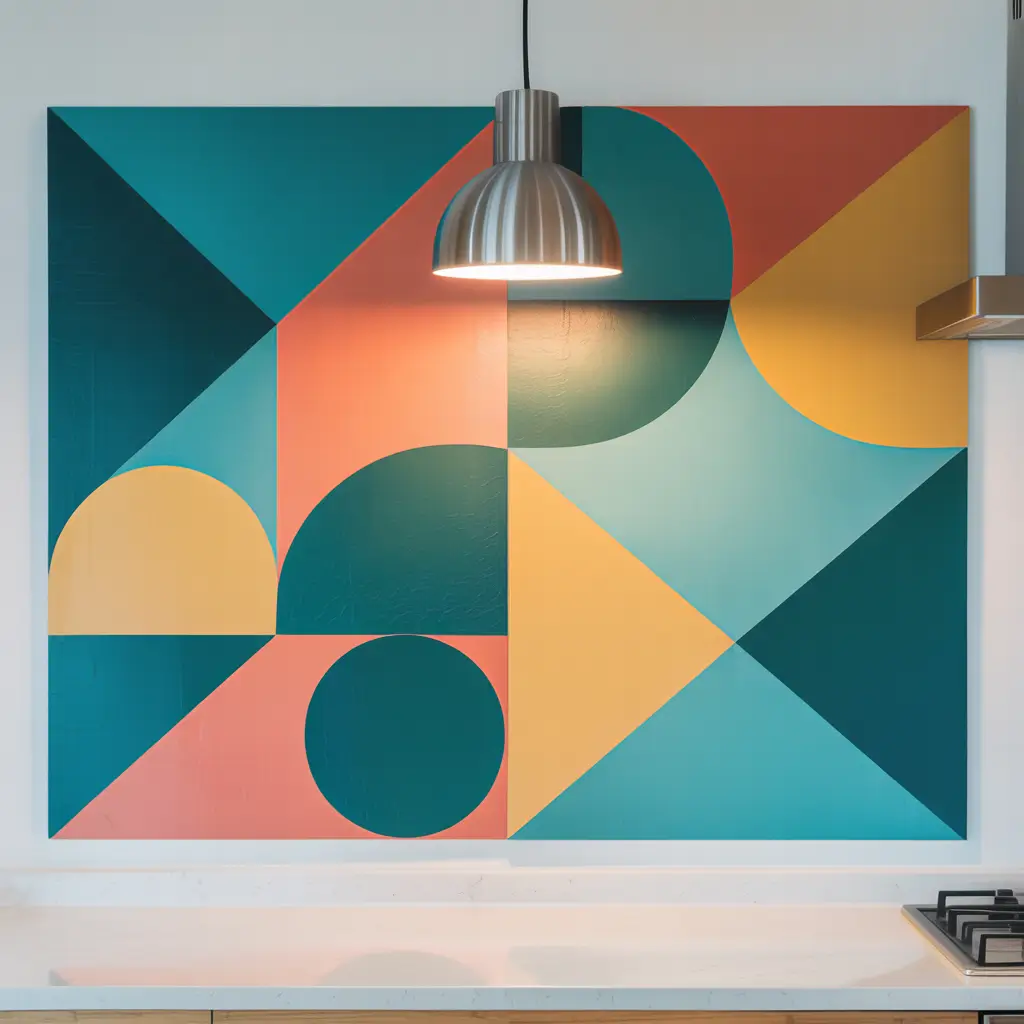
Want modern art vibes without gallery prices? Geometric wall art panels deliver contemporary style on any budget. I created a set using wood pieces from the craft store, and everyone thinks I bought them from some fancy design shop.
Creating Your Own Geometric Art
Here’s my simple process:
- Choose your shapes (triangles, hexagons, or mixed)
- Pick a color scheme (I went with blacks, whites, and natural wood)
- Arrange before mounting (snap a photo for reference)
- Use command strips for damage-free hanging
The materials cost me under $40 for a 3×3 foot installation. Compare that to similar pieces selling for $200+ online, and you’ll see why DIY wins here.
Placement Tips
Geometric art works best:
- Above dining nooks as a focal point
- On narrow walls where traditional art looks awkward
- In corners to draw the eye up
- Behind open shelving for layered interest
Metal Wall Sculptures
For those wanting something more dimensional, metal wall sculptures add depth and sophistication to kitchen walls. I found a stunning abstract piece at a local art fair that catches light differently throughout the day.
Choosing the Right Metal Art
Consider these factors:
- Finish type (brushed, polished, or patinated)
- Weight (heavier pieces need serious mounting)
- Theme (abstract, nature-inspired, or functional)
- Maintenance (some metals need occasional polishing)
My copper sculpture has developed a beautiful patina over time, which I love. But if you want consistent shine, stick with stainless steel or aluminum.
Installation Without Damage
Heavy metal art requires proper mounting:
- Use wall anchors rated for the weight
- Find multiple studs for large pieces
- Consider professional installation for valuable art
- Add felt bumpers to prevent wall scratches
Kitchen Pegboard Organizer
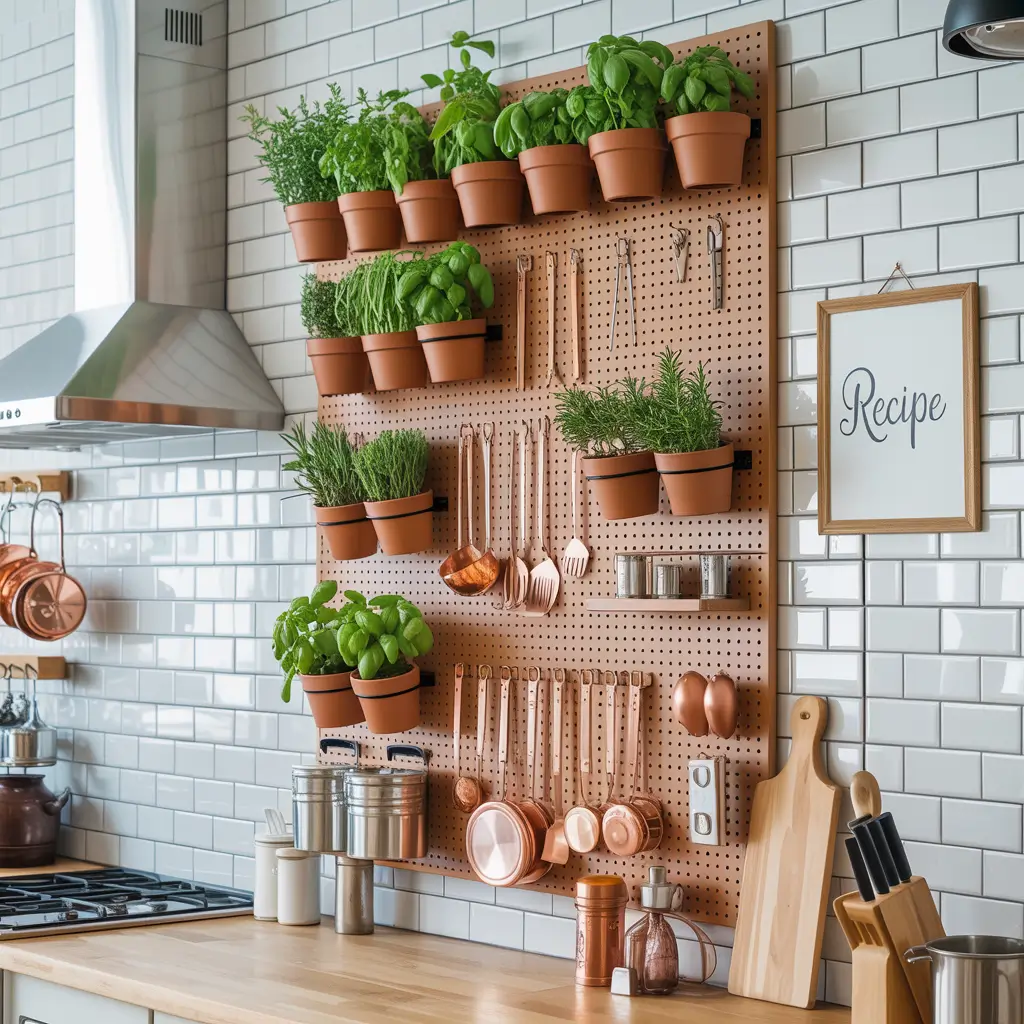
The most functional wall decor award goes to pegboard organizers. I installed a custom-painted pegboard last month, and it’s been a game-changer for my small kitchen. Everything has a place, and it actually looks good!
Pegboard Possibilities
Modern pegboard has come a long way from garage workshop vibes:
- Painted pegboard in any color you want
- Metal pegboard for industrial chic
- Wooden pegboard for warmth
- Combination boards with shelves and hooks
I painted mine the same color as my cabinets for a cohesive look. Then I added brass hooks and small shelves for a touch of elegance.
Organizing Like a Pro
The beauty of pegboard? Total customization. My setup includes:
- S-hooks for frequently used tools
- Small baskets for garlic and shallots
- Magnetic strips for knives
- Mini shelves for spice jars
Macrame Wall Hangings
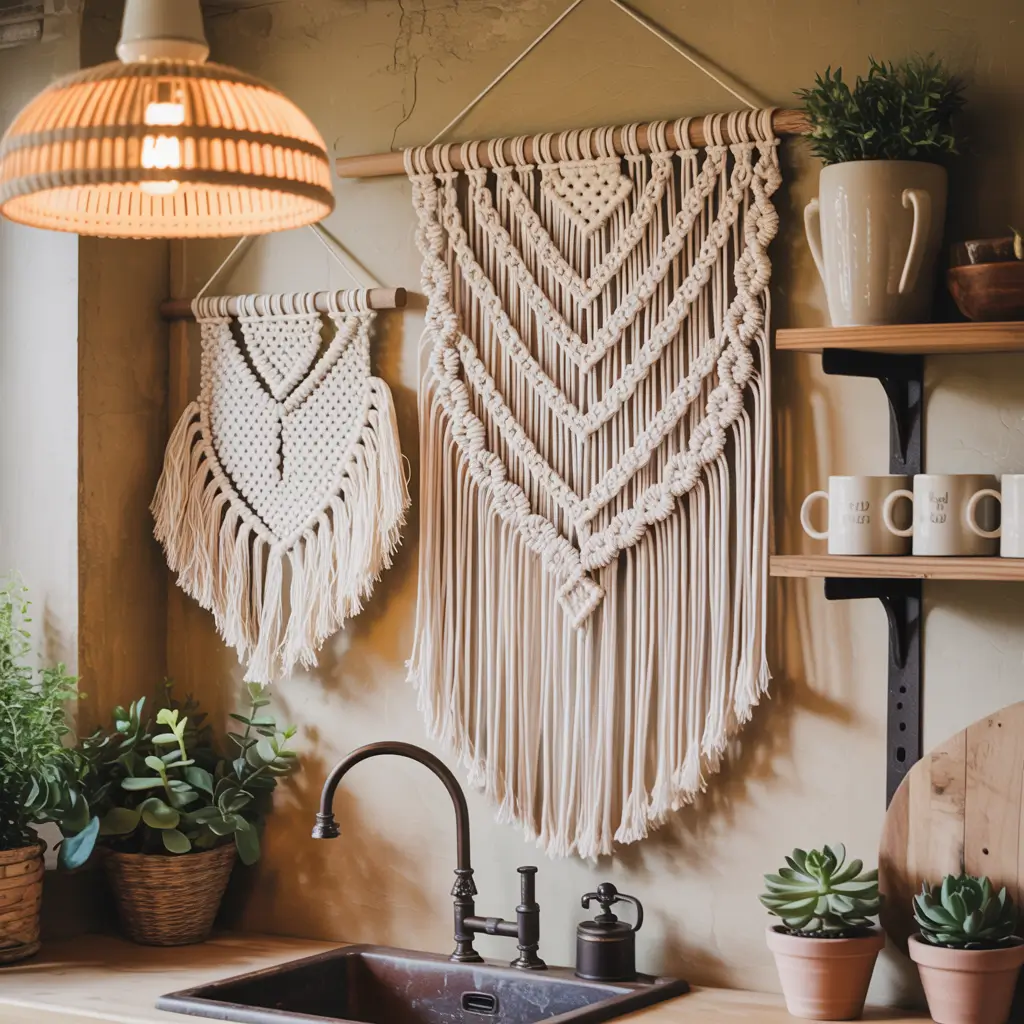
Bringing boho vibes to the kitchen might seem unexpected, but macrame wall hangings add softness to all those hard surfaces. I hung a small macrame piece near my breakfast nook, and it instantly made the space feel cozier.
Kitchen-Appropriate Macrame
Not all macrame belongs in the kitchen:
Good choices:
- Natural, undyed fibers
- Smaller pieces that won’t collect grease
- Designs incorporating functional elements (like planters)
- Pieces hung away from the stove
Skip these:
- Huge statement pieces near cooking areas
- Bright white that shows every splatter
- Overly intricate designs that trap dust
DIY or Buy?
Macrame is surprisingly easy to learn. YouTube taught me three basic knots, and I made my first wall hanging in an afternoon. Materials cost about $15, while similar pieces sell for $60+. Just saying.
Retro Tin Wall Decor
Nothing says “vintage kitchen charm” like retro tin signs. I collect vintage coffee and chocolate advertising tins, and they’ve become my signature kitchen decor. Each one tells a story and adds a pop of color.
Building a Tin Collection
Start your collection strategically:
- Pick a theme (coffee, tea, cookies, etc.)
- Mix sizes for visual variety
- Look for quality (avoid modern reproductions if possible)
- Check for rust (surface rust adds character, structural rust doesn’t)
Antique malls and estate sales offer the best selection. Online shopping works too, but you can’t inspect condition as easily.
Displaying Your Tins
I arrange mine in a grid pattern for maximum impact:
- Lay out on the floor first
- Balance colors across the arrangement
- Use picture ledges for easy rearranging
- Mix in some 3D tins with flat signs
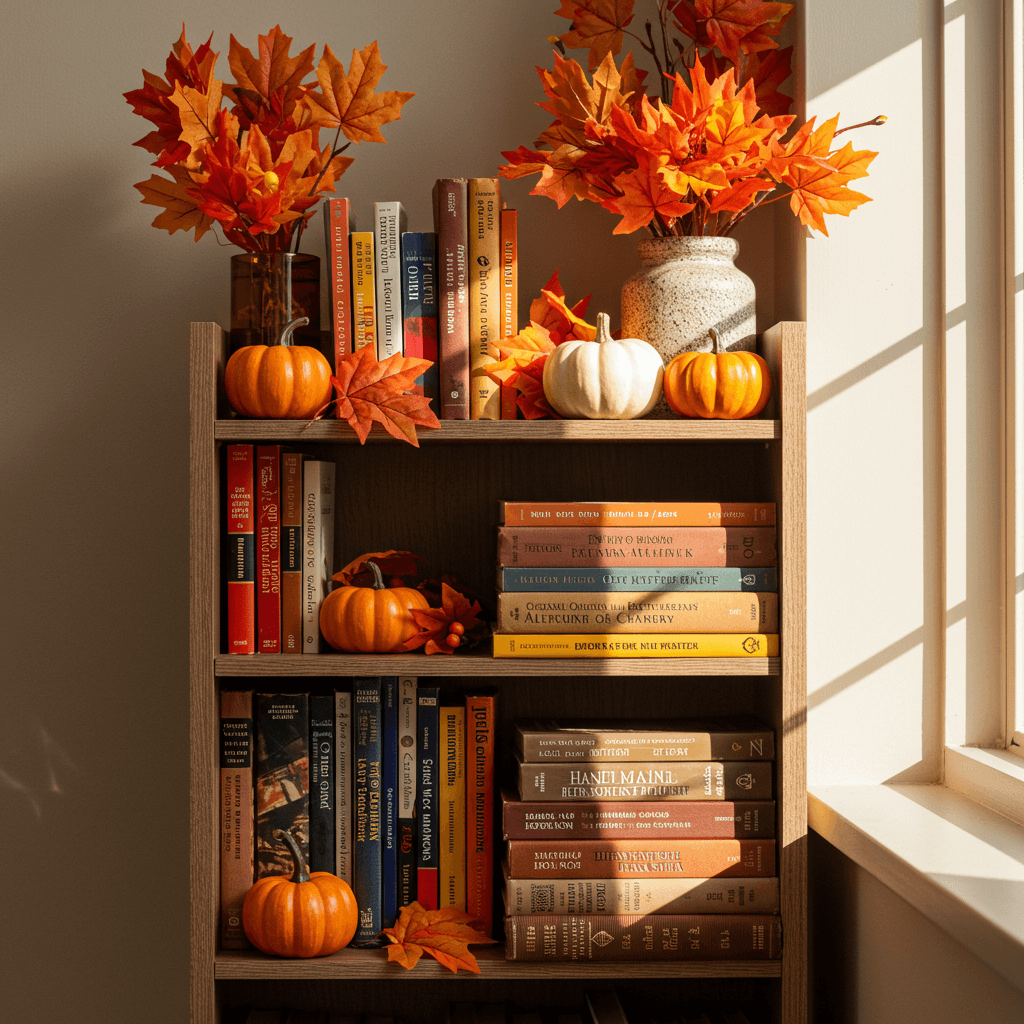
Seasonal Rotating Wall Display
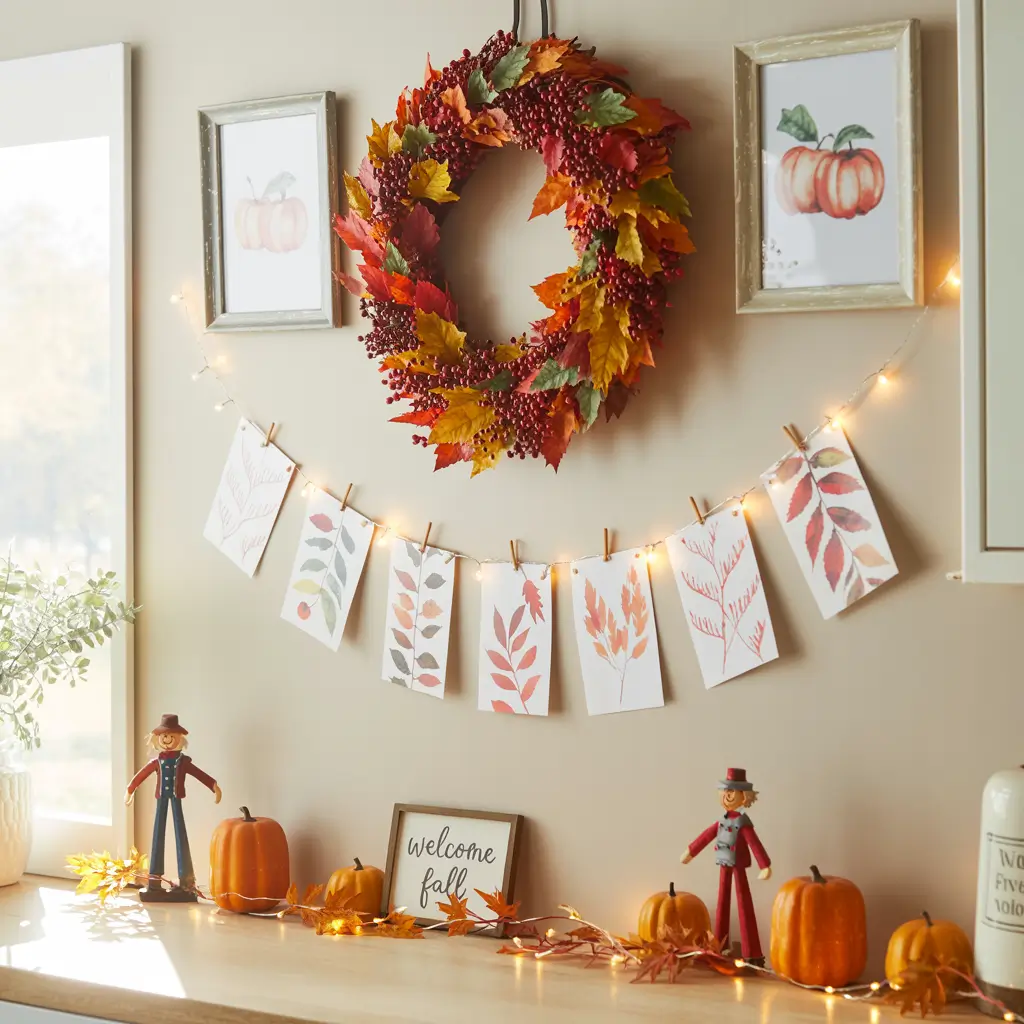
Why commit to one look year-round? A seasonal rotating display keeps your kitchen fresh without major redecorating. I designated one wall as my “seasonal zone” and change it up four times a year.
Creating a Flexible Display System
The key is having a versatile foundation:
- Picture ledges for easy swapping
- Grid systems with clips
- Magnetic boards for lightweight items
- Shadow boxes you can restyle
My system uses three white picture ledges. In fall, I display mini pumpkins and autumn leaves. Winter brings evergreen sprigs and vintage ornaments. Spring gets fresh flowers in bud vases. Summer showcases seashells and beach glass.
Budget-Friendly Seasonal Swaps
You don’t need to buy new decor each season:
- Shop your yard for natural elements
- Repurpose holiday decor in unexpected ways
- Use printables for instant seasonal art
- Rotate existing items by color scheme
Wrapping Up Your Kitchen Wall Transformation
There you have it – fifteen ways to turn those boring kitchen wall into something worth looking at. The best part? You don’t have to tackle all of them.
Pick one or two ideas that speak to you and start there.
My kitchen evolution happened over three years, one project at a time. Started with the floating shelves, added the chalkboard wall when I got bored, then kept going whenever inspiration (or a good thrift store find) struck.
Your kitchen should reflect your personality, not some magazine’s idea of perfection.
Remember: the best kitchen wall decor is the kind that makes you smile while you’re brewing your morning coffee.
Whether that’s a snarky sign, a collection of vintage tins, or plants trailing from floating shelves – make it yours. Happy decorating! 🙂