12 Creative Utility Closet Organization Ideas and Storage Solutions
- Closet Organization
 Ben
Ben- 0
- 36 minutes read
You open your utility closet and immediately dodge a falling mop while a bottle of cleaner tips over and rolls under the water heater. Sound familiar?
Last month, I literally got trapped behind my vacuum because everything else had avalanched in front of the door. That was my breaking point.
My utility closet used to be where cleaning supplies went to die. I’d buy duplicates because I couldn’t find what I already owned, and don’t even get me started on the tangled mess of extension cords living in there.
But here’s the thing – organizing this space changed my entire cleaning routine from a nightmare into something actually manageable.
After testing basically every organization method out there (and failing at quite a few), I’ve figured out what actually works in these awkward, usually tiny spaces.
These twelve ideas transformed my utility closet from hazard zone to efficiency central, and they’ll work for yours too.
Pull-Out Shelf System for Cleaning Supplies
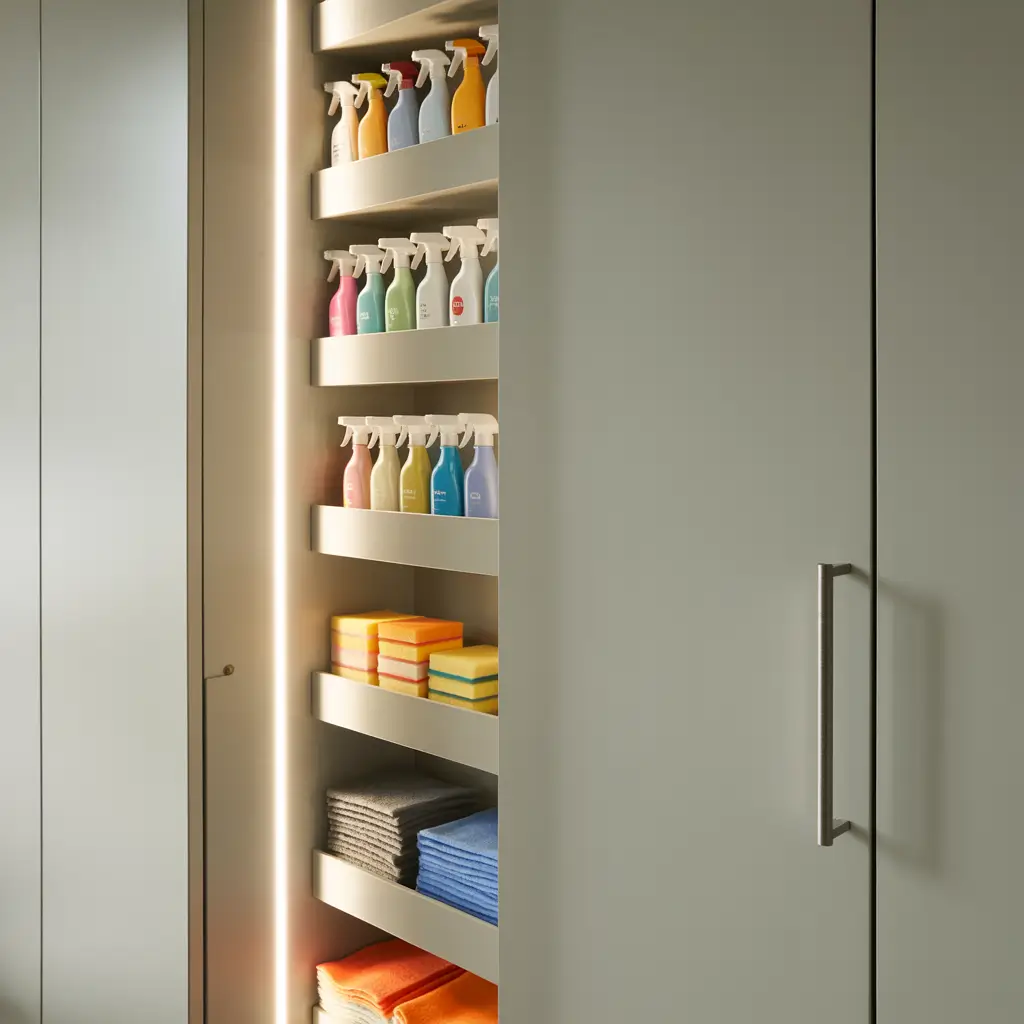
Let me tell you about the game-changer that saved my back and my sanity – pull-out shelves. No more crawling on hands and knees to reach that window cleaner hiding in the back corner. I installed three pull-out shelves at different heights, and suddenly everything became accessible.
The bottom shelf holds heavy stuff like detergent bottles and cleaning buckets. Middle shelf gets everyday cleaners and spray bottles. Top shelf stores lighter items like sponges and cleaning cloths. Each shelf pulls out completely, so I can see and grab everything without playing Jenga with cleaning supplies.
Installation took about two hours with basic tools. I bought heavy-duty slides rated for 75 pounds because cleaning supplies add up weight-wise faster than you’d think. The total cost? About $60 for all three shelves, which beats throwing out expired products I forgot I owned.
Making Pull-Out Shelves Work
Here’s what I learned through trial and error:
- Measure your closet depth twice before ordering slides
- Leave 2 inches clearance on sides for smooth operation
- Install stops to prevent shelves from pulling out too far
- Use plywood, not particle board (it warps with cleaning product spills)
The best part? When something spills (because something always spills), I pull out the entire shelf to clean it properly. No more mystery sticky spots in dark corners.
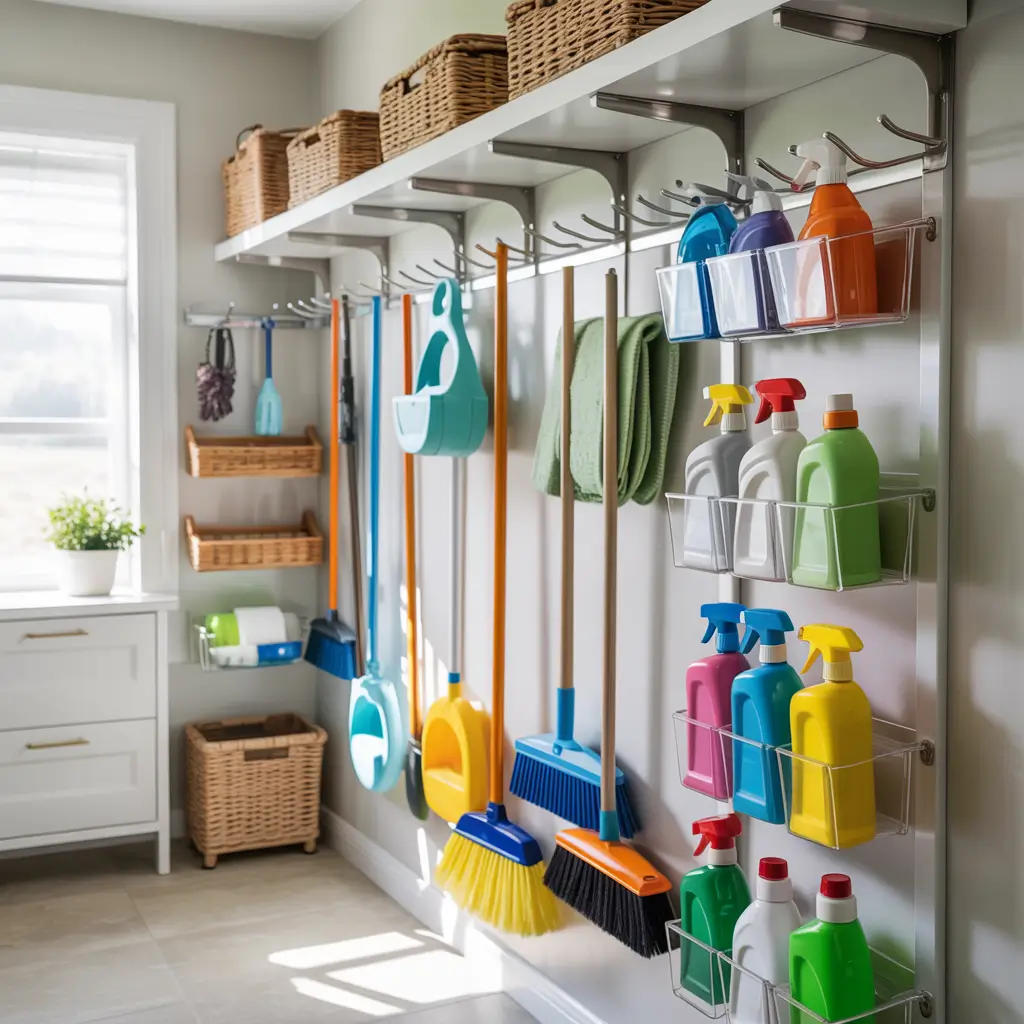
Wall-Mounted Broom and Mop Organizer
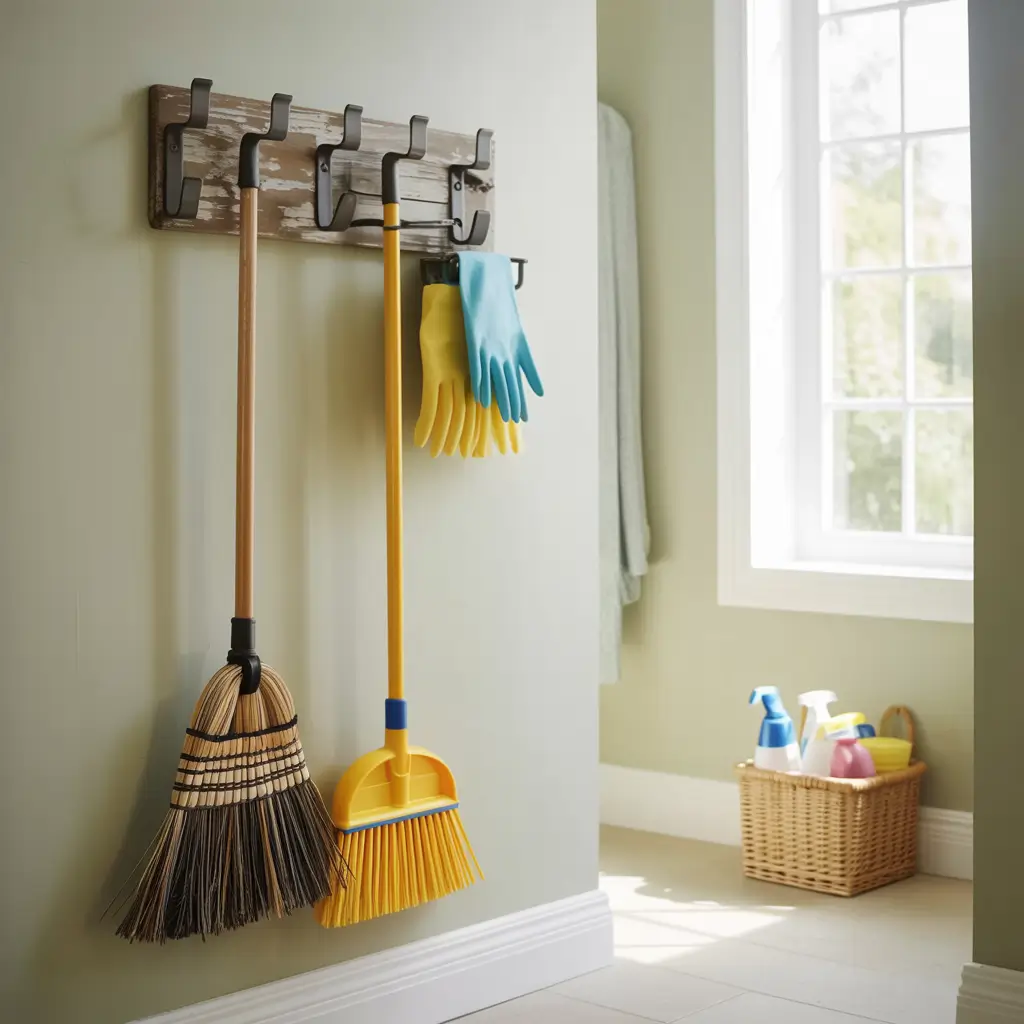
You know that corner where all your long-handled tools lean precariously? Yeah, mine used to collapse every single time I grabbed one thing. Wall-mounted organizers completely eliminated the domino effect of falling brooms, mops, and dusters.
I installed a simple grip-and-release system that holds six tools. Push the handle in, it grips. Pull up slightly, it releases. My broom, mop, Swiffer, duster, and even my lightweight vacuum attachments all have designated spots now. No more tangled handles or tools falling behind the water heater.
The organizer cost me $15 and took ten minutes to install. I positioned it at shoulder height on the side wall, leaving floor space clear for other storage. Pro tip: mount it on a stud or use heavy-duty wall anchors – a wet mop weighs more than you’d expect.
Strategic Placement Tips
- Install at comfortable reaching height (not too high, not too low)
- Space holders 4-5 inches apart to prevent crowding
- Keep wet items separate from dry tools
- Position frequently used tools at the front
My favorite unexpected benefit? The tools actually dry properly now instead of staying damp and gross in the corner. Who knew vertical storage could prevent that musty mop smell?
Clear Plastic Bin Storage with Labels
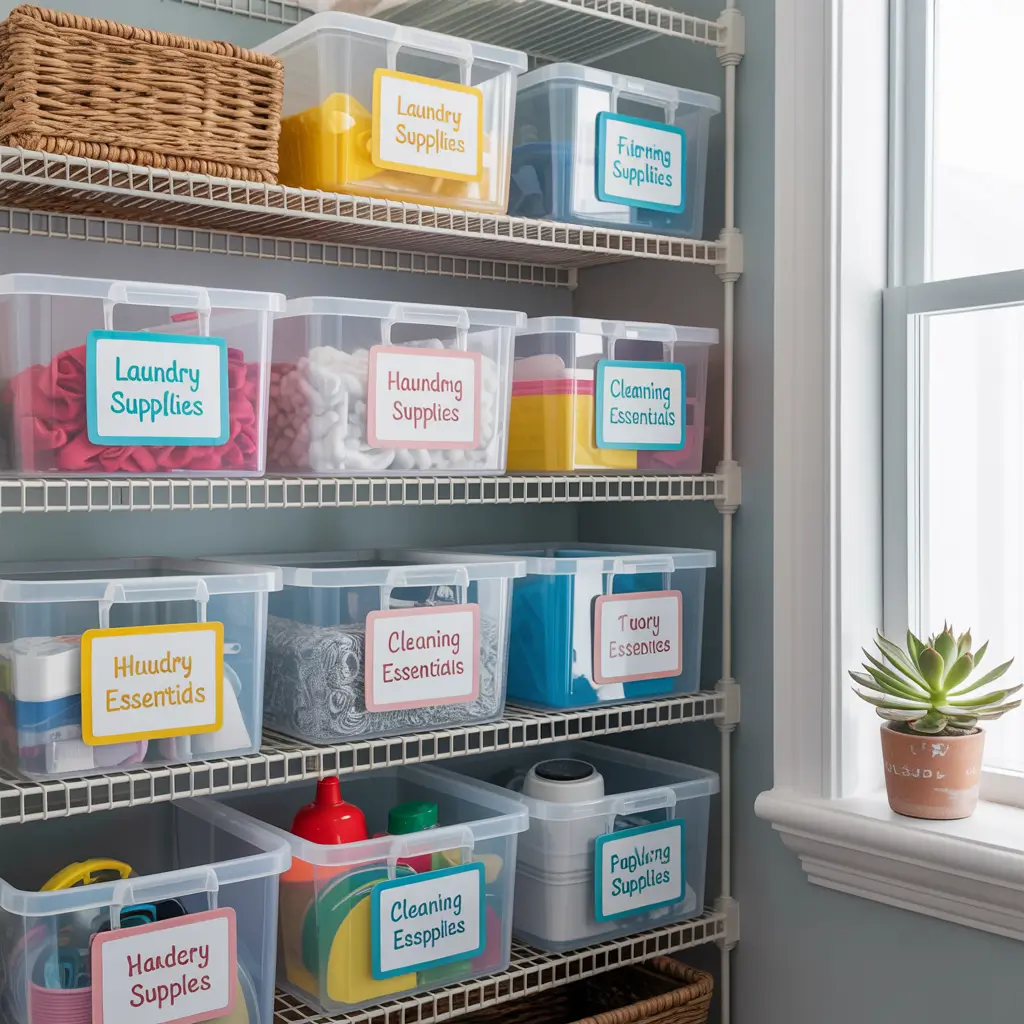
Clear bins changed everything about how I organize cleaning supplies. Being able to see what’s inside without opening every container saves so much time and frustration. I use six matching clear bins, each dedicated to a specific category.
One bin holds bathroom cleaners, another has kitchen supplies, third stores floor care products, fourth contains glass cleaners and polishes, fifth keeps laundry supplies, and the sixth holds backup supplies. Every bin has a label maker label on the front AND a piece of tape on top with the contents written in Sharpie (because I’m extra like that).
The bins stack when not in use and slide out easily when I need something. I bought the kind with locking lids to prevent spills if something tips over. Total investment: about $40 for decent quality bins that won’t crack after a month.
Bin Organization Strategy
What goes where and why:
- Group by room or task (not by product type)
- Keep toxic products in bins with locking lids
- Use smaller bins inside larger ones for tiny items
- Leave 20% empty space in each bin for new purchases
FYI, labeling might seem obsessive, but it’s the only reason this system still works six months later. Even my partner knows where stuff goes now. :/
Also Read: 10 Elegant Closet Organization Ideas Aesthetic Ideas That Wow
Over-the-Door Multi-Pocket Organizer
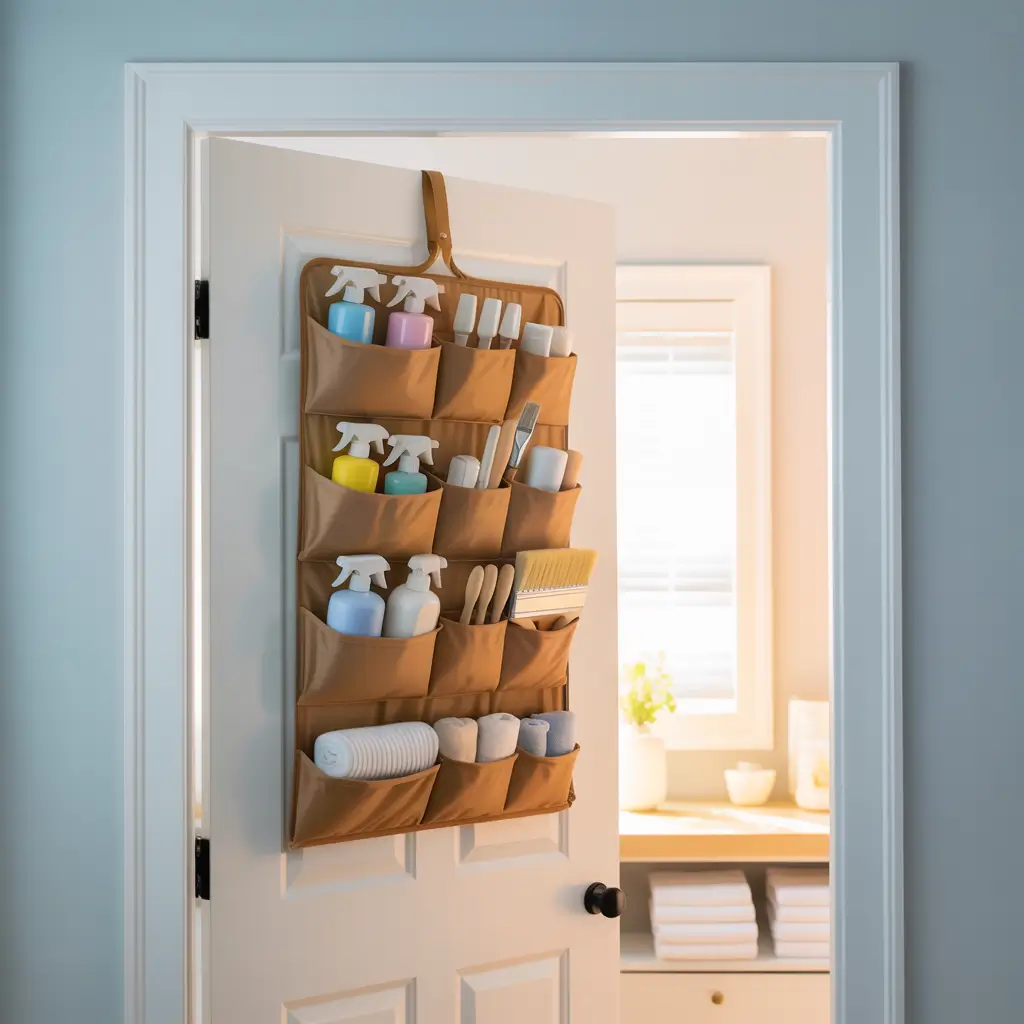
That door is prime real estate you’re probably wasting. I hung a clear-pocket organizer and gained instant storage for dozens of small items that used to float around homeless in my utility closet.
The pockets hold everything from spare batteries and light bulbs to rubber gloves and scrub brushes. Top pockets get lighter items, bottom pockets handle heavier stuff. I can see everything at a glance, and nothing gets lost in the back of a shelf anymore.
Mine has 24 pockets of varying sizes. The bigger pockets at the bottom hold spray bottles perfectly. Medium pockets store cleaning cloths and sponges. Small top pockets keep things like batteries, Command strips, and those random allen wrenches from IKEA furniture.
Maximizing Door Storage
Smart pocket organization:
- Top row: Small frequently needed items (batteries, matches)
- Middle rows: Cleaning cloths, gloves, small brushes
- Bottom rows: Spray bottles, refills, heavier items
- Side pockets: Overflow or seasonal items
The clear pockets matter more than you’d think. Fabric pockets hide everything, defeating the purpose. Spend the extra $5 for clear plastic – trust me on this one.
Tiered Adjustable Shelving for Small Items
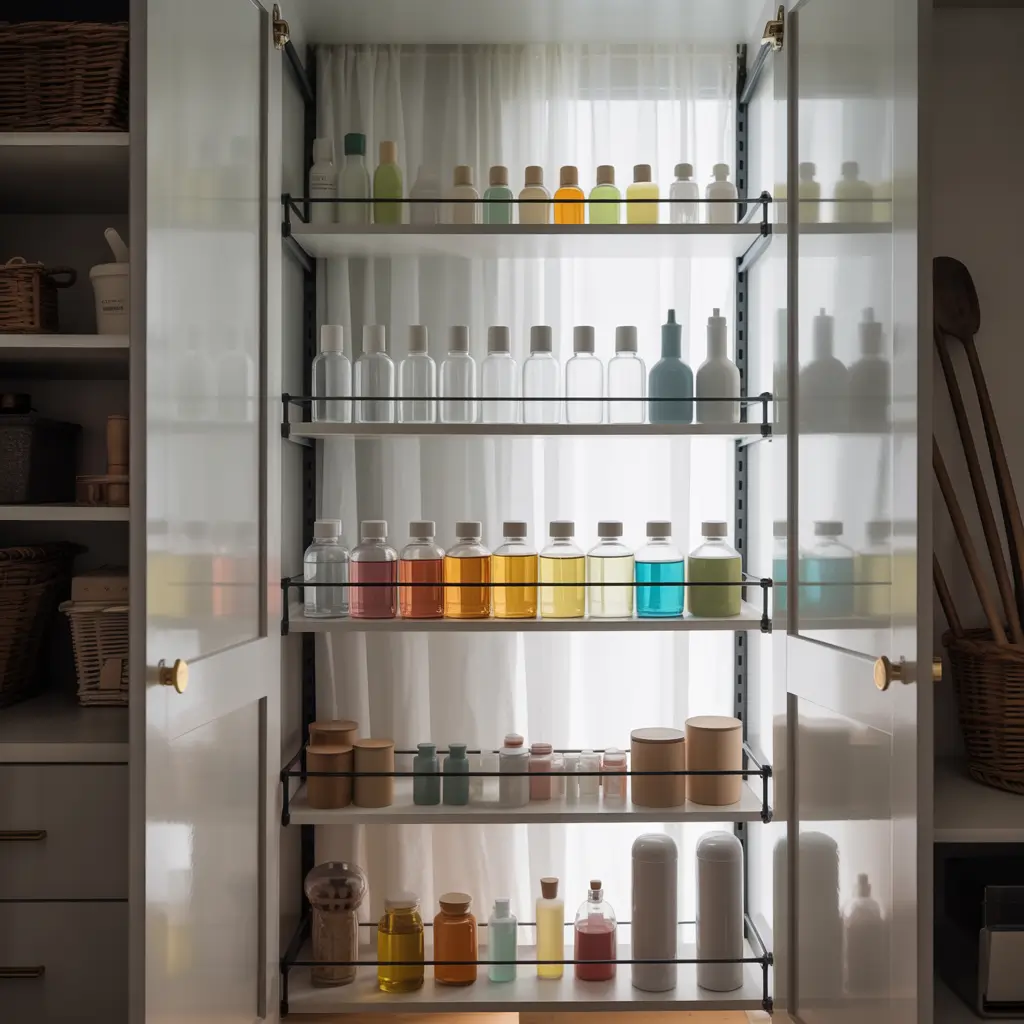
Small bottles and containers waste so much space on regular shelves. Tiered shelving lets you see everything without playing hide-and-seek with that furniture polish hiding behind three other bottles.
I use expandable tiered shelves (like spice racks) for cleaning products. The stepped design means every bottle stays visible and accessible. No more knocking over five things to reach one item in the back. I have three tiers on one shelf – it tripled my storage capacity in the same space.
These shelves adjust width-wise to fit your closet perfectly. Mine expands from 13 to 25 inches, though I keep it at about 18 inches to leave room for taller items on the sides. They’re also sturdy enough to hold full bottles without sagging.
Setting Up Tiered Storage
Key considerations:
- Measure shelf depth before buying (some are too deep for narrow closets)
- Choose rust-resistant materials (moisture happens)
- Position tallest items on lowest tier
- Group similar products together on each tier
I organize mine by frequency of use. Daily cleaners on the bottom tier (easiest to grab), weekly products in the middle, occasional-use items on top. Simple but effective.
Hanging Pegboard for Tools and Accessories
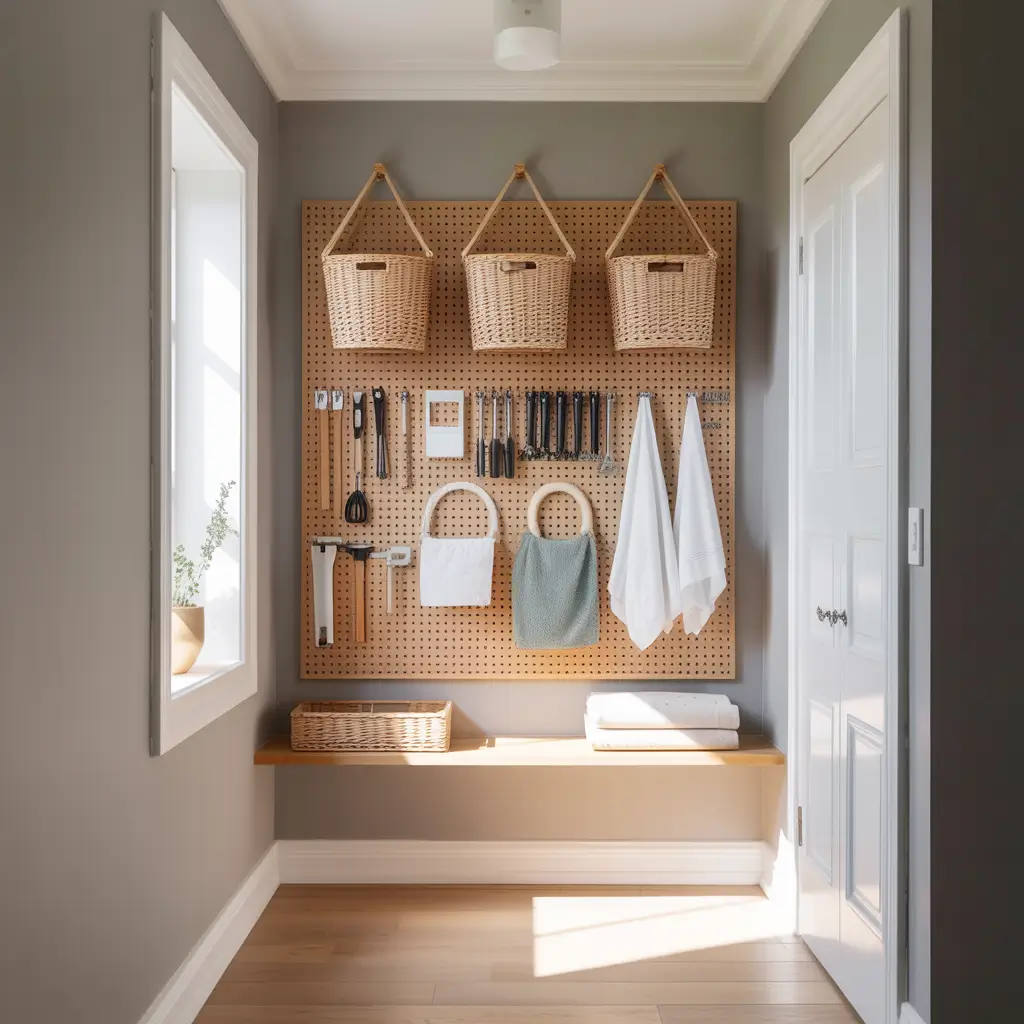
Installing pegboard felt very garage-workshop, but honestly? It’s the most versatile storage solution in my utility closet. I can rearrange hooks and holders whenever my storage needs change, which happens more than I expected.
My pegboard holds everything from extension cords (wrapped and hung on large hooks) to scrub brushes, dustpans, and even spare vacuum bags. The best part is creating custom storage for weird-shaped items. That handheld vacuum attachment that never had a home? Now it has its own perfect hook setup.
I painted mine white to brighten the closet, but left a border unpainted to see the holes better when rearranging. The whole setup cost about $30 including the pegboard, variety pack of hooks, and mounting hardware.
Pegboard Success Tips
Essential pegboard strategies:
- Use spacers behind the board (hooks need clearance to insert)
- Start with a variety pack of hooks to test what works
- Outline tools with marker so you know where everything goes
- Add small baskets or cups for loose items
The flexibility sells this system. Last month I reorganized the entire board to accommodate a new steam mop. Try doing that with fixed shelves.
Also Read: 10 Inspiring Linen Closet Organization Ideas for Every Closet
Sliding Drawer Units for Heavy Items
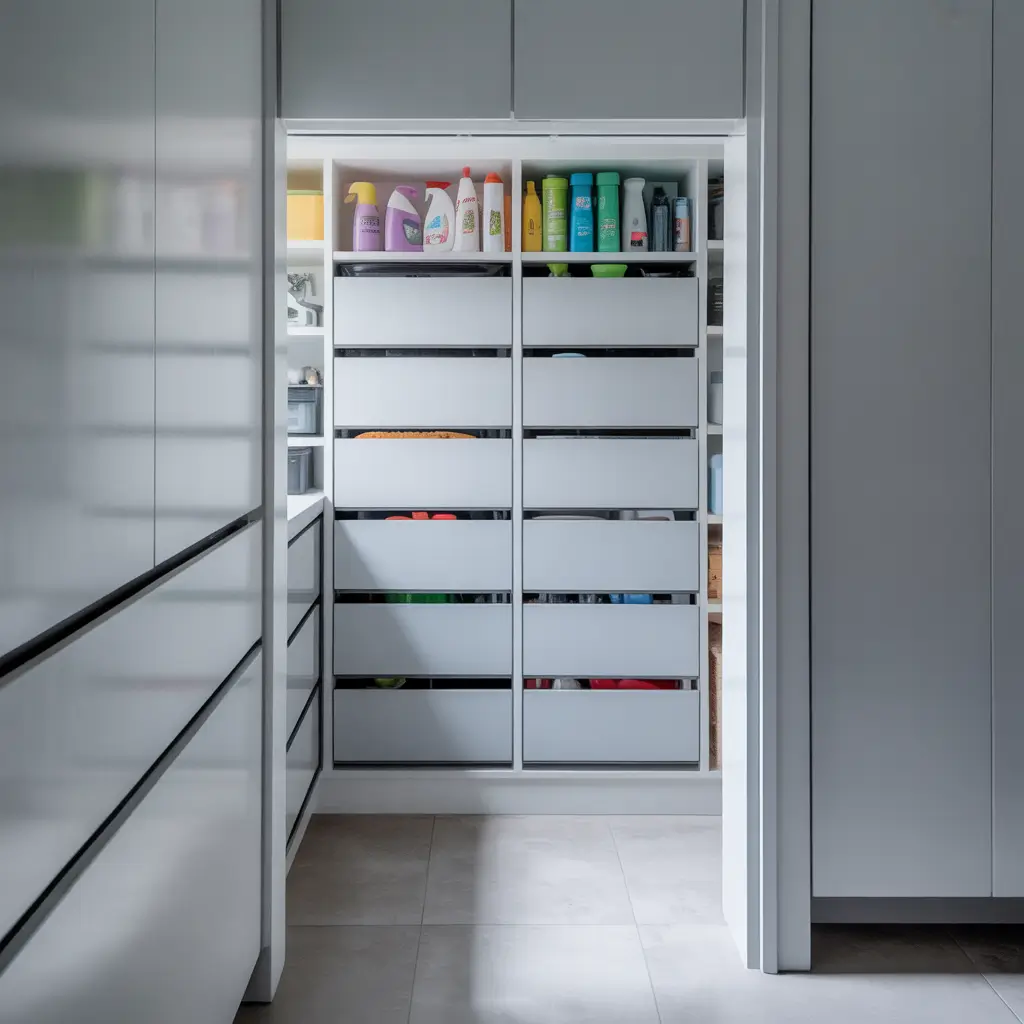
Heavy stuff belongs at the bottom, but that doesn’t mean it should be inaccessible. I installed sliding drawer units at floor level, and now I can actually reach those giant detergent bottles without throwing out my back.
These aren’t fancy – just heavy-duty plastic drawers on wheels that I secured with brackets so they don’t roll around. The top drawer holds medium-weight items like bleach bottles. Bottom drawer stores the really heavy stuff like bulk paper towels and enormous cleaning product refills.
The drawers pull completely out of their frame, which makes deep cleaning easy. When I buy in bulk at Costco, everything has a designated drawer where I can actually see how much backup supply I have.
Heavy-Duty Drawer Setup
What makes this system work:
- Industrial wheels that lock (prevents rolling)
- Full-extension capability (access everything)
- Ventilated drawers (prevents chemical smell buildup)
- Weight capacity of 50+ pounds per drawer
My only regret? Not doing this sooner. I used to stack heavy stuff on the floor, and it was impossible to clean around. Now everything glides out smoothly.
Stackable Modular Storage Cubes
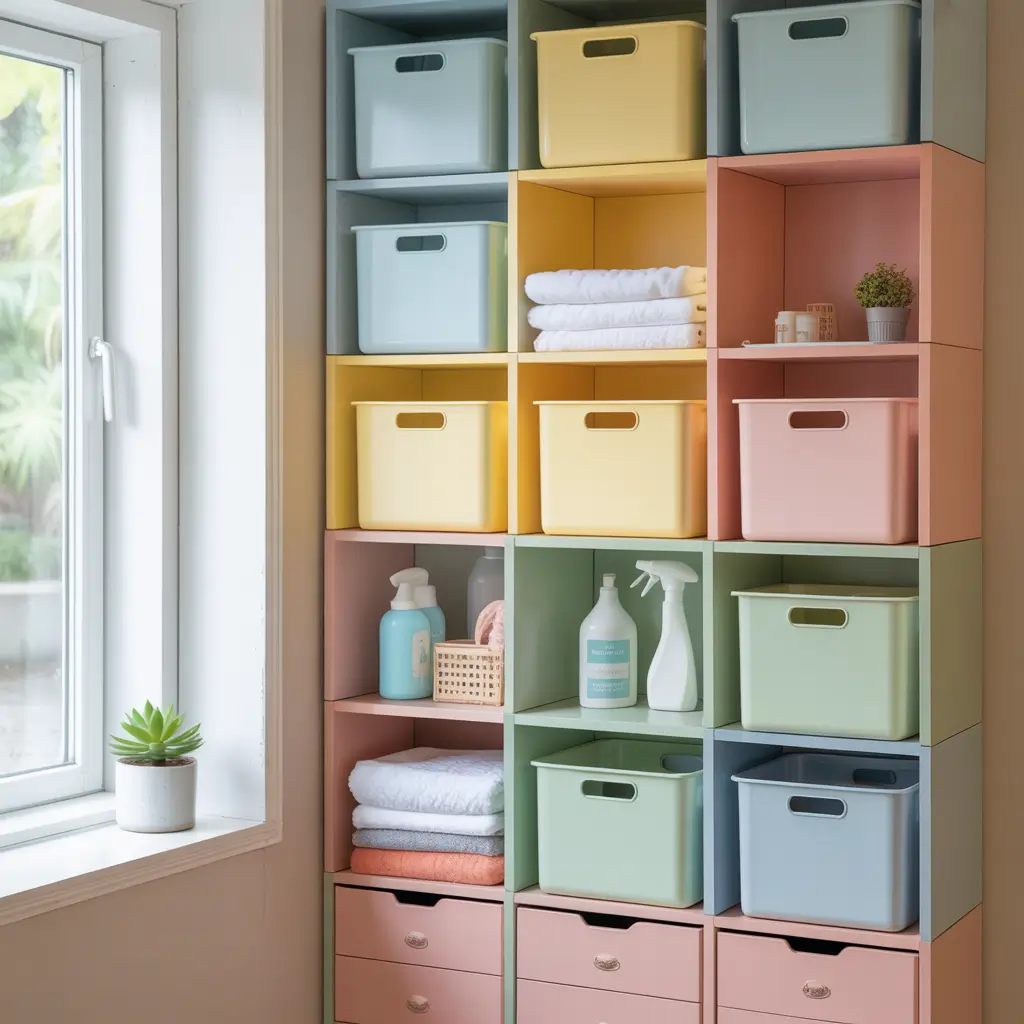
Modular cubes let you customize storage as your needs change. I started with four cubes and now have seven, each serving a different purpose. They stack, sit side-by-side, or work independently.
Some cubes have doors to hide messy items, others stay open for easy access. I use fabric bins inside some cubes for corralling small items. The beauty is you can reconfigure the entire system without tools – just lift and rearrange.
My current configuration: bottom row has three cubes for heavy items, middle row has two cubes for everyday supplies, top has two smaller cubes for lighter stuff. When I bought a carpet cleaner, I just rearranged the cubes to accommodate it.
Modular System Benefits
Why cubes beat traditional shelving:
- Completely customizable layout
- Add or remove units as needed
- Mix open and closed storage
- Easy to clean and maintain
The initial investment feels high (about $15-20 per cube), but you buy only what you need and add more later. Way better than installing fixed shelving you might outgrow.
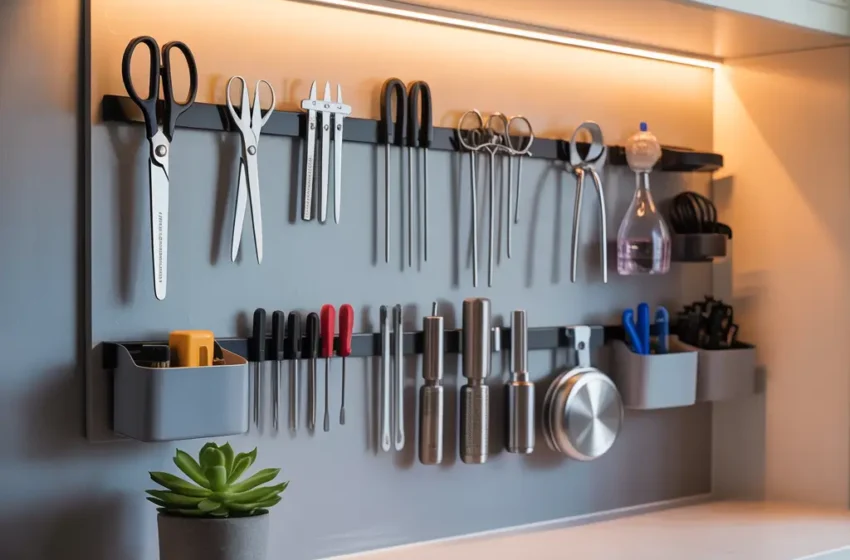
Magnetic Strip Holders for Metal Tools
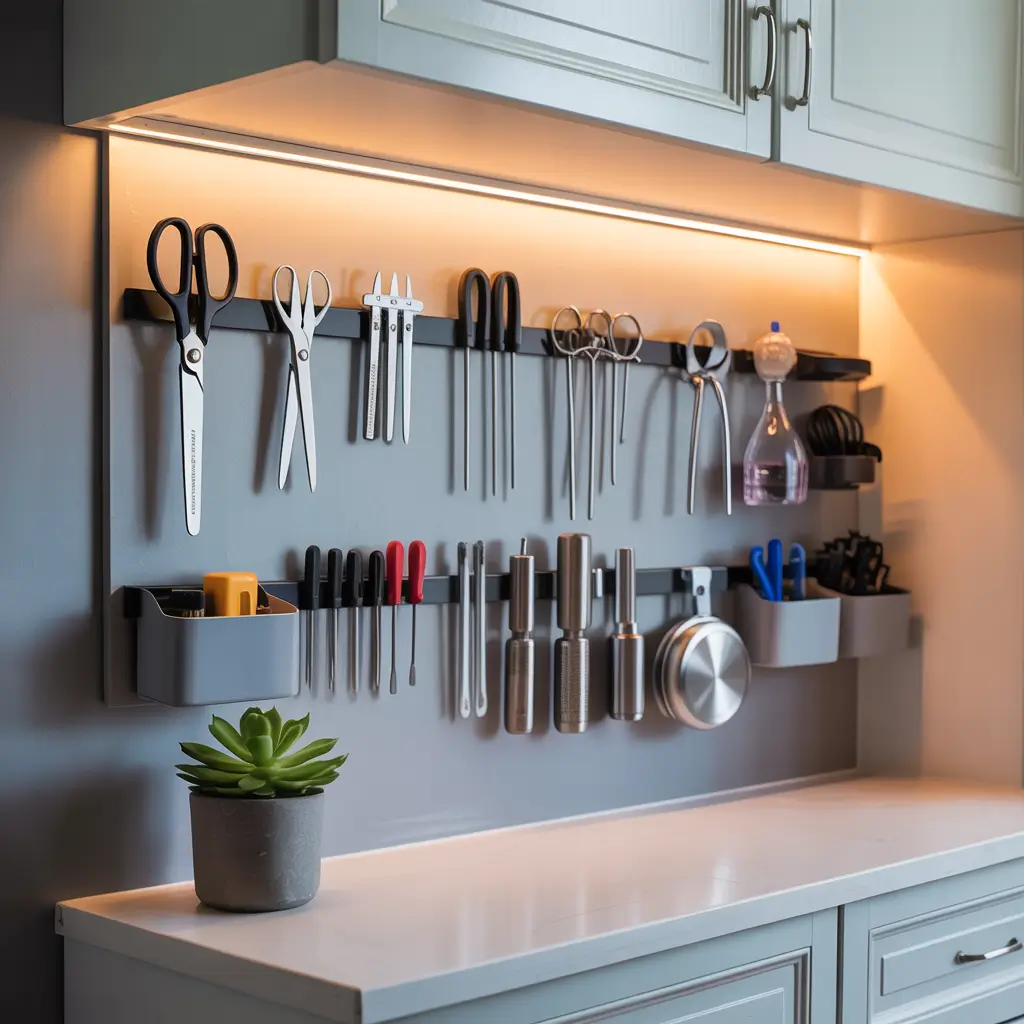
This idea came from watching cooking shows where knives stick to magnetic strips. Why not use the same concept for metal cleaning tools? I installed two magnetic strips, and they hold everything from scissors and scrapers to small metal dustpans.
The strips mount directly to the wall and hold surprisingly heavy items. My metal scrub brushes, paint can openers, and utility knife all live on the magnetic strip now. Everything stays visible, accessible, and definitely won’t fall over like they did in the drawer.
Installation took five minutes per strip. I positioned them at eye level where I won’t accidentally knock things off but can easily grab what I need. The strips cost about $10 each and hold way more than expected.
Magnetic Strip Placement
Strategic positioning tips:
- Mount away from electronics (magnets and electronics don’t mix)
- Leave space between items for easy grabbing
- Position sharp tools carefully (points down for safety)
- Test weight capacity before trusting expensive tools
Unexpected bonus: the strips catch random metal items like paper clips and safety pins that would otherwise disappear into the closet void.
Also Raed: 12 Simple Kids Closet Organization Ideas That Stay Tidy
Lazy Susan Rotating Storage for Bottles
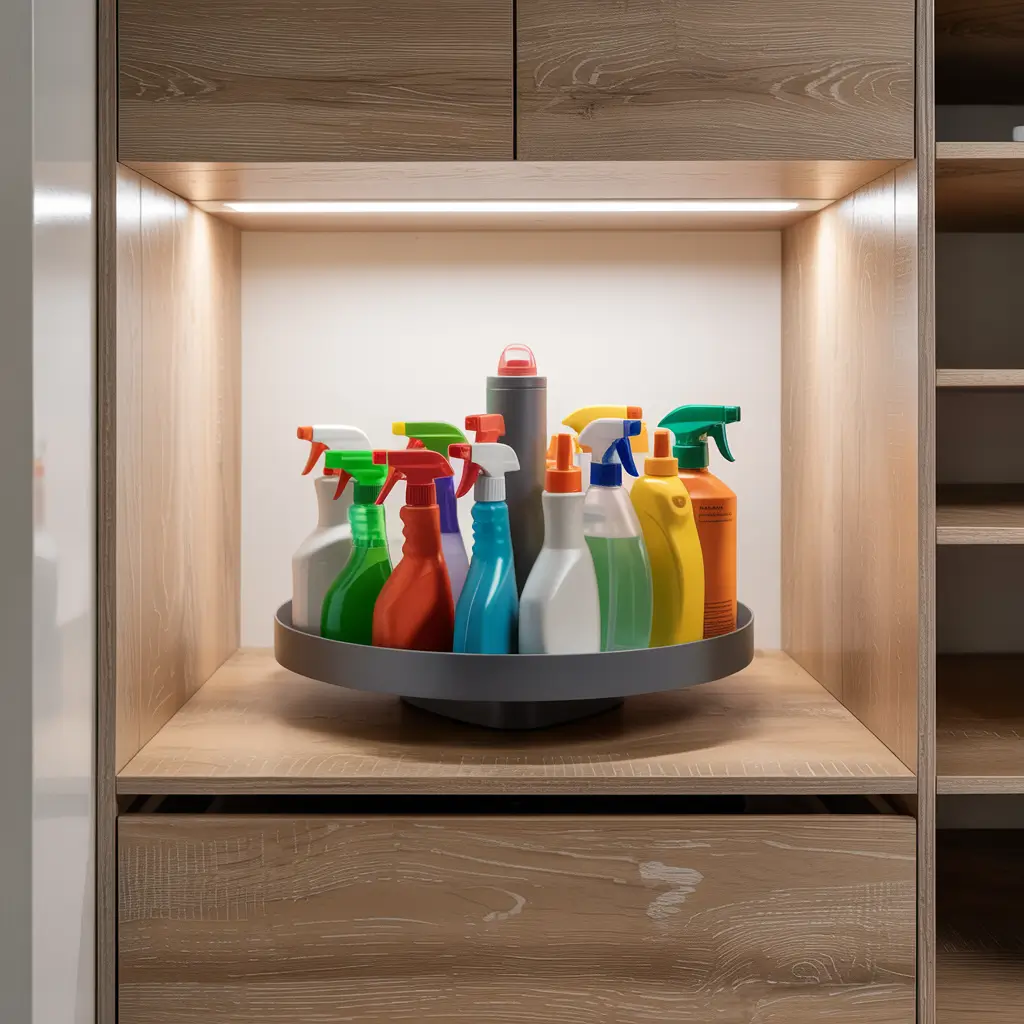
Ever played spray bottle roulette trying to find the right cleaner? A Lazy Susan eliminates the guessing game by bringing everything to you with a simple spin. I have two – one for daily cleaners, another for specialty products.
The 12-inch turntable on my main shelf holds about 8 spray bottles comfortably. Everything stays visible and accessible without removing anything. The 18-inch one on the bottom shelf holds bigger bottles like floor cleaners and refills. Both have raised edges to prevent bottles from sliding off during rotation.
I spent about $25 total on both turntables, choosing the kind with ball bearings for smooth rotation even when fully loaded. They’ve survived a year of daily use without any wobbling or sticking.
Lazy Susan Organization
Making rotation storage work:
- Group similar products together
- Place tallest bottles in center
- Leave some space between items for easy grabbing
- Use non-slip liner to prevent sliding
The only downside? Sometimes I spin them just for fun. My kids think I’m weird, but there’s something satisfying about a perfectly organized rotating display. 🙂
DIY Rope or Wire Hanging Baskets
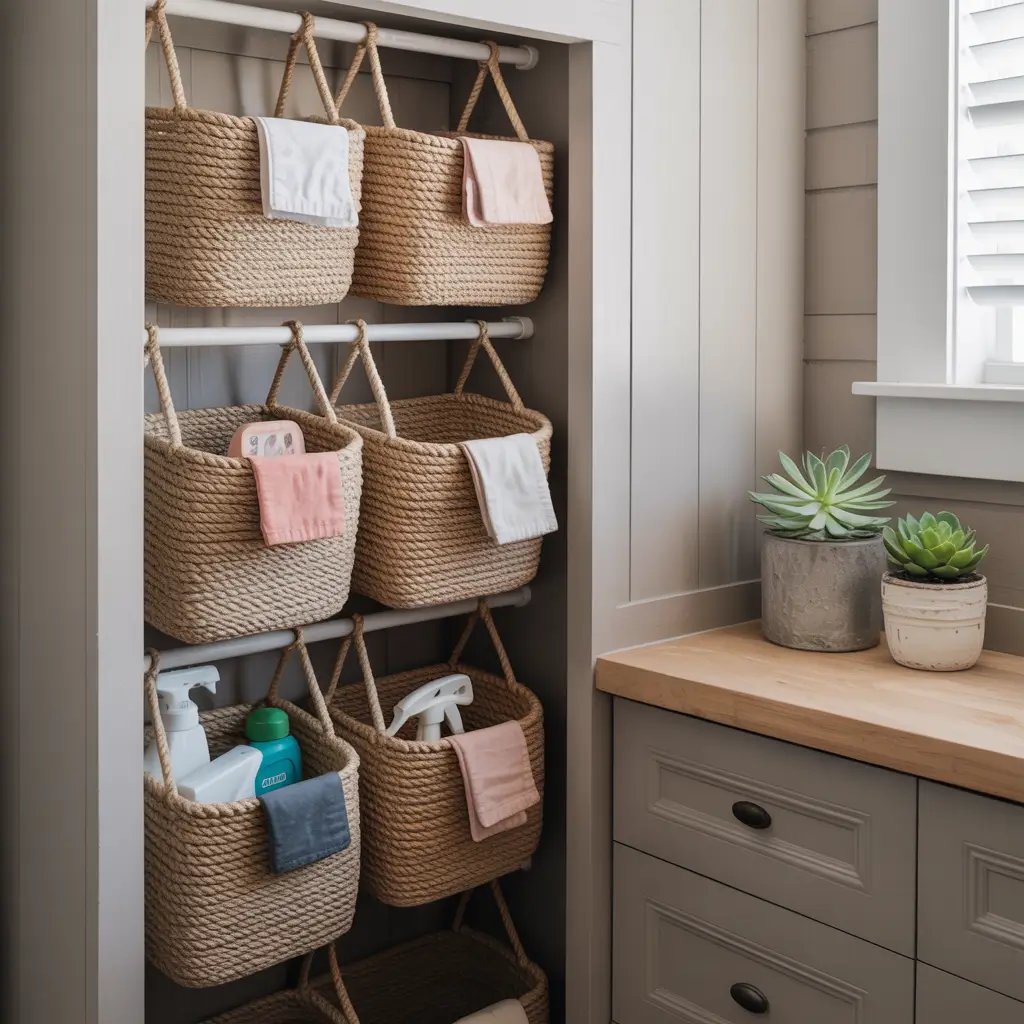
When shelf space ran out, I looked up. Hanging baskets from the closet rod added storage I didn’t know I had. I made simple rope baskets that hang at different heights, each holding lightweight but bulky items.
The baskets cost basically nothing to make. Some rope, a few metal rings, and an hour of basic macramé (YouTube University taught me). They hold things like microfiber cloths, dryer sheets, and spare shopping bags – stuff that doesn’t need shelf space but needs a home.
I positioned them along the sides where they don’t interfere with the center workspace. The rope style means they’re flexible and squeeze into odd spaces. Plus, they look kind of cool in a rustic way, which makes me feel better about opening the utility closet door.
DIY Basket Success
Tips for hanging storage:
- Use strong rope or wire (no stretchy materials)
- Vary heights for visual interest and access
- Keep weight under 5 pounds per basket
- Line with fabric if storing small items
IMO, the DIY route beats buying pre-made baskets. You can customize size, height, and style to perfectly fit your space.
Vertical Space Maximizer with Hooks and Racks
Most utility closets have tons of unused vertical space. I added hooks and racks at different heights and suddenly found homes for everything that used to pile on the floor.
Command strips became my best friend. Large hooks hold the handheld vacuum, medium hooks store cleaning caddies, small hooks keep rubber gloves and dust masks. I even hung a narrow rack for spray bottle refills. Every vertical surface now serves a purpose.
The key is varying hook sizes and positions based on what you’re storing. Heavy items get sturdy screw-in hooks into studs. Light items use adhesive hooks that won’t damage walls. The mix of permanent and temporary means I can adjust as needed.
Vertical Storage Strategy
Where to add hooks and racks:
- Back wall: Large items and tools
- Side walls: Frequently used supplies
- Inside door frame: Lightweight accessories
- Ceiling: Seasonal or rarely used items (with safety considerations)
Don’t overlook the space above the door frame. I installed a narrow shelf there for extra supplies. It’s not convenient for daily use, but perfect for backup storage.
The Bottom Line
Look, nobody gets excited about organizing a utility closet. But you know what I do get excited about? Not dreading opening that door.
Being able to grab what I need without an archaeological dig. Having space for the stuff I actually use instead of hoarding expired products I forgot existed.
These twelve organization ideas transformed my utility closet from disaster zone to functional space.
Not all of them will work for your specific closet, and that’s fine. Pick the ones that solve your actual problems. Start small, test what works, adjust as you go.
The time investment pays off every single day. I spent maybe ten hours total implementing these solutions over several weekends. Now I save time every time I clean because everything has a logical place. Plus, I stopped buying duplicate cleaning supplies, which probably paid for all the organizers already.
Your utility closet might be small, awkwardly shaped, or currently terrifying. Doesn’t matter. With the right organization approach, even the worst closet can become functional.
Trust me – if my former disaster zone could transform, yours absolutely can too. Now go tackle that closet. Future you will be grateful every time you need to grab the vacuum without causing an avalanche.