10 Budget Board Borders Ideas Classroom Decor DIY Touch
- Classroom Decor
 Ben
Ben- 0
- 30 minutes read
Remember that feeling when you first stepped into a classroom that just clicked? The walls practically sang with creativity, and somehow those bulletin board borders made everything look pulled together without screaming “I spent my entire paycheck on this!” Well, guess what – you can totally create that magic without breaking the bank or sacrificing your weekend plans.
I’ve spent more hours than I care to admit staring at bland classroom walls, wondering how to jazz them up without my credit card having a meltdown. After years of trial, error, and some seriously questionable hot glue gun moments, I’ve discovered that budget-friendly bulletin board borders can transform your space from “meh” to “amazing!” faster than you can say “back-to-school sale.”
Let’s talk real talk here – classroom decor doesn’t have to cost a fortune. You just need some creativity, basic supplies, and maybe a coffee or three to fuel your DIY adventures. Ready to make your classroom borders the talk of the teacher’s lounge?
Rainbow Layered Bulletin Board Borders
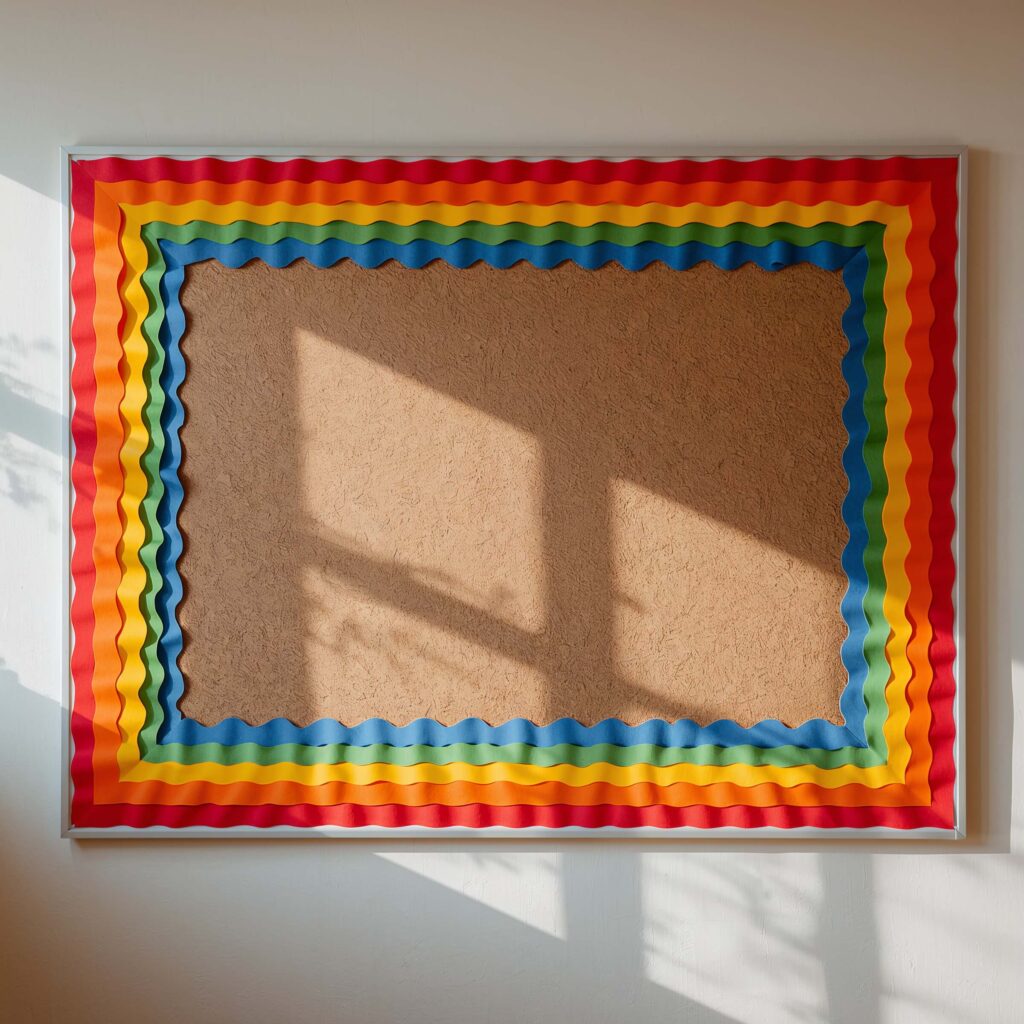
Who says rainbows are just for kindergarten? I’m telling you, rainbow layered borders work magic in any classroom, and they’re ridiculously easy to create on a shoestring budget.
Start by raiding your paper stash (we all have one, don’t pretend you don’t). You’ll need construction paper in all the rainbow colors – red, orange, yellow, green, blue, indigo, and violet. Cut each color into strips about 3 inches wide. Here’s where it gets fun: instead of just slapping them on the wall, create a layered effect by overlapping each strip slightly.
The trick I learned after multiple attempts? Cut your strips with decorative scissors to add texture without extra effort. Scalloped edges, zigzags, or waves – pick your poison. Layer them so about an inch of each color shows, creating this gorgeous cascading rainbow effect that literally costs pennies per foot.
Making It Pop Without Breaking the Bank
Want to really make those colors sing? Here’s my secret weapon:
- Add a thin white or black outline between colors using marker or paint
- Laminate the strips if you have access to a laminator (they’ll last forever!)
- Create depth by slightly curving some strips outward
- Mix matte and glossy papers for visual interest
I once created these for my friend’s third-grade classroom, and parents kept asking where she bought them. The total cost? About $5 for an entire classroom. Not kidding.
Pom-Pom Trim Classroom Borders
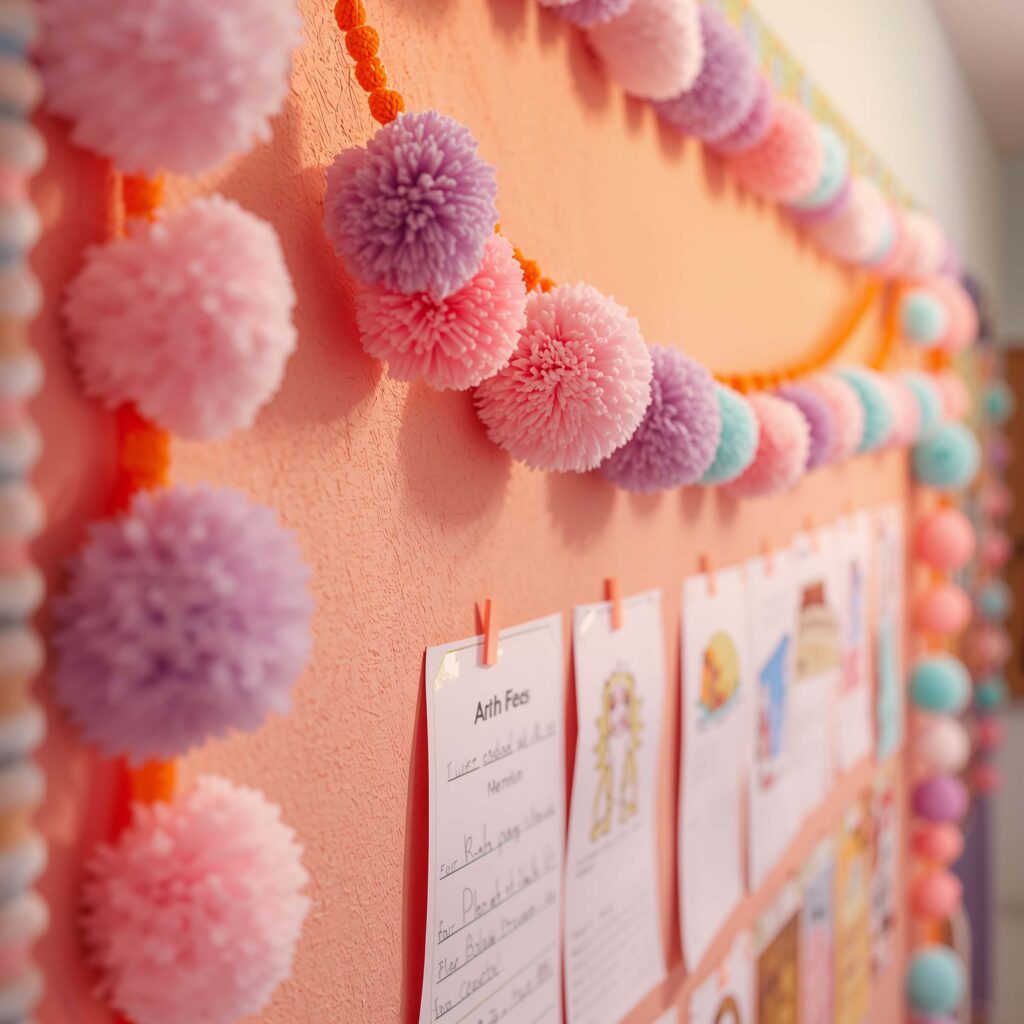
Okay, let’s get fluffy! Pom-pom borders bring instant warmth and whimsy to any space, and they’re surprisingly affordable when you DIY them. You know those craft store pom-pom trims that cost like $8 per yard? Yeah, we’re not doing that.
Grab some yarn from the dollar store (seriously, their yarn selection has gotten way better lately). You can make dozens of pom-poms for the price of one pre-made trim. Use a pom-pom maker if you’re fancy, or just wrap yarn around a fork for mini poms or cardboard for larger ones.
The Assembly Line Method
Here’s how I crank these out while binge-watching Netflix:
- Set up a production line – cut all your yarn lengths first
- Make all poms the same size for consistency (or don’t – chaos can be cute too!)
- Hot glue them to a ribbon or strip of fabric
- Space them evenly or cluster them for different effects
The best part? Students absolutely lose their minds over these. They’re soft, colorful, and add this cozy vibe that makes kids actually want to hang out near the bulletin boards. IMO, that’s a win right there 🙂
Chalkboard Style Doodle Borders
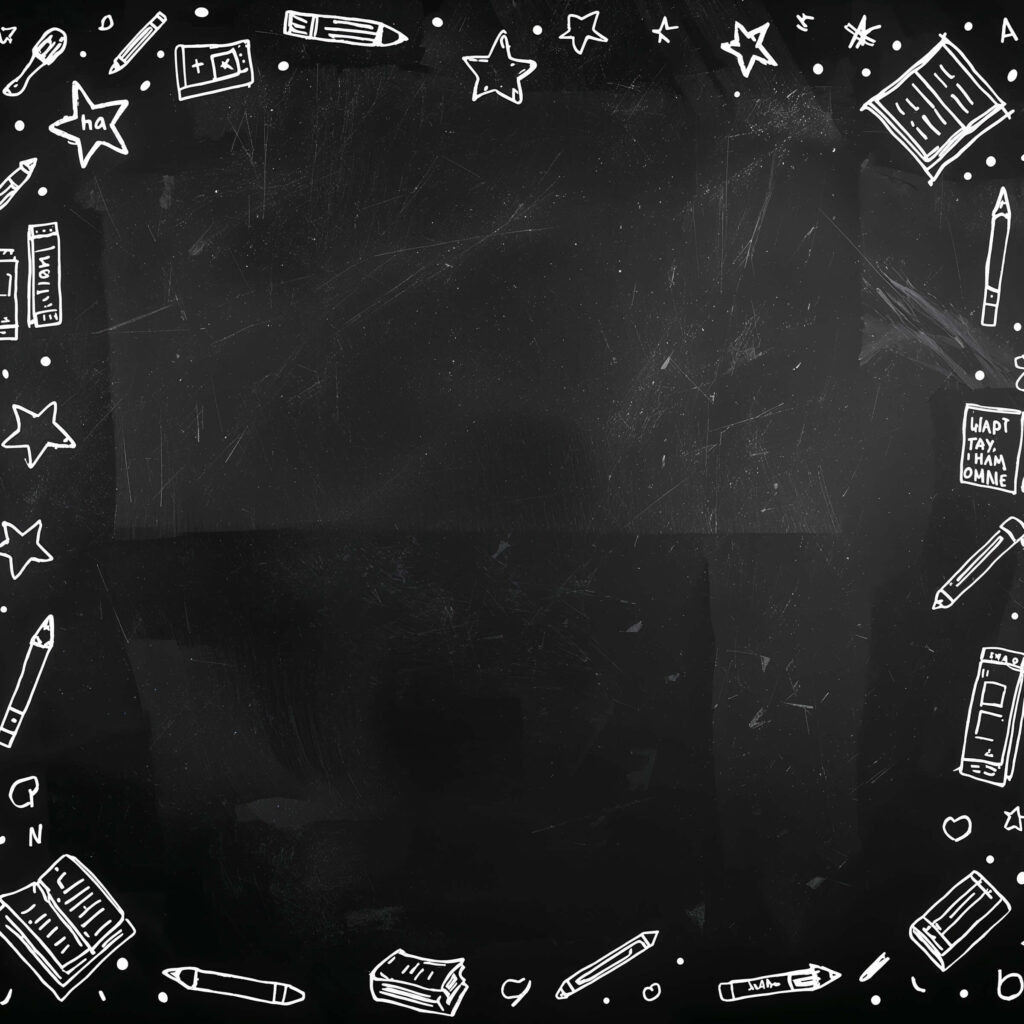
Ever wanted that trendy chalkboard look without the mess and maintenance? Chalkboard style doodle borders give you all the aesthetic with none of the chalk dust allergies. Trust me on this one.
Start with black paper or cardstock – the dollar store kind works perfectly. Using white gel pens, chalk markers, or even regular white crayons, create hand-drawn doodles along the edges. Think swirls, stars, arrows, flowers, geometric patterns – whatever floats your boat.
Design Ideas That Actually Work
The key to making these look intentional rather than like your kindergartener got hold of your supplies:
- Repeat patterns consistently (pick 3-4 designs max)
- Leave some breathing room between doodles
- Mix sizes but keep the style cohesive
- Add inspirational words or subject-related drawings
I made these for my math-teacher neighbor, incorporating numbers, formulas, and geometric shapes into the doodles. Students started actually looking at the borders to find hidden equations. Sneaky learning at its finest!
Also Read: 10 Inspiring Classroom Decor High School Ideas Teens Will Love
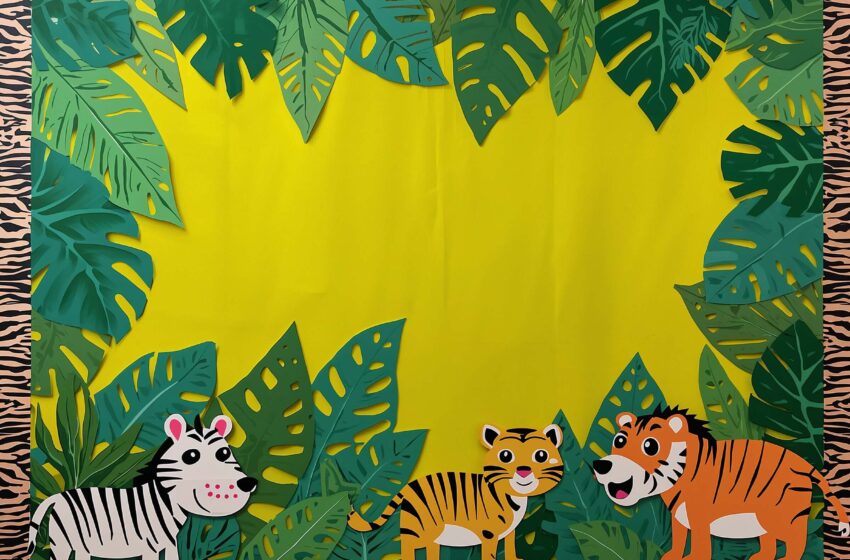
Nature-Inspired Leafy Borders
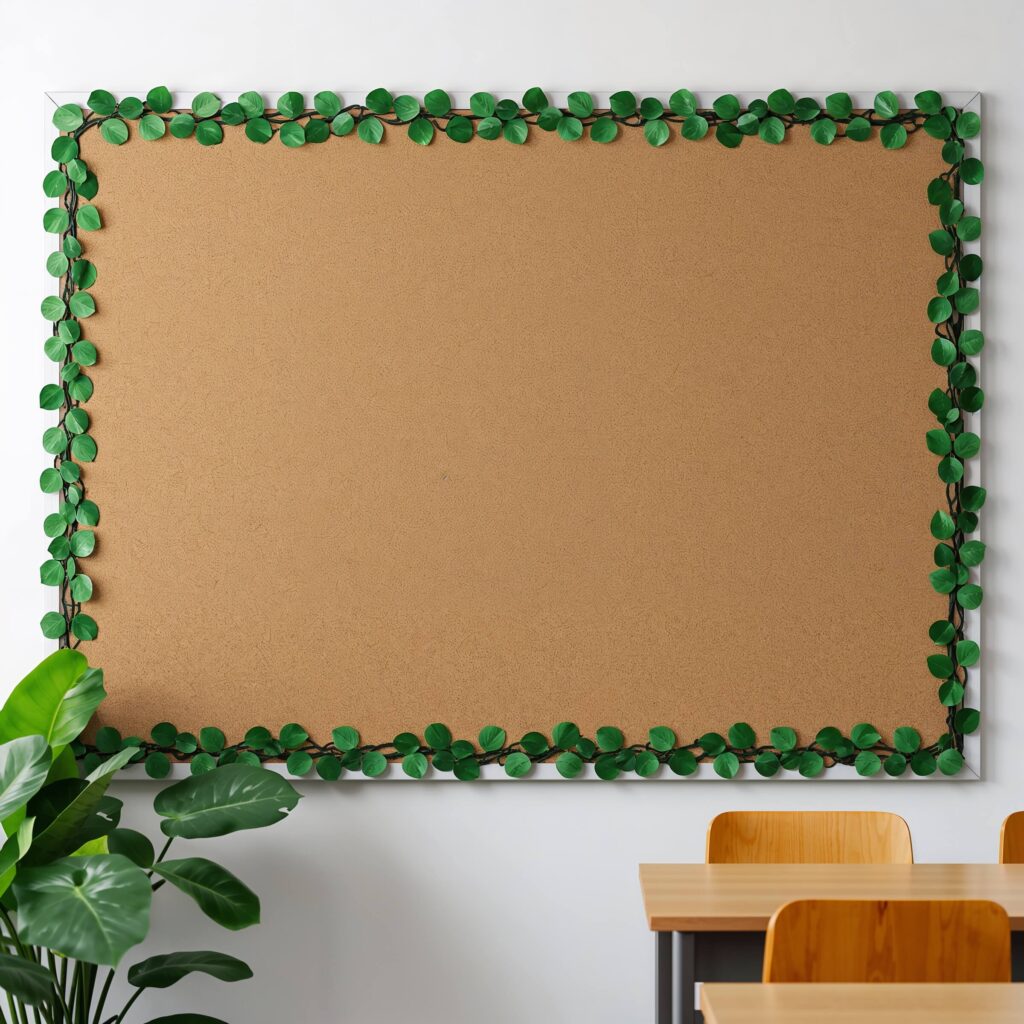
Bringing the outdoors in doesn’t require a botanical garden budget. Nature-inspired leafy borders create this calming, organic vibe that works especially well for science rooms or reading corners.
Real leaves work amazingly if you press and laminate them (fall leaves are FREE, people!). But if you want something more permanent, cut leaf shapes from green paper in various shades. Mix it up with different leaf shapes – oak, maple, fern fronds, tropical leaves – whatever matches your classroom theme.
Creating Depth and Dimension
Want to know what takes these from flat to fabulous?
- Layer different shades of green for depth
- Add veining details with markers or paint
- Curl some leaves slightly for 3D effect
- Incorporate other natural elements like paper flowers or butterflies
Pro tip: collect real leaves with your students and use them as templates. It becomes a whole lesson about leaf shapes and classification. Two birds, one stone, right?
Boho Neutral Pattern Borders
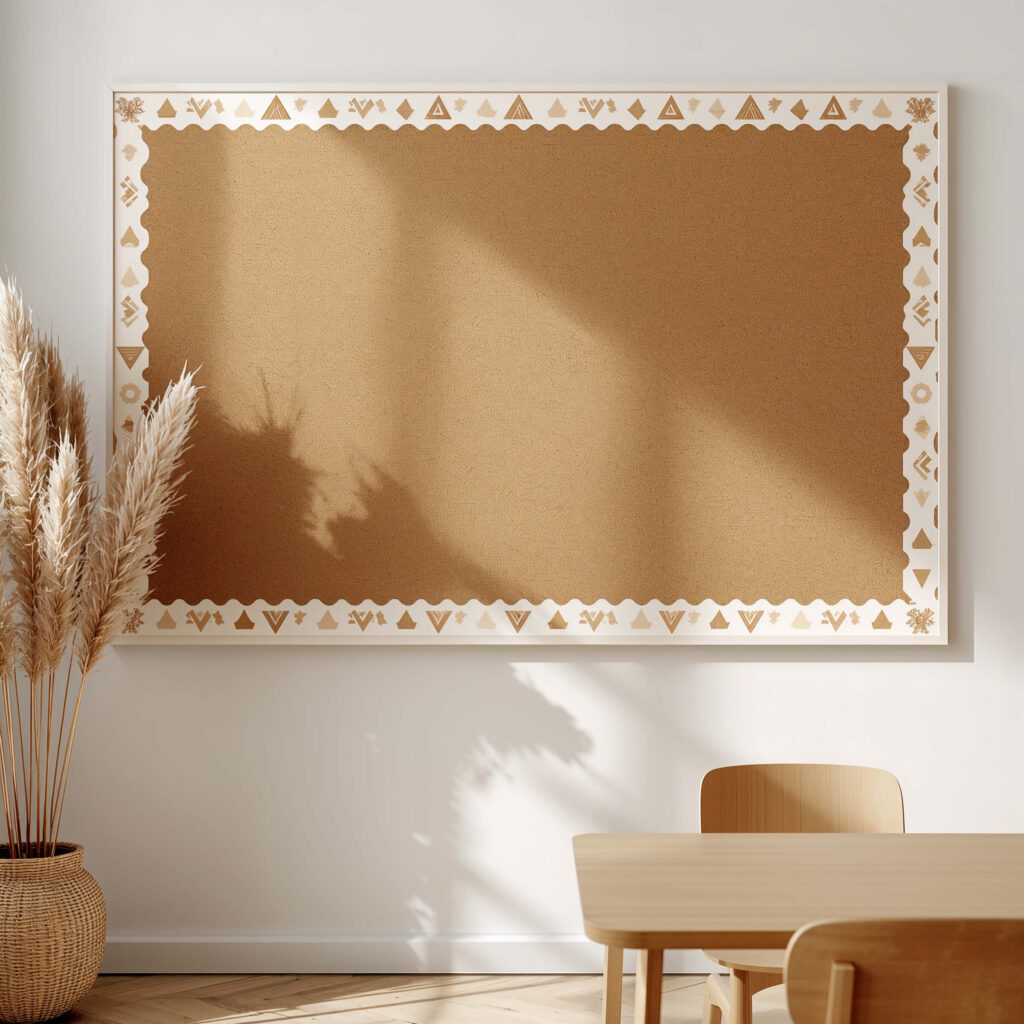
Not everything needs to scream primary colors. Boho neutral borders bring this sophisticated, calming energy that honestly makes everyone feel a bit more zen. And before you think “boring,” let me stop you right there.
Using kraft paper, white cardstock, and maybe some tan or cream colors, create patterns inspired by macramé, tribal prints, or geometric designs. Draw these patterns with black markers, or print them if you’ve got access to a printer. The repetitive patterns actually have this meditative quality that students find soothing.
Pattern Combinations That Work
Here’s what I’ve found works best:
- Alternate between 2-3 pattern styles for interest
- Keep the color palette limited (3-4 colors max)
- Add texture with corrugated cardboard or burlap ribbon
- Incorporate simple tassels made from twine or yarn
These work especially well in upper grades where students appreciate a more mature aesthetic. Plus, they photograph beautifully for all those classroom Instagram shots (we all take them, no judgment).
Crayon Box Color Strip Borders
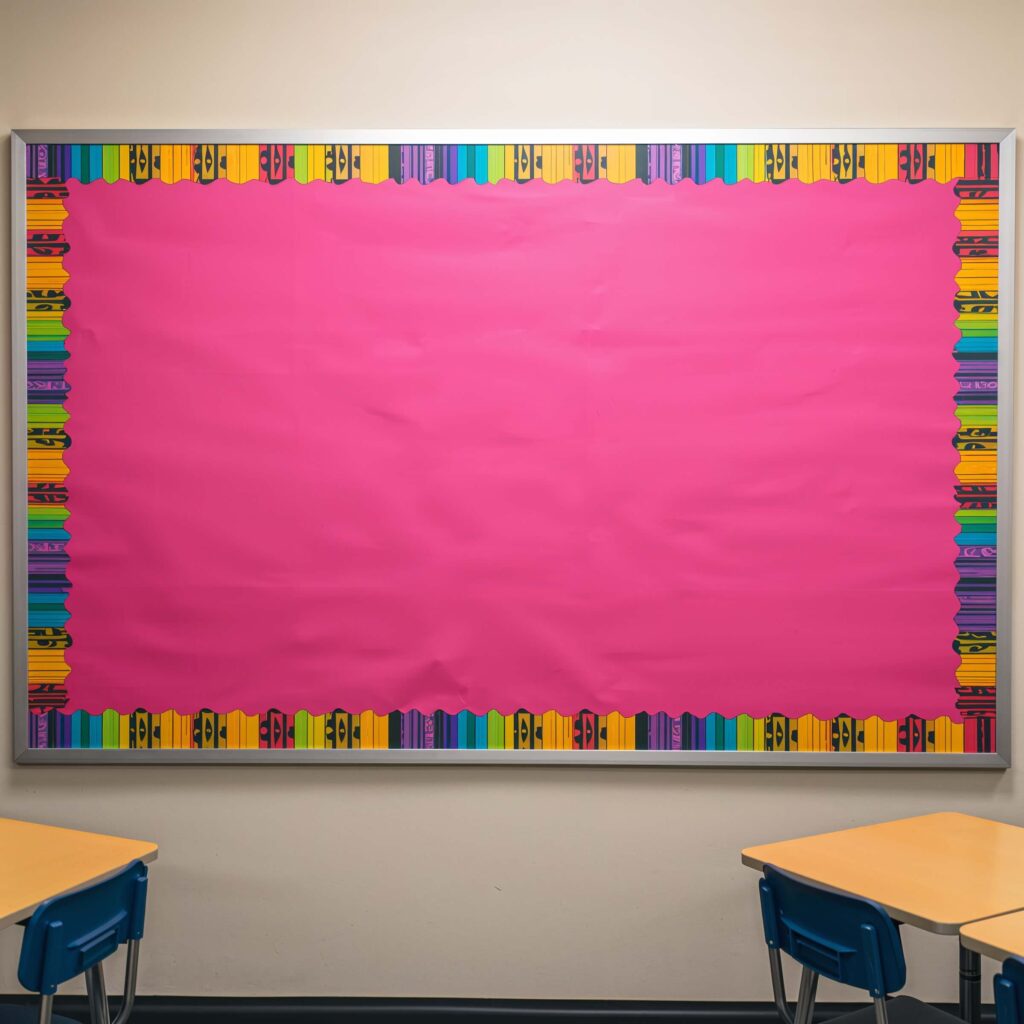
Remember getting that fresh box of crayons as a kid? That rush of possibility? Crayon box borders bring that same energy to your classroom walls, and they’re stupid easy to make.
Cut strips of paper in crayon colors – and I mean ALL the colors. Make them look like actual crayons by adding a black band near the top and writing color names in black marker. Arrange them in rainbow order, randomly, or group by color families.
Making Them Look Professional
The difference between “cute attempt” and “wow, where’d you buy those?”:
- Cut all strips exactly the same width (use a paper cutter if possible)
- Add a pointed tip to make them look like real crayons
- Write color names in a consistent font
- Consider laminating for durability and shine
FYI, kids love finding their favorite colors and debating whether that’s “turquoise” or “teal.” It’s basically a color theory lesson disguised as decoration.
Also Read: 10 Exciting Classroom Wall Decor Ideas for Fun Learning
Animal Print Fun Borders
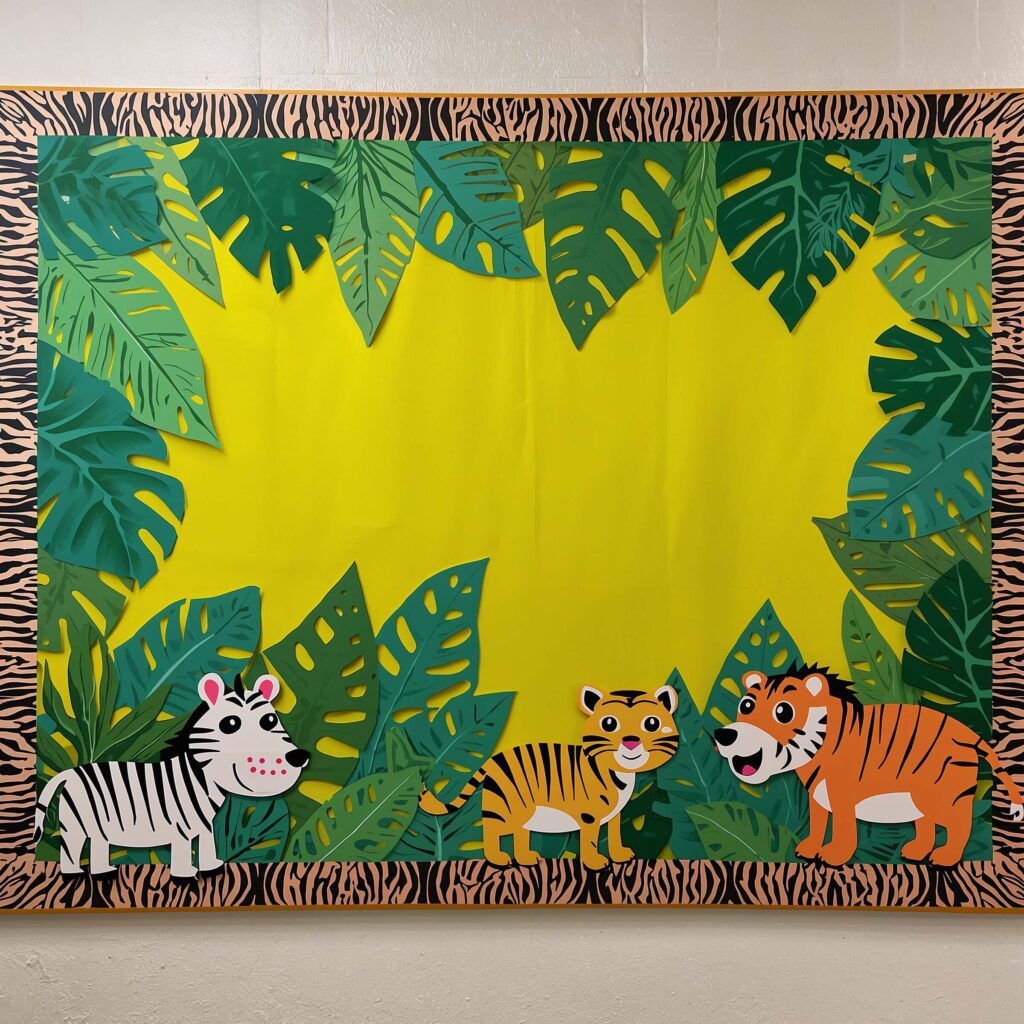
Who says animal prints are just for fashion? Animal print borders add instant energy and can tie into so many lessons. Plus, they’re way easier to DIY than you’d think.
You don’t need fancy printed paper. Grab some basic colors and create the patterns yourself:
- Leopard spots: tan base with brown irregular circles
- Zebra stripes: white base with black wavy stripes
- Giraffe patches: yellow base with brown irregular polygons
- Snake scales: any color with overlapping semi-circles
Mixing Prints Like a Pro
Here’s where people usually mess up – they go overboard. Don’t make your classroom look like a safari exploded. Instead:
- Choose one print as your main border
- Use others as accents only
- Keep the color palette cohesive
- Add solid colors between different prints for visual breaks
I once helped a teacher create a “habitat” themed classroom where each wall represented a different ecosystem with appropriate animal prints. Students literally couldn’t wait to see what was on each wall.
Paper Chain 3D Borders
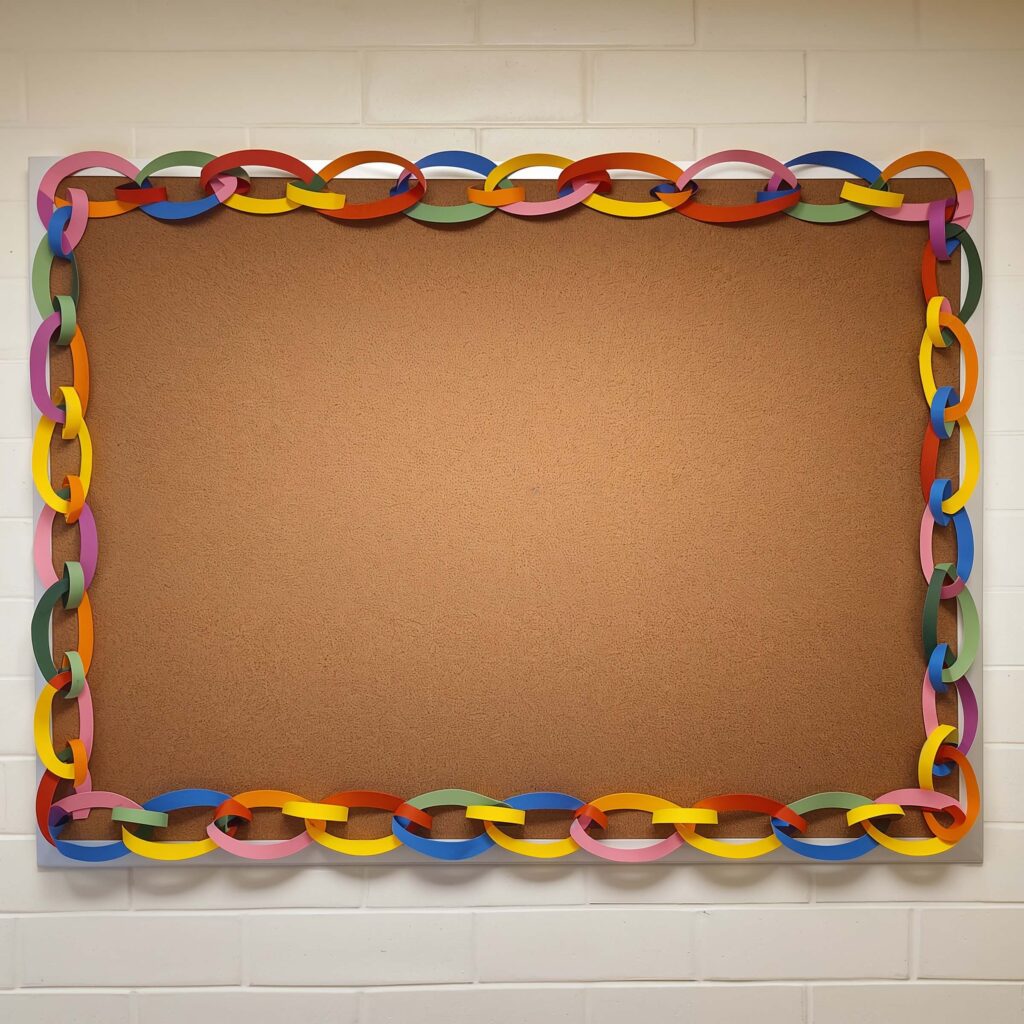
Remember making paper chains as a kid? Well, they’re back and better than ever as 3D bulletin board borders. These bad boys add actual dimension to your walls and cost basically nothing.
Cut strips of paper (construction paper, magazine pages, old book pages – whatever you’ve got). Create interlocking chains, but here’s the twist – vary the sizes and colors in patterns. Make some chains tight and small, others loose and large.
Advanced Chain Techniques
Level up your paper chain game:
- Create graduated sizes from small to large
- Mix textures (glossy, matte, metallic)
- Add patterns to your strips before assembling
- Twist some links for spiral effects
The 3D element means these catch light differently throughout the day, creating visual interest that flat borders just can’t match. Plus, making them can be a class activity. Win-win!
Seasonal Switchable Border Frames
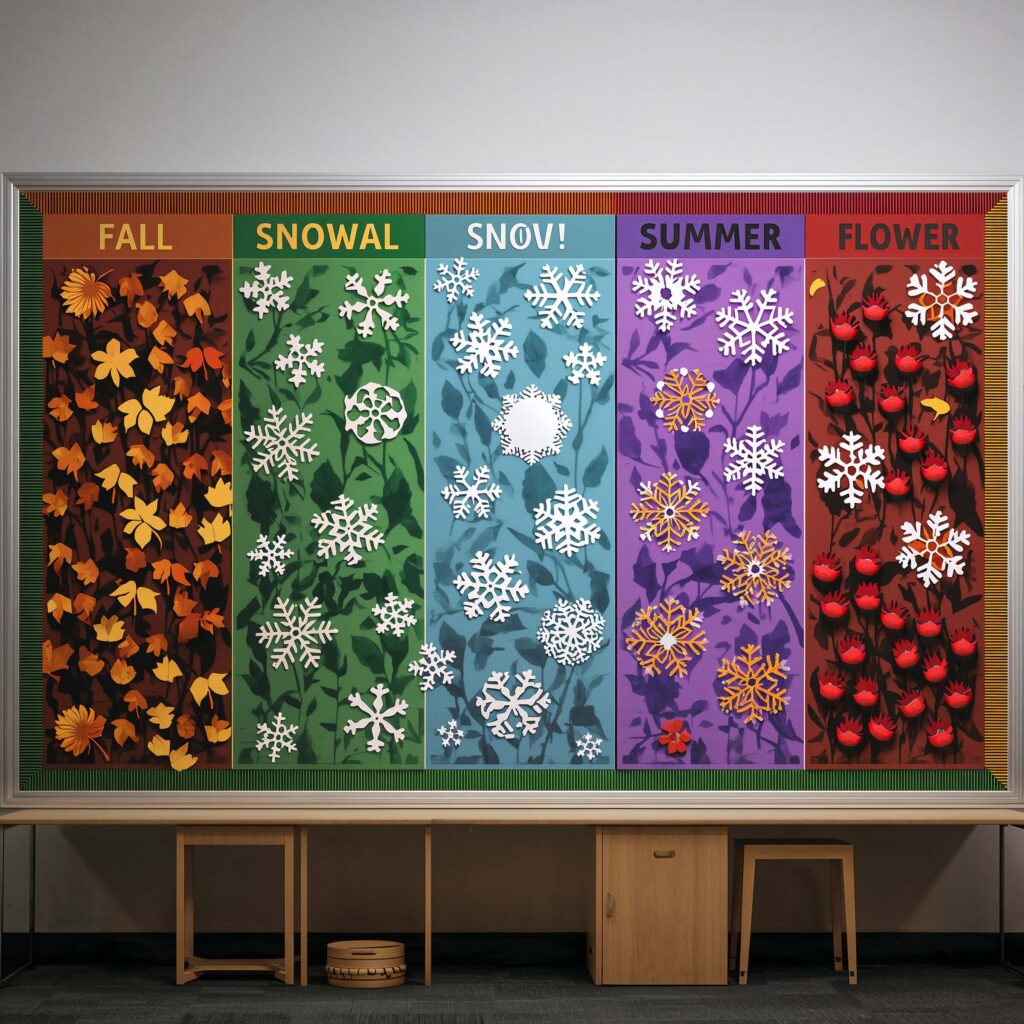
Why commit to one look all year? Seasonal switchable borders let you refresh your classroom vibe without starting from scratch every few months. This system has saved my sanity more times than I can count.
Create a base frame using neutral colors or simple patterns. Then, make seasonal overlays that attach with velcro dots or paper clips:
- Fall: leaves, pumpkins, apples
- Winter: snowflakes, mittens, hot cocoa cups
- Spring: flowers, butterflies, rain clouds
- Summer: suns, beach balls, ice cream cones
The Switch System That Actually Works
Here’s how to make switching actually happen (because let’s be real, we all have good intentions):
- Store each season’s pieces in labeled bags
- Mark calendar reminders to switch them
- Make switching a student job
- Keep decorations simple enough to swap in 10 minutes
This approach means you’re not scrambling to redecorate every season or holiday. You’ve got your system, and it just works. :/
Also Read: 10 Clever Classroom Door Decor Ideas to Impress Parents
Inspirational Quote Frame Borders
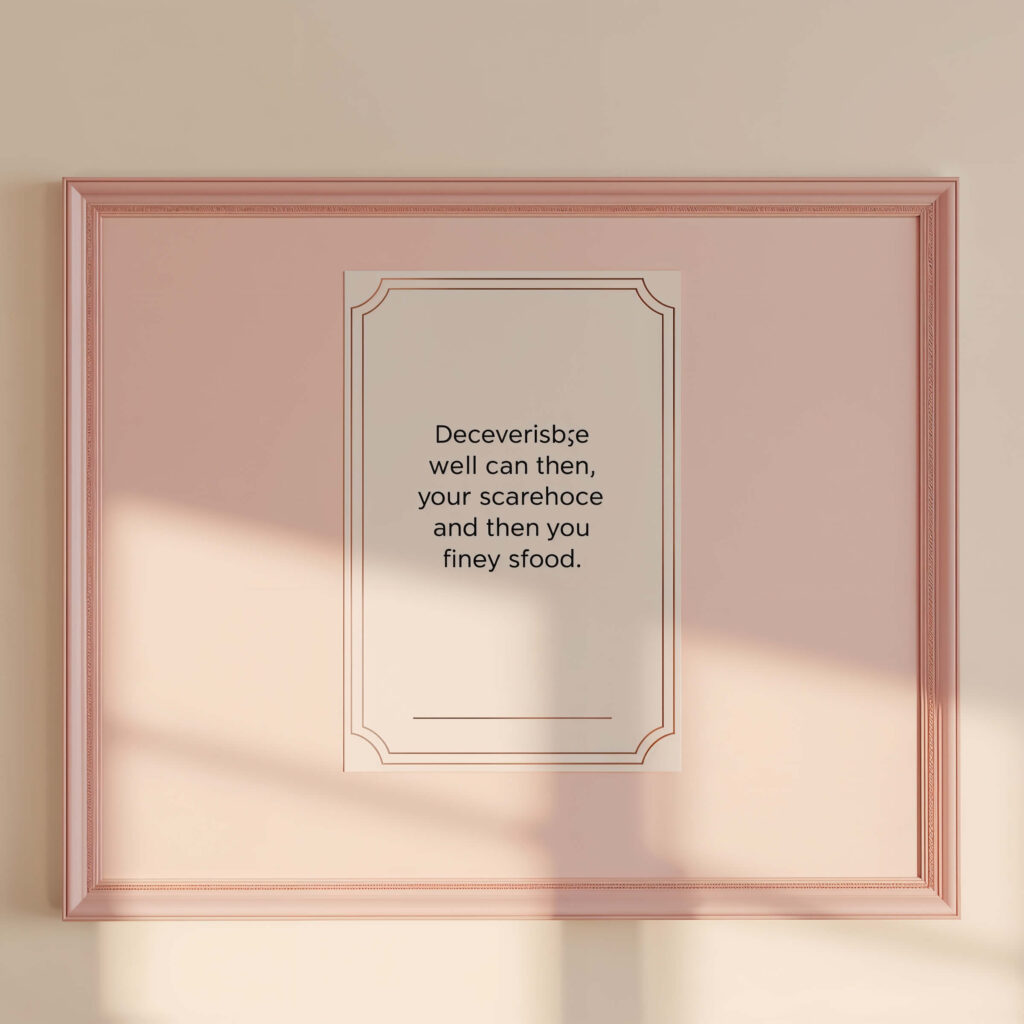
Last but definitely not least, inspirational quote borders serve double duty as decoration and motivation. But please, let’s avoid the cheesy “Hang in there” kitten posters vibe.
Choose quotes that actually resonate with your students’ age group. Write them in interesting fonts on strips of paper, or print them if your handwriting looks like mine (aka chicken scratch). Mix quotes with simple designs or patterns between them.
Quote Selection That Connects
What makes quote borders actually impactful:
- Choose age-appropriate quotes that students understand
- Include student-submitted quotes
- Mix serious and funny quotes
- Update them based on what you’re teaching
I helped a high school teacher create borders with quotes from books they were reading that year. Students started adding their own favorite quotes on sticky notes. The border became this living, growing thing that everyone contributed to.
Making Them Visually Interesting
Don’t just slap words on paper and call it a day:
- Vary font sizes and styles
- Add simple illustrations related to quotes
- Use color coding for different types of quotes
- Include the source/author for teaching moments
The best part about quote borders? They’re conversation starters. Students actually read them, discuss them, and sometimes even memorize them without trying.
Bringing It All Together
Look, creating amazing classroom borders doesn’t require an art degree or a trust fund. You just need some creativity, basic supplies, and the willingness to try something new. Every single one of these ideas can be adapted to your space, your style, and most importantly, your budget.
Start with one border type that speaks to you. Don’t try to do all ten at once unless you want to find yourself covered in glue at 2 AM questioning your life choices (been there, done that, have the photos to prove it). Build your border collection over time, swapping them out as seasons change or as you get bored.
Remember, the best classroom decor reflects you and your students. These borders aren’t just decoration – they’re part of the learning environment you’re creating. Students notice when you put effort into making the space special, even if that effort involves dollar store supplies and YouTube tutorials.
So grab those scissors, channel your inner craft guru, and start creating borders that’ll make your classroom the place where everyone wants to hang out. Trust me, when you see your students’ faces light up at your handmade decorations, you’ll forget all about those expensive teacher supply catalogs. Plus, you’ll have money left over for actual coffee instead of the staff room sludge. Now that’s what I call a win!