10 Affordable Family Game Room Decor Ideas for Budget Homes
- Game Room Design
 Ben
Ben- 0
- 33 minutes read
Look, I get it. You’re scrolling through Pinterest, drooling over those picture-perfect game rooms with their vintage arcade machines, custom neon signs, and furniture that probably costs more than your car. Then reality smacks you in the face—you’ve got a budget that’s more “dollar store chic” than “designer dreams.” But here’s the thing: creating an awesome family game room doesn’t require you to sell a kidney or take out a second mortgage.
I’ve been down this road myself, staring at my sad, empty basement wondering how to turn it into something other than a spider hotel. After countless hours of research, DIY disasters (we don’t talk about the paint incident), and actual successes, I’ve figured out how to make magic happen without breaking the bank. Ready to transform that boring space into your family’s favorite hangout spot? Let’s get into it.
1. Cozy Basement Family Game Lounge Setup
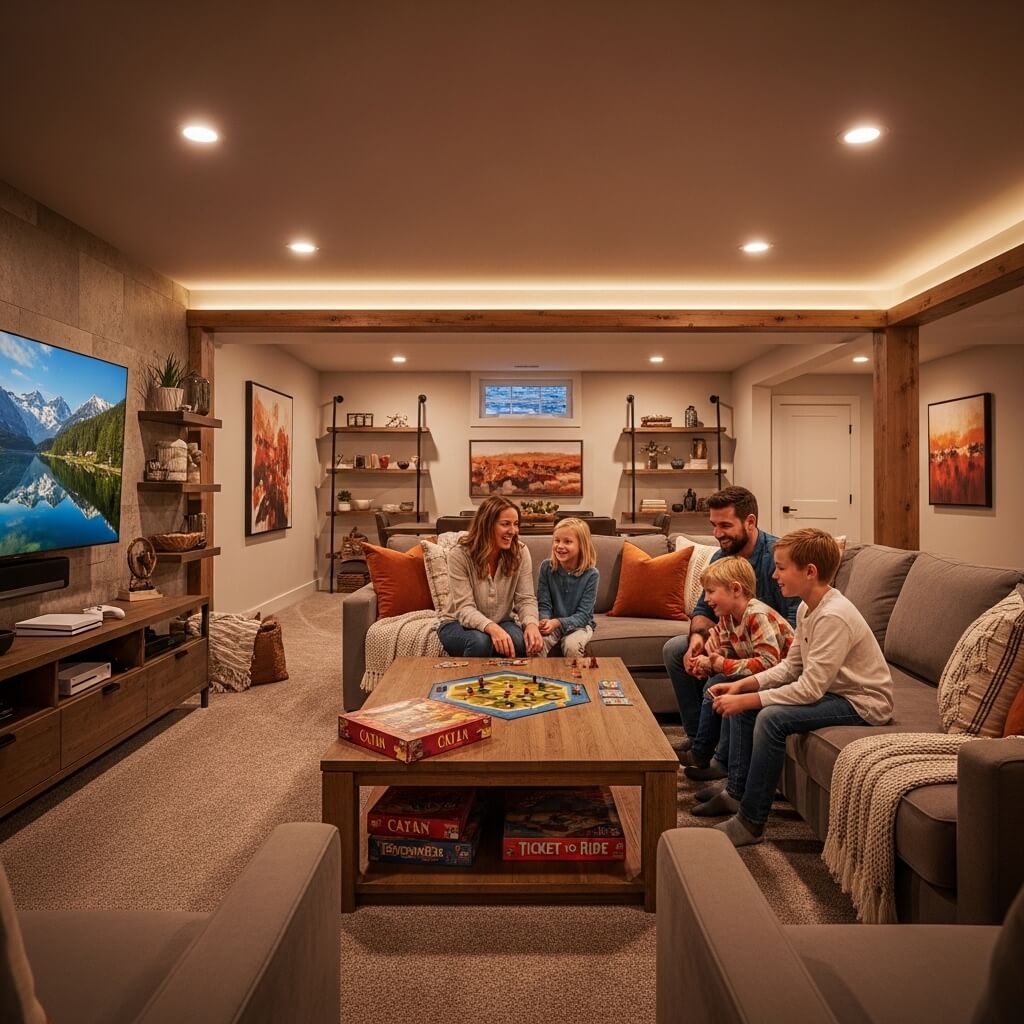
Making Your Basement Actually Inviting
Basements get a bad rap, don’t they? Everyone assumes they’re these cold, dungeon-like spaces where fun goes to die. But honestly, your basement is like that underdog character in movies—it just needs someone to believe in it.
The secret to a cozy basement game lounge is all about warmth and lighting. I can’t stress this enough—your basement probably has the ambiance of a parking garage right now, so you need to fix that first. Grab some affordable LED strip lights from Amazon (seriously, they’re like $15), and suddenly you’ve got customizable mood lighting. Stick them behind your TV, under shelves, or along the ceiling edges. Game night just got way more atmospheric.
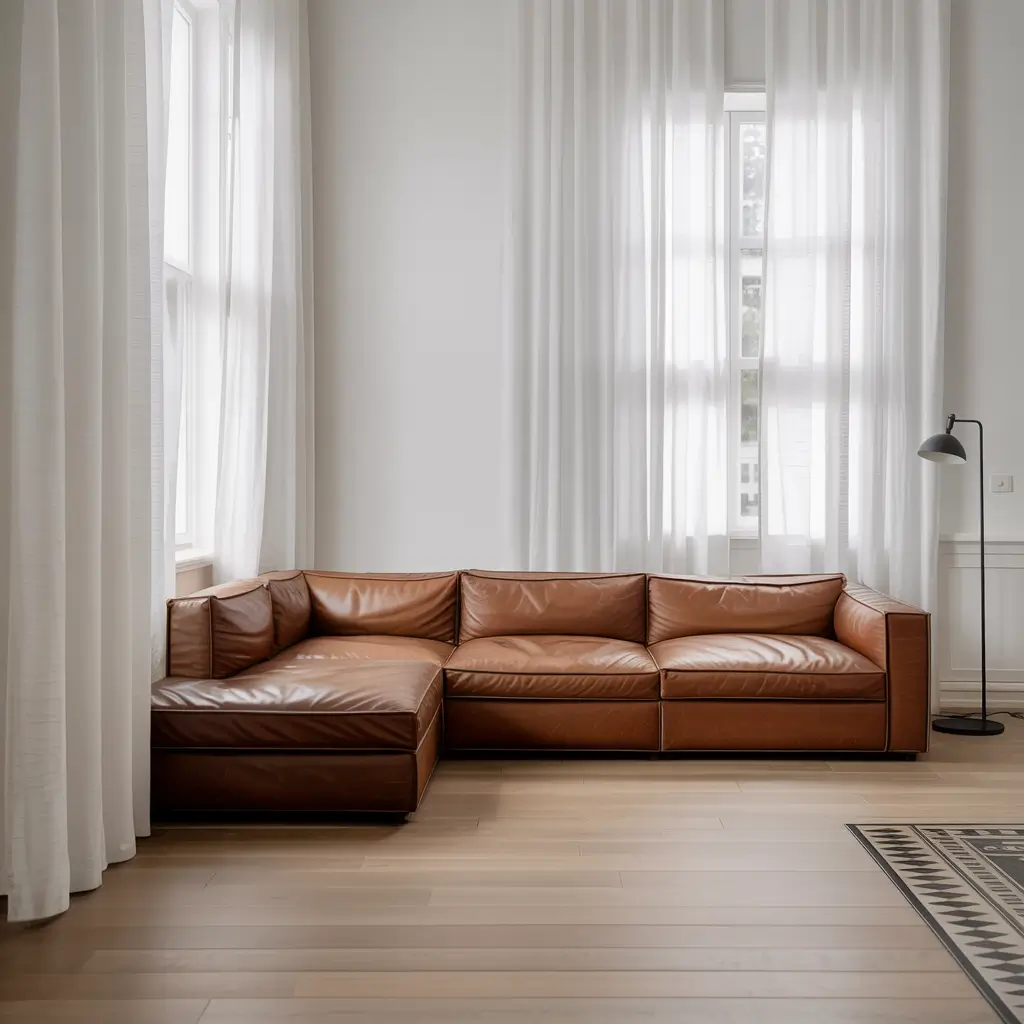
Now let’s talk furniture. You don’t need fancy gaming chairs or designer sofas. Hit up Facebook Marketplace or your local thrift stores—I found an incredible sectional for $100 that just needed a good cleaning. Throw some oversized floor pillows and bean bags into the mix (Target has decent ones for $30-$50), and boom, you’ve got flexible seating that kids and adults actually fight over.
The Rug That Ties It All Together
Here’s something I learned the hard way: area rugs are your best friend in basement spaces. They warm up cold concrete floors, define your game zone, and muffle sound (your downstairs neighbors will thank you). You don’t need some Persian masterpiece either—I grabbed a large geometric pattern rug from Walmart for under $80, and it completely transformed the space.
Add some wall tapestries or fabric hangings to cover up those boring concrete walls. Sites like Society6 and Redbubble have affordable options, or you can DIY it with fabric from a craft store. I went with a retro gaming theme using fabric panels I found on clearance for $5 each. Your basement will go from “creepy storage space” to “I actually want to hang out here” faster than you can say “game night.”
2. Modern Minimalist Family Game Room Design
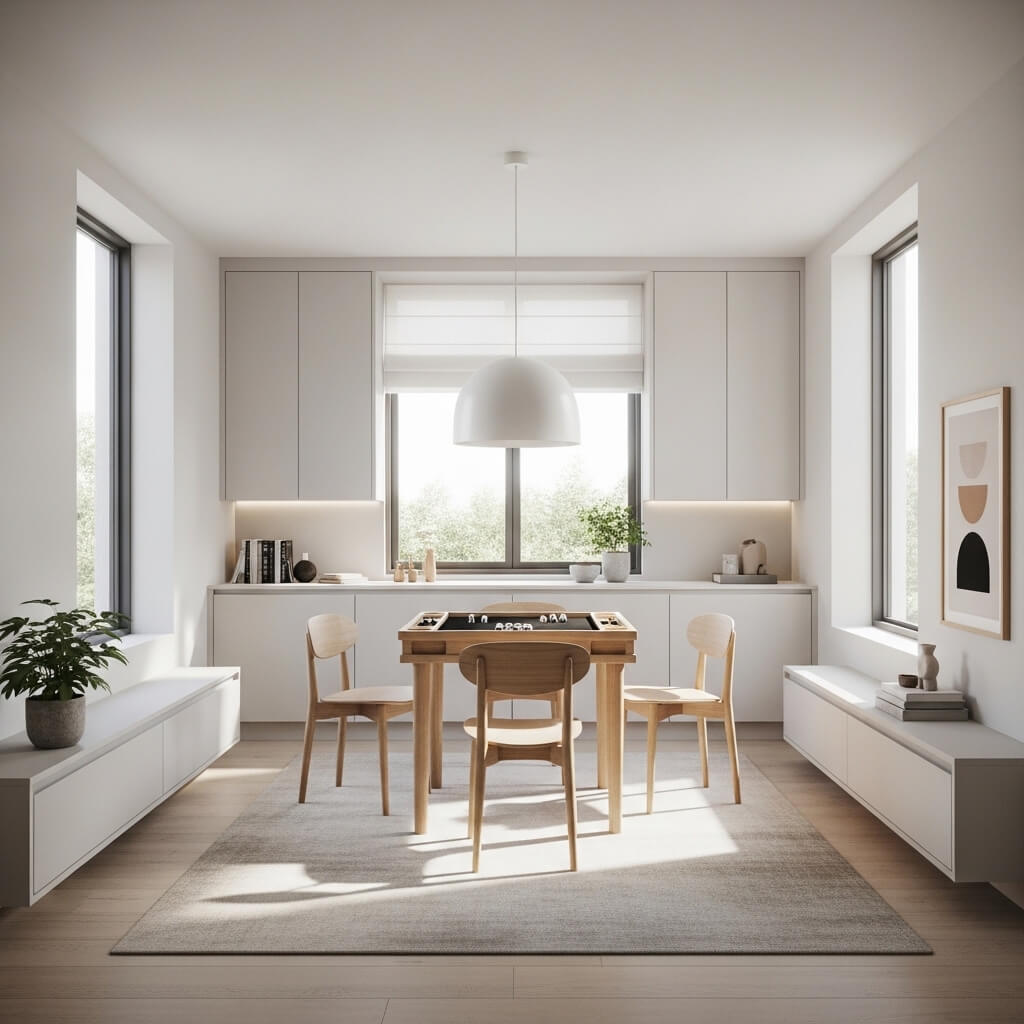
Less Stuff, More Style
Ever notice how minimalist spaces always look expensive? There’s a reason for that. When you’re not cluttering everything with random junk, people actually notice the stuff you do have. And guess what? Minimalism is basically made for budget decorating.
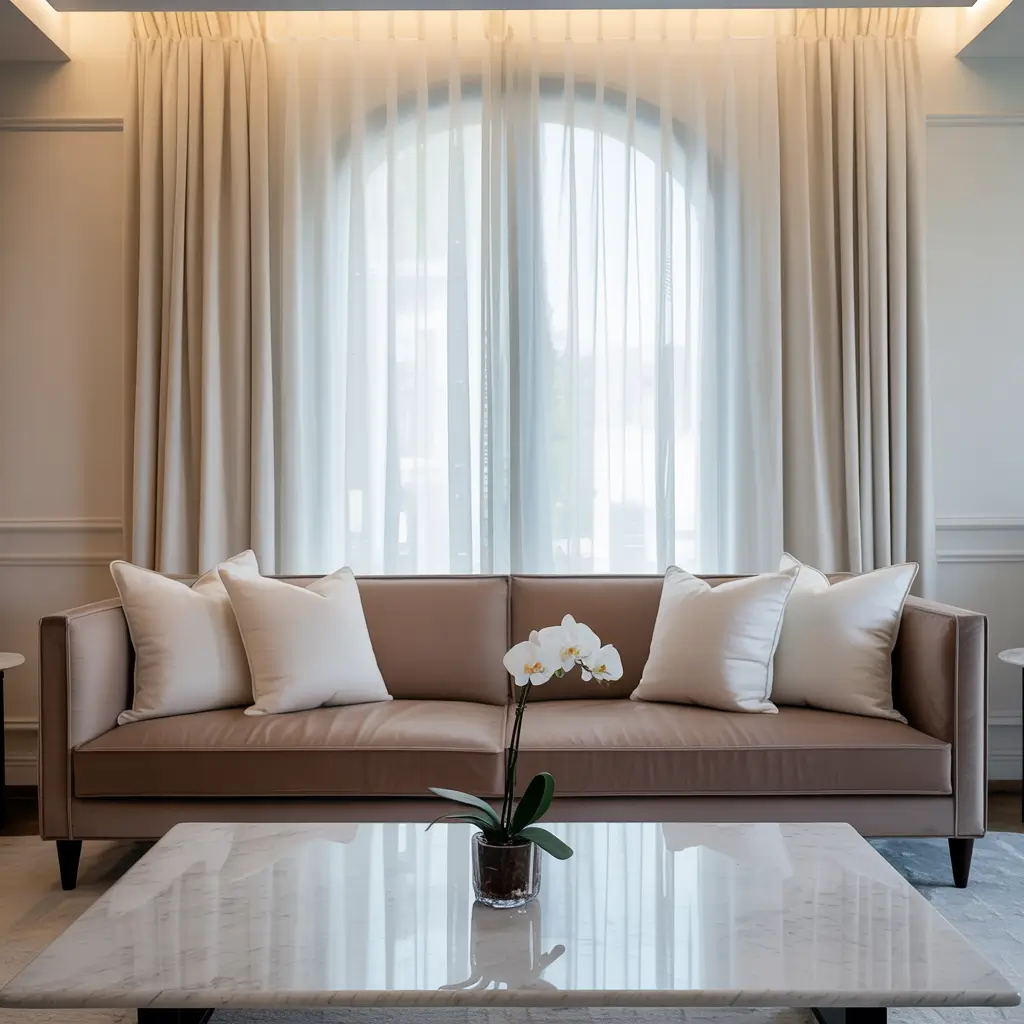
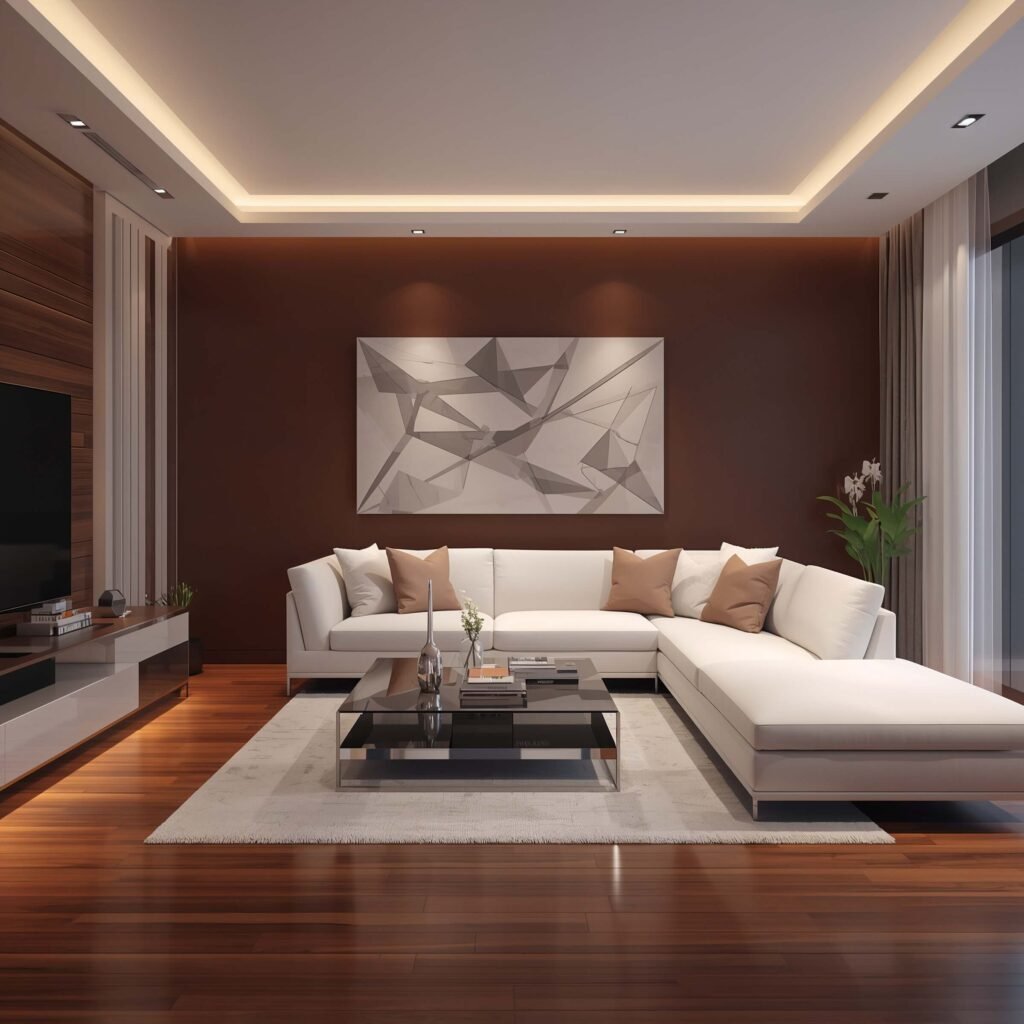
Start with a neutral color palette—whites, grays, maybe a pop of one accent color. Paint is cheap (like $25 a gallon), and it’s the fastest way to make any room look intentional. I painted one accent wall in a deep charcoal gray, and suddenly my entire room looked like it belonged in a design magazine instead of a “before” photo.
For furniture, stick to clean lines and multi-functional pieces. That ottoman? It’s also storage. That coffee table? Has shelves underneath for board games. A floating shelf system costs maybe $40 at IKEA, and you can display your favorite games like art pieces. Who says Settlers of Catan can’t be decorative?
The Magic of Negative Space
Here’s where minimalism saves your wallet: you literally need less stuff. Instead of filling every corner with something, embrace that empty space. It makes your room look bigger and more intentional. I used to think I needed to decorate every square inch, but now? I’ve got strategic empty areas, and people always ask if I hired a designer. (Spoiler: I didn’t.)
Get one statement piece—maybe a unique wall clock, a cool poster in a simple frame, or a single sculptural element. I found a geometric wall shelf at HomeGoods for $20 that everyone compliments. One good piece beats ten mediocre ones every time.
3. Small Space Multi-Functional Game Room Corner
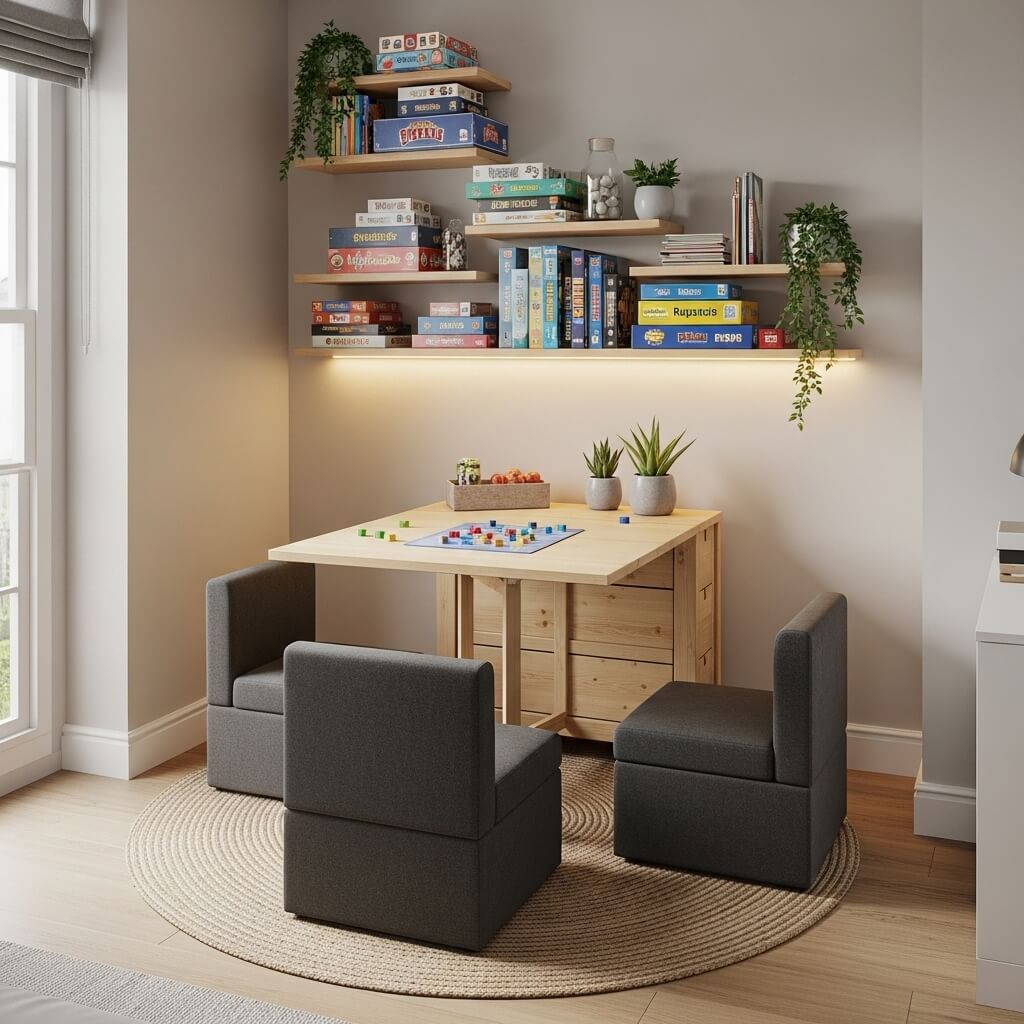
When Your “Room” Is Actually a Corner
Not everyone has a whole room to dedicate to gaming, and that’s totally fine. I lived in a tiny apartment where my “game room” was literally a corner of my living room. But you know what? That corner worked harder than some people’s entire houses 🙂
The key is vertical thinking. When you can’t spread out, go up. Wall-mounted folding tables are your secret weapon here—they flip down when you need them for board games, then fold back up to give you your space back. I installed one for under $50, and it’s been a game-changer (pun absolutely intended).
Storage needs to pull double duty. Get ottomans with storage inside, wall-mounted shelves that go all the way to the ceiling, and hanging organizers for smaller items. I use a over-the-door shoe organizer to store card games, dice, and controllers. Cost me $12, and it holds probably $300 worth of games.
Furniture That Transforms
Nesting tables are brilliant for small spaces. Pull them out when you need extra surface area, tuck them away when you don’t. Same with folding chairs—get the nice-looking ones (not those sad metal numbers from your high school cafeteria), and hang them on wall hooks when not in use.
I also swear by furniture with casters. Being able to roll things around means you can reconfigure your space in seconds. My small storage cart from IKEA ($30) holds all our current favorite games and rolls right up to wherever we’re playing. Flexibility is the name of the game when you’re working with limited square footage.
Also Read: 10 Dreamy Kids Game Room Decor Ideas for Playful Vibes
4. Luxury Home Arcade Style Family Game Room (On a Budget—Seriously)

Faking the High-End Arcade Vibe
Okay, I know what you’re thinking—”luxury” and “budget” don’t usually hang out together. But hear me out. You can absolutely capture that upscale arcade aesthetic without spending luxury prices. It’s all about being strategic and a little bit crafty.
First up: DIY arcade marquees and signage. Real vintage arcade signs cost hundreds or thousands of dollars. But you can print high-quality posters at your local print shop for $20-$40, frame them in simple black frames, and add LED backlighting with those cheap strip lights I mentioned earlier. I made a “Game Room” marquee sign for under $35 total, and everyone assumes it cost me hundreds.
Want the look of arcade machines without the price tag? Get creative with your TV setup. Wall-mount your TV, build a simple frame around it using pine boards (cheap at any hardware store), and paint it to look like an arcade cabinet. Add some vinyl decals, and you’ve got the vibe for under $100. I’ve seen people do this with old CRT monitors and Raspberry Pi systems for authentic retro gaming, too.
The Lighting Makes It Legit
Nothing says “arcade” like neon lighting, but actual neon is stupid expensive. Enter: LED neon flex lights. These look identical to real neon but cost a fraction of the price and use way less electricity. You can get pre-made signs or make your own shapes. I grabbed a custom “Game On” sign from Etsy for $45—way cheaper than real neon and zero risk of electrical fires.
Add some blacklight elements if you’re feeling extra. Blacklight-reactive paint and posters are inexpensive, and they give you that authentic arcade glow. Paint some geometric shapes on one wall with blacklight paint ($10 a bottle), throw up a blacklight bulb ($8), and suddenly you’ve got an installation that looks like you hired a professional.
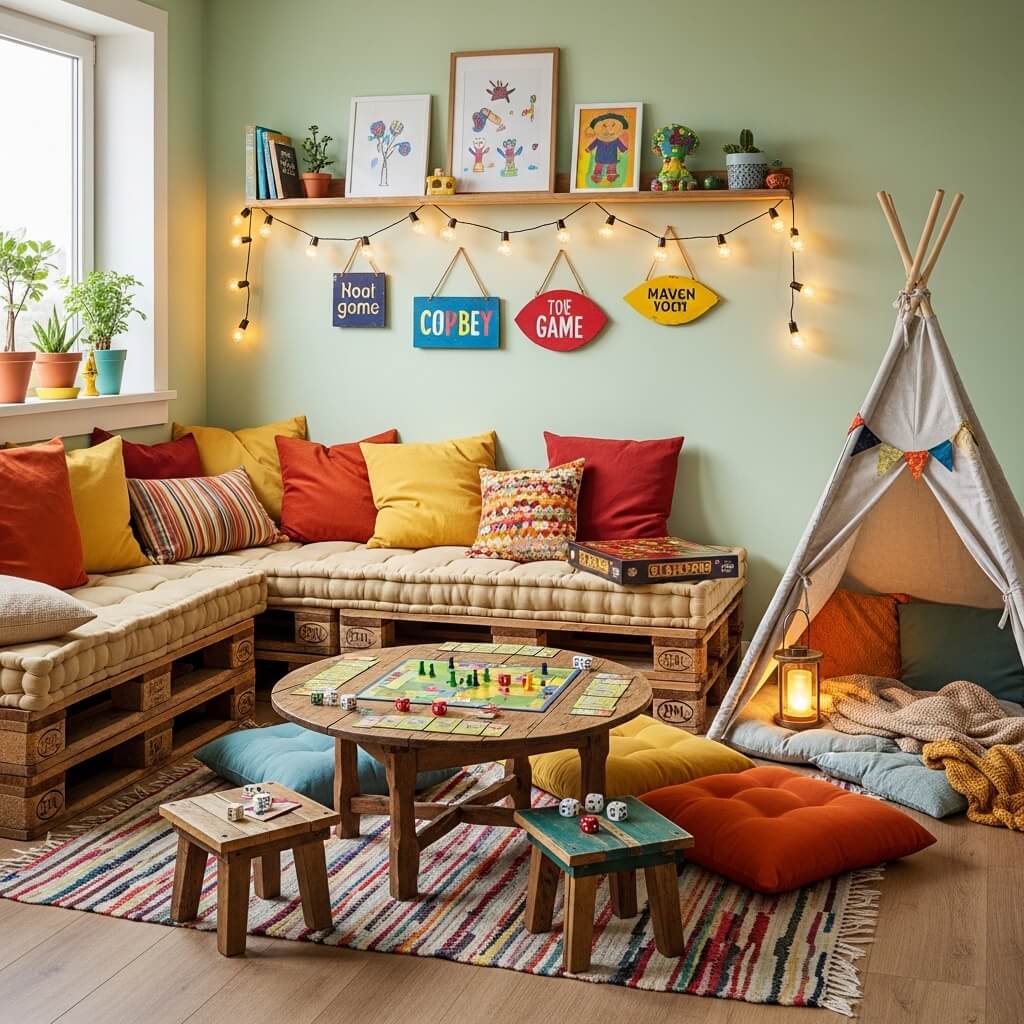
5. Rustic Wooden Family Board Game Room Decor
Bringing That Cozy Cabin Energy
There’s something about rustic decor that just screams “family gathering,” right? It’s warm, inviting, and—here’s the best part—you can DIY most of it with basic tools and reclaimed materials.
Pallet wood is your best friend for rustic projects. People give pallets away for free all the time (check Facebook Marketplace or behind stores). I built an entire feature wall with pallet wood I got for zero dollars. Just make sure you clean them thoroughly and check for heat treatment stamps (you want HT, not MB). A bit of sanding, some stain or whitewash, and you’ve got gorgeous rustic wall paneling.
For furniture, think simple and sturdy. You don’t need fancy stuff—in fact, rougher is often better for this aesthetic. I made a game table from an old door I found at Habitat for Humanity ReStore ($15) and some hairpin legs from Amazon ($30). Total cost: $45 for a table that looks like it came from a trendy farmhouse catalog.
Storage Meets Decor
Use wooden crates and baskets for game storage. Stack them, mount them on walls, or just arrange them nicely—they’re functional and decorative. I found crates at craft stores (especially with coupons) for $5-$10 each, and they hold tons of board games while looking intentional.
Add some Edison bulb lighting fixtures. You can get simple exposed bulb pendants super cheap, and they scream rustic charm. I installed three pendant lights above my game table for $60 total, and they’re probably the most complimented feature in the room. Lighting really is everything, folks.
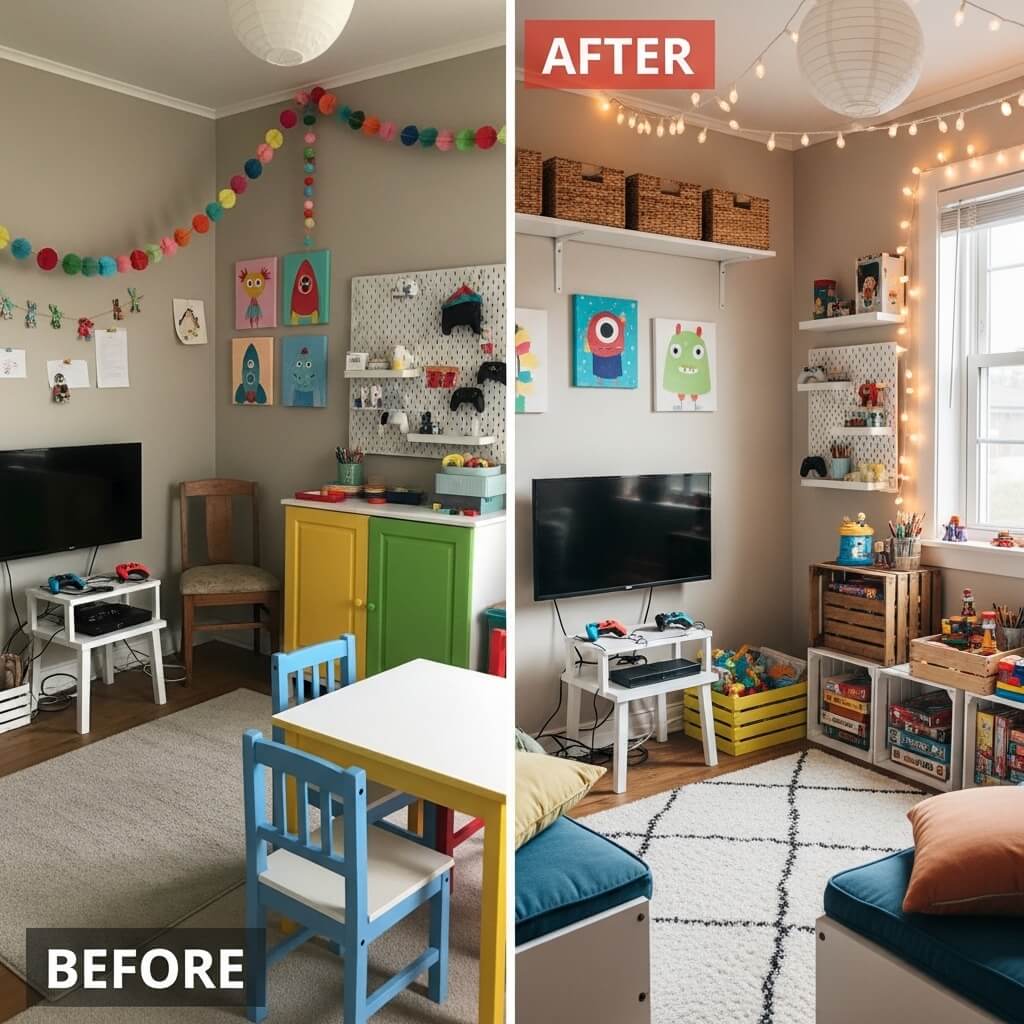
6. Kids-Friendly Colorful Family Game Zone
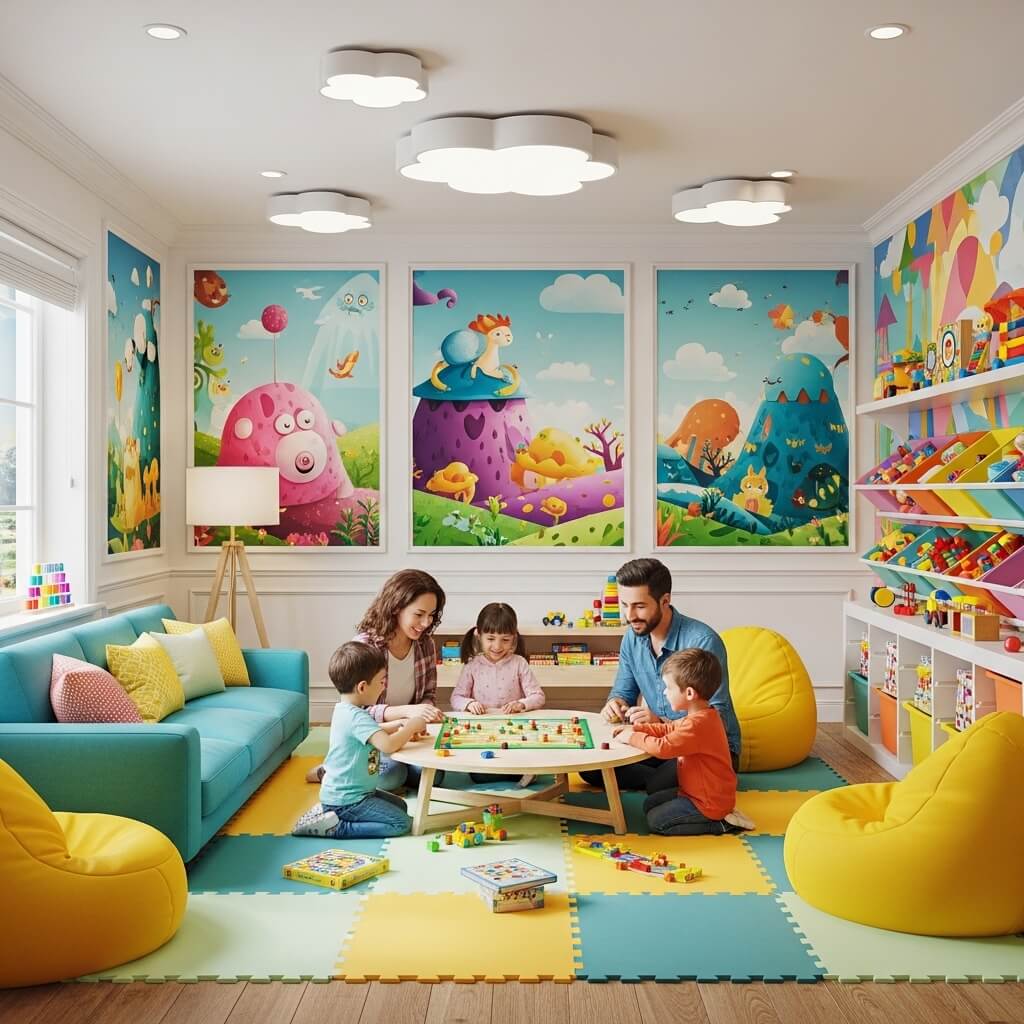
Where Bright Colors Don’t Equal Headache-Inducing Chaos
I’ll level with you—creating a colorful kids’ game zone that doesn’t look like a crayon factory exploded requires some restraint. But when you get it right? Chef’s kiss.
The trick is choosing a cohesive color scheme instead of just throwing every color at the wall. Pick 3-4 main colors and stick with them. I went with bright teal, yellow, coral, and white for our kids’ zone, and it’s vibrant without being overwhelming. You can do this super cheaply with paint samples ($3 each) and some testing before committing to full gallons.
Foam floor mats are essential if you’ve got younger kids. They’re cheap (like $20 for a pack), comfortable, easy to clean, and they come in tons of colors now—not just those primary-colored alphabet ones. I found solid-colored ones that matched our scheme, and they make the space so much more kid-friendly.
Storage That Kids Actually Use
Here’s a revelation: kids will put stuff away if you make it easy enough. Get low, open storage bins in bright colors and label them with pictures. I used plastic bins from the dollar store (literally $1 each), printed labels from Canva for free, and suddenly my kids actually clean up. Miracle? Nope, just good design.
A chalkboard wall or whiteboard section gives kids a place to be creative without redecorating your actual walls. Chalkboard paint costs about $15, and you can paint any section of wall or get a piece of plywood to mount. Add a ledge underneath for chalk storage, and you’ve created an activity station for under $25.
Also Read: 10 Stunning Small Game Room Ideas for Cozy Setup
7. Budget-Friendly DIY Family Game Room Setup
When “DIY” Doesn’t Mean “Disaster”
FYI, I’m not some master craftsperson over here—I’m just someone who’s figured out that DIY is often the difference between “can’t afford it” and “check out my awesome game room.” And honestly, most projects are way easier than they look.
Let’s start with seating. DIY floor cushions are stupid simple and so cheap compared to buying them. Get foam remnants from a craft store (often on clearance), wrap them in fabric (cotton duck fabric is durable and affordable), and sew or staple it closed. I made four massive floor cushions for about $60 total, and they’d cost $50+ each retail.
Build your own game storage shelves. Seriously, if you can measure and use a drill, you can build basic shelves. I created a whole wall of custom game shelving using pine boards from Home Depot for under $100. YouTube has thousands of tutorials, and the satisfaction of using something you built yourself is honestly priceless.
Decor You Can Make Yourself
Print your own wall art. Sites like Canva have free templates, and you can print large formats at FedEx or your local print shop for $10-$30 depending on size. Frame them in cheap frames (Dollar Tree has decent ones, or hit up thrift stores), and you’ve got custom art for a fraction of retail prices. I have eight custom gaming-themed prints in my room, total cost maybe $80 for all of them.
Make your own game storage solutions from materials you already have. I turned old jars into dice storage, used magazine holders for card game organization, and repurposed a spice rack for small game components. Being creative with what you have beats buying new stuff every single time, both for your wallet and the environment.
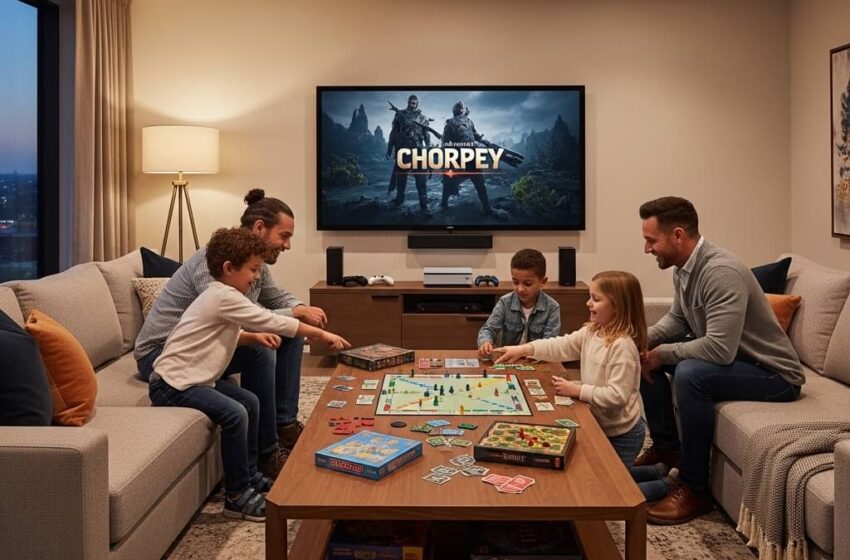
8. Indoor Entertainment Hub with Sofa Game Area
The Ultimate Hangout Zone
This is where comfort meets function, and IMO, it’s the most important style to get right if you actually want your family to use the space. Nobody’s going to choose game night if the seating feels like sitting on cardboard.
Your sofa choice matters here, but—plot twist—it doesn’t need to be expensive. I hunted for months and found a massive sectional on Wayfair’s clearance section for $400 (originally $1,200). Set alerts on Slickdeals and follow furniture stores on social media for flash sales. Patience saves you hundreds here.
Create multiple zones within your space. Sofa area for video games and movies, table area for board games, maybe a standing area for active games. This doesn’t require walls or dividers—just thoughtful furniture placement and maybe an area rug or two to define spaces. I used two different rugs from HomeGoods ($60 each) to create distinct zones in one room.
Tech Integration Without the Tech Budget
You don’t need the latest everything. A decent smart TV (wait for Black Friday sales—I got a 55-inch for $250), a basic sound bar ($60 on sale), and good cable management (zip ties and adhesive clips cost under $10) will get you 80% of the experience for 20% of the cost.
For gaming, consider what you actually need. A Nintendo Switch is more family-friendly and cheaper than a PlayStation 5, for example. Or go retro with emulation—you can set up a Raspberry Pi retro gaming system for under $100 that plays thousands of classic games. Your kids don’t care if they’re playing on cutting-edge hardware; they care if it’s fun.
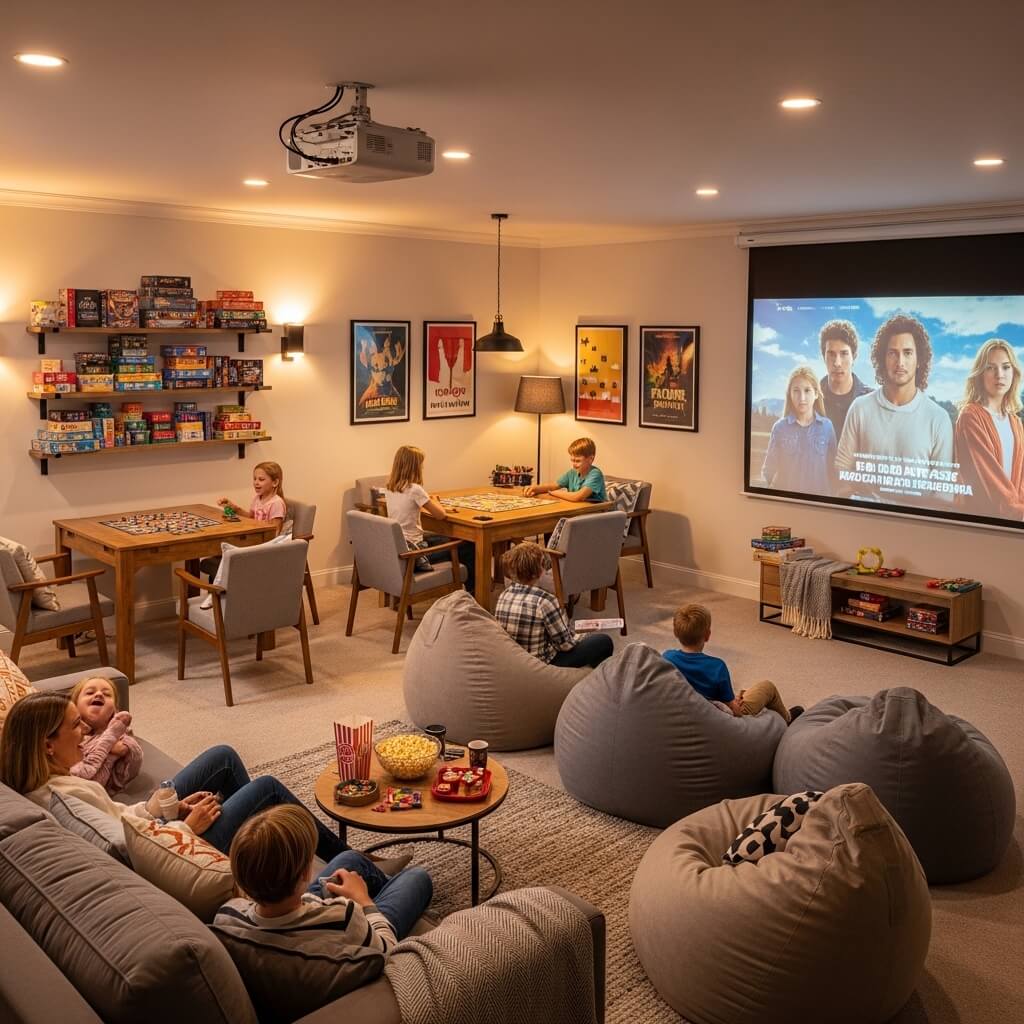
9. Smart Tech Gaming & Family Activity Room

Getting Techy Without Getting Broke
The words “smart tech” usually make budget-conscious people nervous, but stay with me. You can add really cool tech features without dropping thousands of dollars—you just need to be selective.
Smart lighting is the easiest and cheapest upgrade. Smart bulbs start at $10 each, and being able to control your game room lights from your phone or with voice commands is honestly fantastic. Set different scenes for movie night, board game night, or video gaming. I spent maybe $40 on smart bulbs for my whole game room, and it feels way more high-tech than that price suggests.
A cheap tablet mounted on the wall can be your game room control center. You can find refurbished tablets for $50-$100, mount them with a $15 wall mount, and use them for game rules lookup, scorekeeping apps, music control, or even displaying a family gaming calendar. I use an old iPad I already had, and it’s become central to how we use the space.
Sound Matters More Than You Think
Good audio doesn’t require those fancy $500 systems. A quality budget sound bar runs $60-$100 and makes a huge difference for movie nights and gaming. Or go with a good Bluetooth speaker—I use an Anker Soundcore ($35) for background music during board games, and it fills the room perfectly.
Add a cheap projector if you want that wow factor. Budget projectors have come way down in price—you can get decent ones for $100-$200 now. Project onto a blank wall (paint it with cheap white paint for better reflection) or get a cheap pull-down screen. Movie night just got way more exciting.
Also Read: 10 Modern Game Room Design Ideas for Stylish Gaming Spaces
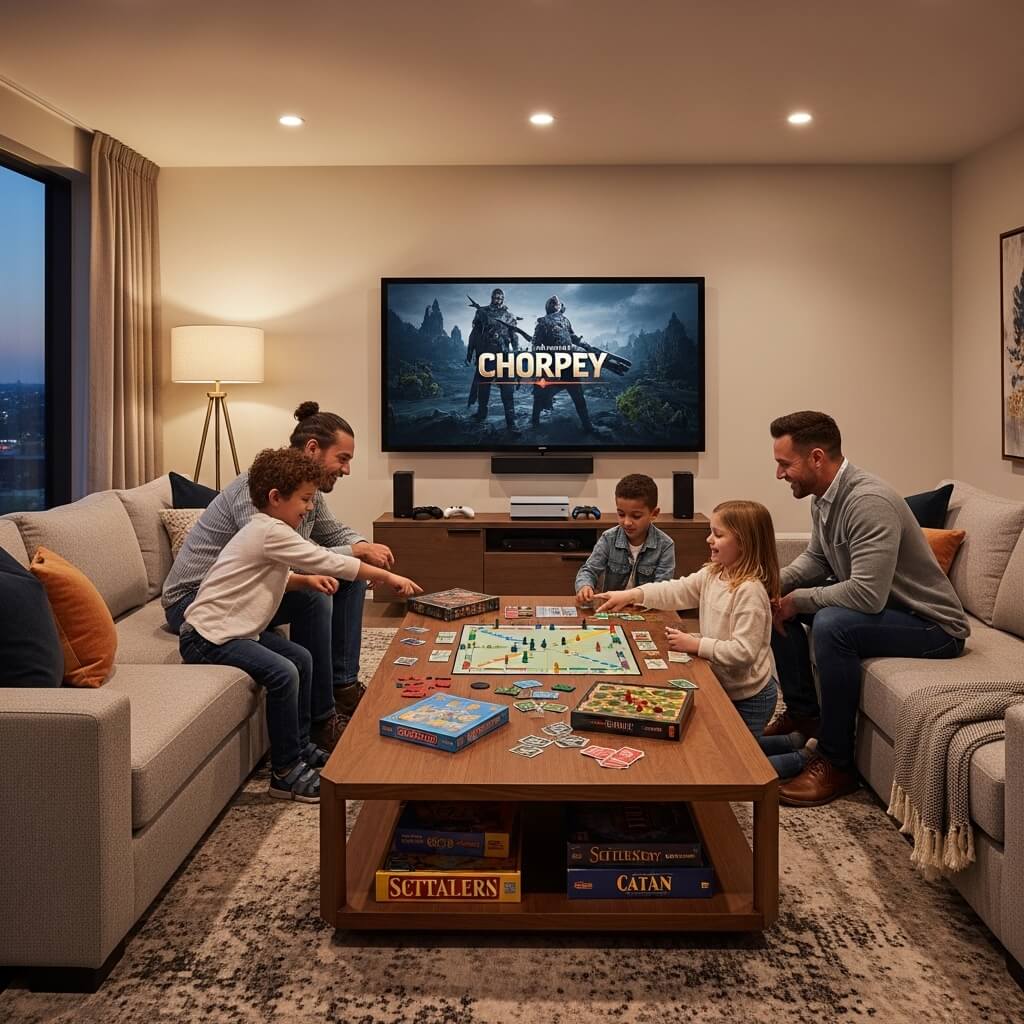
10. Aesthetic Movie + Board Game Combo Family Room
The Best of Both Worlds
Why choose between movie nights and game nights when you can design for both? This is actually my favorite approach because it gives you the most versatility in one space.
The key is flexible seating arrangements. You need a setup that works for facing a screen and for gathering around a table. I achieved this with a modular sectional (found on Facebook Marketplace for cheap) that we can rearrange, plus a coffee table that raises to dining height. That transforming table cost $80 on Amazon and might be my best purchase ever.
For aesthetics, go with a cohesive theme that works for both activities. I chose a modern entertainment theme with movie posters on one wall and gaming art on another. The color scheme ties it all together—deep blues, grays, and pops of gold. Paint and printed posters brought this to life for under $150.
Storage That Doesn’t Kill the Vibe
The challenge with combo rooms is storing two different types of entertainment without it looking cluttered. Closed storage is your friend here. I use a TV console with cabinets (IKEA Besta series, around $200) that hides board games, controllers, remotes, DVDs, and all the cables. When the doors are closed, it looks clean and intentional.
Add floating shelves above the TV for displaying your prettiest game boxes and decorative items. This keeps stuff accessible but makes it look curated instead of messy. I spent maybe $50 on shelves and brackets, and they’re both functional and decorative.
Making It All Come Together
Here’s the real secret nobody tells you: you don’t have to do everything at once. My game room evolved over about six months as I found deals, completed DIY projects, and figured out what we actually needed versus what just looked cool online.
Start with the basics—comfortable seating, good lighting, and storage for your games. Everything else is just gravy. I prioritized getting our seating right first (because nobody wants to sit on the floor for game night), then added lighting, then slowly built up the decor over time.
And here’s something I wish someone had told me earlier: get your family involved in the planning. Ask your kids what they want, let them help with DIY projects, get everyone’s input on colors and themes. They’ll use the space way more if they feel ownership over it. Plus, painting together or building something as a family becomes part of your game room’s story.
The Bottom Line on Budget Game Rooms
Creating an awesome family game room on a budget isn’t about cutting corners or settling for less—it’s about being smart, creative, and intentional with your choices. Every single idea I’ve shared here comes from actual experience, trial and error, and a stubborn refusal to accept that fun spaces are only for rich people :/
The most important investments are:
- Comfortable seating (because you’ll actually use it)
- Good lighting (mood makes everything better)
- Smart storage (keeps the space functional and not chaotic)
- One or two statement pieces (that make it feel special)
Everything else? Nice to have, but not essential.
Remember, the best game room is the one your family actually uses. It doesn’t matter if it’s Pinterest-perfect or looks like a professional design—what matters is that it’s a space where your family wants to gather, play, laugh, and make memories. Some of my favorite game nights happened when we were still sitting on folding chairs and playing by lamp light because we hadn’t finished decorating yet.
Start with what you have, add what you can afford, DIY what you can manage, and don’t stress about the rest. Your family game room is going to be awesome because it’s yours, filled with the games you love and the people you want to spend time with. And honestly? That’s worth way more than any fancy decor could ever be.
Now stop reading and go start planning your game room—those walls won’t paint themselves, and your family’s waiting for that next game night to happen! ????